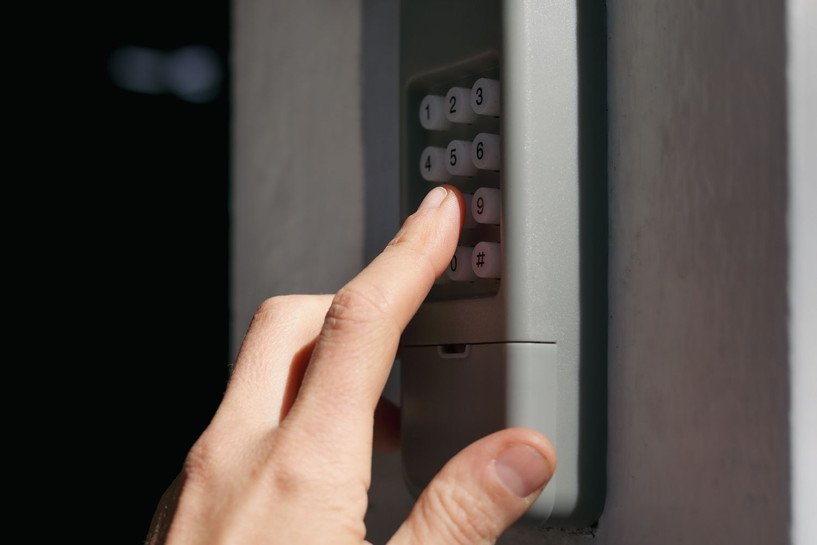
Have you ever pulled into your driveway after a long day, only to stare helplessly at a garage door keypad that refuses to respond? It is a frustrating and surprisingly common scenario that leaves homeowners locked out of their own homes. If you are asking yourself, “Why is the keypad on my garage door not working,” you are not alone, and the good news is that most causes are simple to diagnose and fix without calling a professional.
In this guide, we will walk you through the most likely culprits behind a unresponsive keypad, offering step-by-step solutions to get your system back online quickly and safely.
Is It Just the Batteries? The Most Common Culprit
Before diving into complex wiring or reprogramming sequences, always start with the simplest explanation: power. Wireless garage door keypads are typically powered by small batteries, often 9-volt or AA types, depending on the model. Over time, these batteries lose charge, leading to intermittent signals or complete failure.
Steps to Check and Replace Batteries:
- Locate the battery compartment on the back or bottom of your keypad.
- Open the cover and remove the old batteries.
- Inspect the contacts for corrosion. If you see white or green buildup, clean it gently with a cotton swab dipped in rubbing alcohol.
- Insert fresh, high-quality alkaline batteries. Ensure the positive (+) and negative (-) ends match the diagram inside the compartment.
- Test the keypad immediately.
Pro Tip: Even if the LED light on the keypad blinks, the voltage might be too low to send a strong enough signal to the opener motor. Always try new batteries first.
Did You Accidentally Lock the System?
Many modern garage door openers come with a “Vacation Mode” or a lock feature designed to prevent unauthorized access while you are away. If this feature is activated, the keypad will appear dead because it is intentionally ignoring input commands.
Check your main wall-mounted control panel inside the garage. Look for a button labeled “Lock” or an icon resembling a padlock. If the light next to it is illuminated, the system is locked. Press and hold the lock button for 2–3 seconds to deactivate it. Once the light turns off, try your external keypad again.
Is the Keypad Properly Programmed?
If the batteries are fresh and the system is unlocked, the issue might be a lost connection between the keypad and the garage door opener unit. This can happen after a power outage, a surge, or if someone accidentally reset the opener’s memory.
How to Reprogram Your Keypad: While every brand (LiftMaster, Chamberlain, Genie) has slight variations, the general process involves:
- Climbing a ladder to access the motor unit hanging from your garage ceiling.
- Locating the “Learn” or “Smart” button. It is usually colored yellow, purple, or red.
- Pressing and releasing the Learn button. The indicator light will turn on or blink.
- Within 30 seconds, go to your external keypad and enter your desired PIN code, followed by the “Enter” or “Send” button.
- Wait for the motor unit’s light to blink or hear a click, confirming the code has been accepted.
For detailed technical specifications on different opener models, you can refer to general industry standards on Wikipedia’s Garage Door Opener page.
Are Weather Conditions Interfering with the Signal?
Garage door keypads are built to withstand the elements, but extreme weather can still impact performance. Cold temperatures, in particular, can reduce battery efficiency significantly. Additionally, heavy rain or snow accumulation around the keypad can cause short circuits if the weatherproofing seal has degraded.
Weather-Related Troubleshooting:
- Cold Weather: If it is below freezing, bring the keypad inside for 15 minutes to warm up before testing. If it works indoors, the cold is affecting the battery chemistry.
- Moisture: Check the rubber gasket around the keypad. If it is cracked or missing, water may have entered the circuit board. Dry it thoroughly with a hairdryer on a low setting.
Is There Physical Damage or Wear?
Keypads are used daily, exposed to sun, rain, and physical touch. Over time, the buttons themselves can wear out, or the internal circuit board can suffer from micro-fractures due to temperature expansion and contraction.
Inspect the keypad for:
- Sticky Buttons: Dirt and grime can accumulate under the keys. Clean the surface with a mild soap solution.
- Cracks in the Casing: If the plastic housing is cracked, moisture can easily enter.
- Loose Mounting: Ensure the keypad is securely screwed to the wall. Vibration from the door opening and closing can loosen connections over time.
If the physical unit is damaged, no amount of reprogramming will fix it. In this case, replacement is the only viable option.
Could Radio Frequency Interference Be the Issue?
Garage door openers operate on specific radio frequencies, typically 315 MHz or 390 MHz. In densely populated areas, interference from neighbors’ devices, baby monitors, or even LED light bulbs can disrupt the signal.
Signs of Interference:
- The keypad works intermittently.
- You have to stand very close to the door for it to respond.
- Other wireless devices in your home are also acting up.
Solution: Try changing the frequency dip switches on older models, or consider upgrading to a newer opener that uses rolling code technology, which is more resistant to interference and hacking.
Comparison: Repair vs. Replace
When facing a non-functional keypad, deciding whether to fix or replace is crucial. Here is a quick breakdown to help you decide.
| Feature | Repair (Reprogram/Clean) | Replace (New Unit) |
|---|---|---|
| Cost | $0 – $10 (Batteries) | $30 – $60 |
| Time Required | 15 – 30 Minutes | 1 – 2 Hours |
| Complexity | Low | Medium |
| Longevity | Temporary Fix | Long-term Solution |
| Best For | Minor glitches, lost codes | Physical damage, old units |
Frequently Asked Questions (FAQ)
1. Why does my garage door keypad work sometimes but not others?
Intermittent issues are usually caused by weak batteries or radio frequency interference. Start by replacing the batteries with fresh ones. If the problem persists, check for nearby electronic devices that might be causing signal noise.
2. Can I use any brand of keypad with my garage door opener?
No, keypads are generally proprietary. A LiftMaster keypad will not work with a Genie opener unless specifically stated as universal compatibility. Always check your opener’s manual for compatible accessories.
3. How often should I change the code on my keypad?
For security purposes, it is recommended to change your PIN every 6–12 months, or immediately if you suspect someone else knows the code. Regularly updating your code prevents unauthorized access.
4. What should I do if I forgot my keypad code?
If you forgot the code, you will need to reset the system. This involves clearing the memory on the main opener unit using the “Learn” button and then programming a new code from scratch. Refer to your specific model’s manual for the exact reset procedure.
5. Is it safe to leave the keypad exposed to rain?
Most outdoor keypads are weather-resistant, but not waterproof. Ensure the cover is closed tightly after use. If you live in an area with heavy rainfall, consider installing a small overhead awning or choosing a keypad with a higher IP (Ingress Protection) rating.
6. Why is the light on my keypad blinking but the door won’t open?
A blinking light usually indicates that the keypad is sending a signal, but the opener is not receiving it correctly. This could be due to a misaligned antenna on the motor unit or a corrupted code. Try reprogramming the keypad as described earlier.
Conclusion
Dealing with a malfunctioning garage door keypad is inconvenient, but it is rarely a disaster. By systematically checking batteries, locks, programming, and physical condition, you can resolve most issues on your own. Remember, regular maintenance—like cleaning contacts and updating codes—can prevent these problems from recurring.
If you found this guide helpful, please share it with your neighbors or on social media. Helping others troubleshoot their home tech issues builds a stronger, more prepared community. Stay secure and keep your garage accessible!
Leave a Reply