It is incredibly frustrating when you just want to park your car, but your door refuses to budge. If you are asking, why is my garage door not closing and light flashing, you are not alone. Let us dive into the most common causes and how to fix this annoying issue quickly.
Why Is My Garage Door Not Closing And Light Flashing: Top Causes
When your garage door refuses to close and the opener light starts blinking, it is actually trying to communicate with you. Modern garage door openers are equipped with diagnostic systems. The flashing light is a specific error code indicating that the automatic reverse safety system has detected a problem.
According to the International Door Association (IDA), safety sensor misalignment accounts for over 60% of all residential garage door service calls. The Consumer Product Safety Commission (CPSC) mandated these safety features in 1993 to prevent entrapment. Therefore, if the system detects any anomaly, it will halt the door and flash the light to protect your family and pets.
Understanding that this is a safety feature, rather than a random malfunction, is the first step toward a quick fix. Let us explore the specific reasons why this happens.
Are Your Safety Sensors Misaligned?
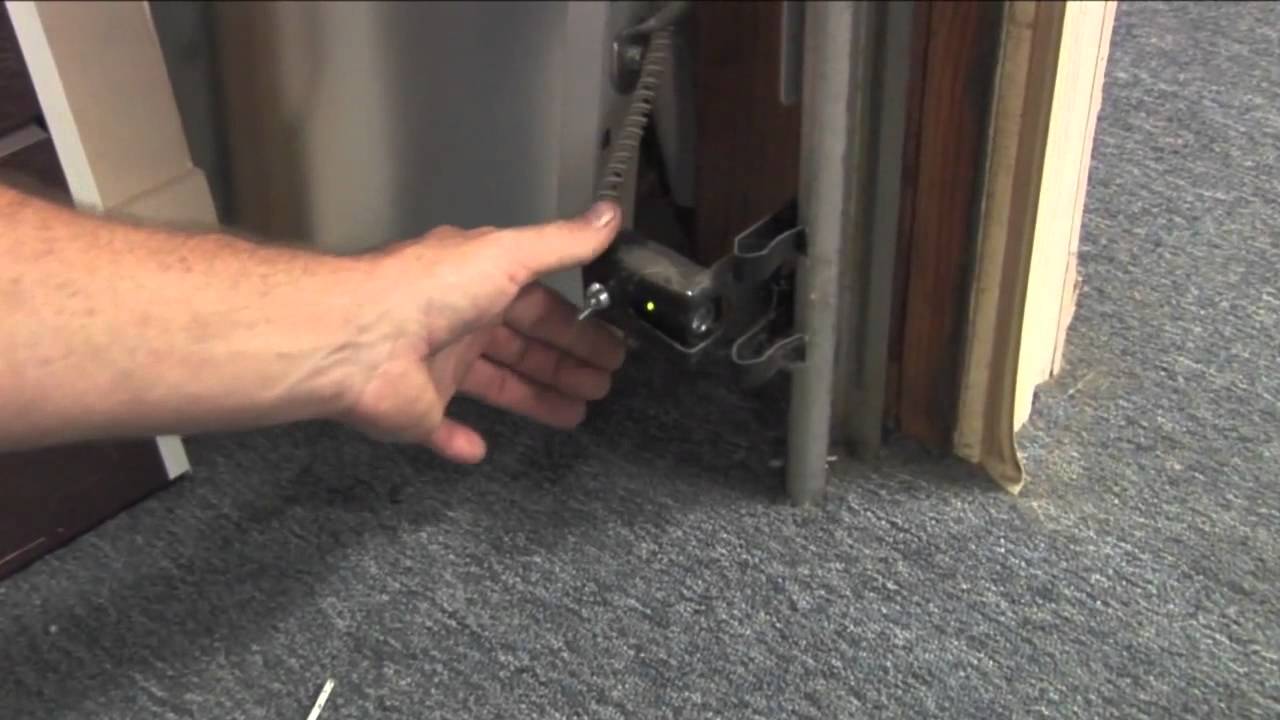
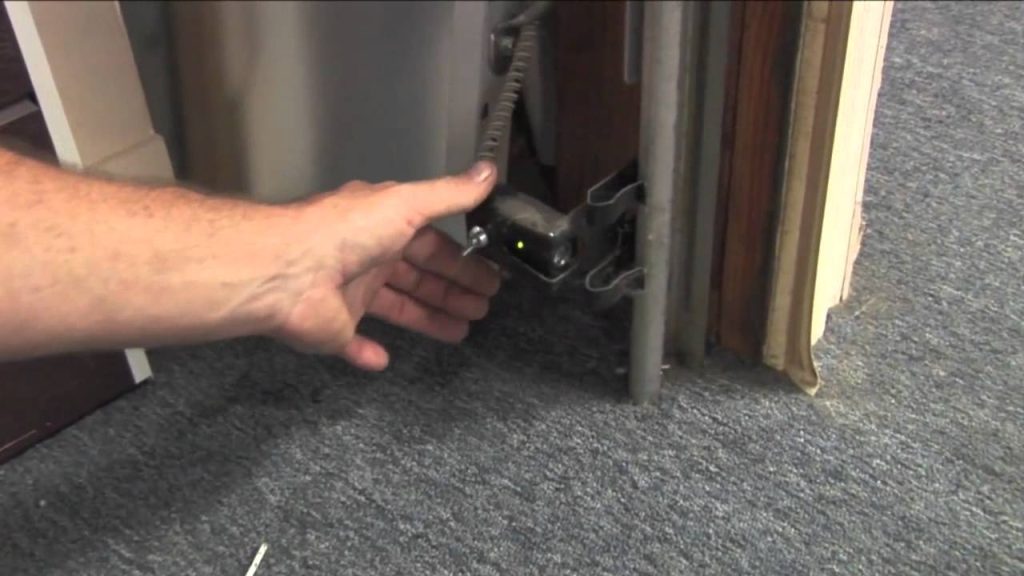
The most common culprit behind a flashing light is a pair of photoelectric “eyes” located near the floor on both sides of the door. These sensors shoot an invisible infrared beam across the bottom of the garage door opening.
If the beam is broken or misaligned, the door will immediately stop and reverse. The light on the motor head will typically flash 10 times to indicate a sensor error. Even a slight bump from a bicycle, a basketball, or a lawnmower can knock these sensors out of alignment.
Furthermore, modern openers rely on precise photoelectric detection. As detailed on the Garage door opener Wikipedia page, these sensors are critical for preventing the door from closing on an obstacle. If the receiver does not detect the infrared beam from the sender, the circuit remains open, and the door will not close.
How to Realign Your Sensors Step-by-Step
Fixing misaligned sensors is usually a simple DIY task. You do not need expensive tools, just a few minutes of your time. Follow these concrete steps to get your door working again:
- Inspect the Indicator Lights: Look at the small LED lights on both sensors. One usually has a green or amber light (the sender), and the other has a red or amber light (the receiver). If the receiver light is flickering or completely off, they are misaligned.
- Clean the Lenses: Use a soft microfiber cloth to gently wipe the plastic lenses. Dust, spider webs, or mud can block the infrared beam.
- Check the Brackets: Ensure the sensor brackets are tightly secured to the metal tracks. If they are loose, they will vibrate out of alignment every time the door moves.
- Loosen the Wing Nut: Grab the sensor bracket and loosen the wing nut just enough to allow movement. Turn it counter-clockwise with your fingers.
- Adjust the Alignment: Slowly tilt the sensor until the small LED indicator on the receiver glows a steady, bright amber or green. Ensure the sensors are exactly 4 to 6 inches above the concrete floor.
- Tighten and Test: Hold the sensor perfectly still while you tighten the wing nut clockwise. Once it is secure, press your wall button to test the door.
Is Sunlight Interfering with the Sensors?
Believe it or not, the sun can cause your garage door light to flash. This is a very common issue during the early morning or late evening when the sun is low on the horizon.
The afternoon or morning sunlight can overpower the infrared beam, effectively “blinding” the receiver sensor. If you notice the problem only happens at specific times of the day, sunlight is likely the culprit.
The Quick Fix: You can easily solve this by swapping the positions of the two sensors. Because the sender and receiver are usually identical, you can detach them, swap their locations on the left and right tracks, and reattach them. This reverses the polarity and eliminates the sun glare issue instantly.
Could the Wiring Be Damaged?
If your sensors are perfectly aligned and the lights are glowing steadily, but the door still will not close, the wiring might be the issue. The wires connecting the sensors to the motor head are very thin and vulnerable.
Over time, these wires can become pinched, frayed, or completely severed. Check the wire path from the sensors to the ceiling motor. Look for:
- Staple gun marks: If the wires were installed with heavy-duty staples, the metal might have cut into the copper core.
- Sun damage: UV rays can make the wire insulation brittle, causing it to crack and short out.
- Rodent bites: Mice love to chew on the soft plastic insulation of garage door wires.
If you find a break in the wire, you can splice it back together. Simply strip back half an inch of the insulation from both broken ends, twist the bare copper wires together tightly, and secure them with electrical tape or a small wire nut.
DIY Fixes vs. Professional Repair
Sometimes, the issue goes beyond a simple sensor alignment. Here is a quick comparison to help you decide whether to tackle the problem yourself or call an expert.
| Aspect | DIY Fix | Professional Repair |
|---|---|---|
| Best For | Sensor alignment, cleaning lenses, minor wire splicing. | Broken springs, damaged gears, limit switch replacement. |
| Cost | $0 (Free) | $150 – $300+ depending on parts. |
| Time Required | 10 to 20 minutes. | 1 to 2 hours (including scheduling). |
| Safety Risk | Low risk. You are working near the floor. | High risk if dealing with torsion springs. |
| Tools Needed | Microfiber cloth, electrical tape. | Specialized winding bars, multimeters, replacement parts. |
Note: Never attempt to repair or adjust garage door torsion springs yourself. They are under extreme tension and can cause severe injury if handled improperly.
Frequently Asked Questions
1. How many times should the light flash?
The number of flashes corresponds to a specific error code. For most major brands like Chamberlain, LiftMaster, and Craftsman, 10 flashes indicate a sensor issue. 5 flashes usually point to a problem with the door’s travel limits or RPM sensor. Check your motor’s manual for the exact diagnostic chart.
2. Can I bypass the sensors to close the door?
While it is technically possible to bypass the sensors by holding down the wall button continuously until the door closes, you should never do this unless it is a dire emergency. Bypassing the safety sensors defeats the primary anti-entrapment mechanism, putting your children, pets, and property at severe risk.
3. Why does my garage door close in the morning but not in the evening?
This is almost always caused by sunlight interference. When the sun is low on the horizon, its infrared rays can shine directly into the sensor’s receiver, blinding it. Swapping the left and right sensors, as mentioned earlier, or placing a small cardboard shield over the sensors will fix this.
4. How much does it cost to replace garage door sensors?
If your sensors are physically broken or water-damaged, replacing them is relatively inexpensive. A universal replacement sensor kit costs between $25 and $40 at most hardware stores. If you hire a professional to replace them, expect to pay around $100 to $150 for parts and labor.
5. What if the light flashes but the door moves slightly?
If the door starts to close, hits the floor, and immediately reverses while the light flashes, your “down limit switch” needs adjustment. The limit switch tells the opener when the door has reached the floor. If it is set incorrectly, the door thinks it has hit an obstacle and reverses for safety. You can adjust this using the small plastic limit screws on the side of the motor head.
Conclusion
Dealing with a garage door that refuses to close is a hassle, but a flashing light is actually your opener’s way of keeping your home safe. By checking your safety sensors, cleaning the lenses, and ensuring the wiring is intact, you can resolve the issue in minutes. Remember to always prioritize safety and never bypass the anti-entrapment features.
If you found this guide helpful and managed to fix your garage door, please share this article on your social media to help out your friends and family! Have you tried any other DIY fixes for your garage door? Let us know in the comments below!
Leave a Reply