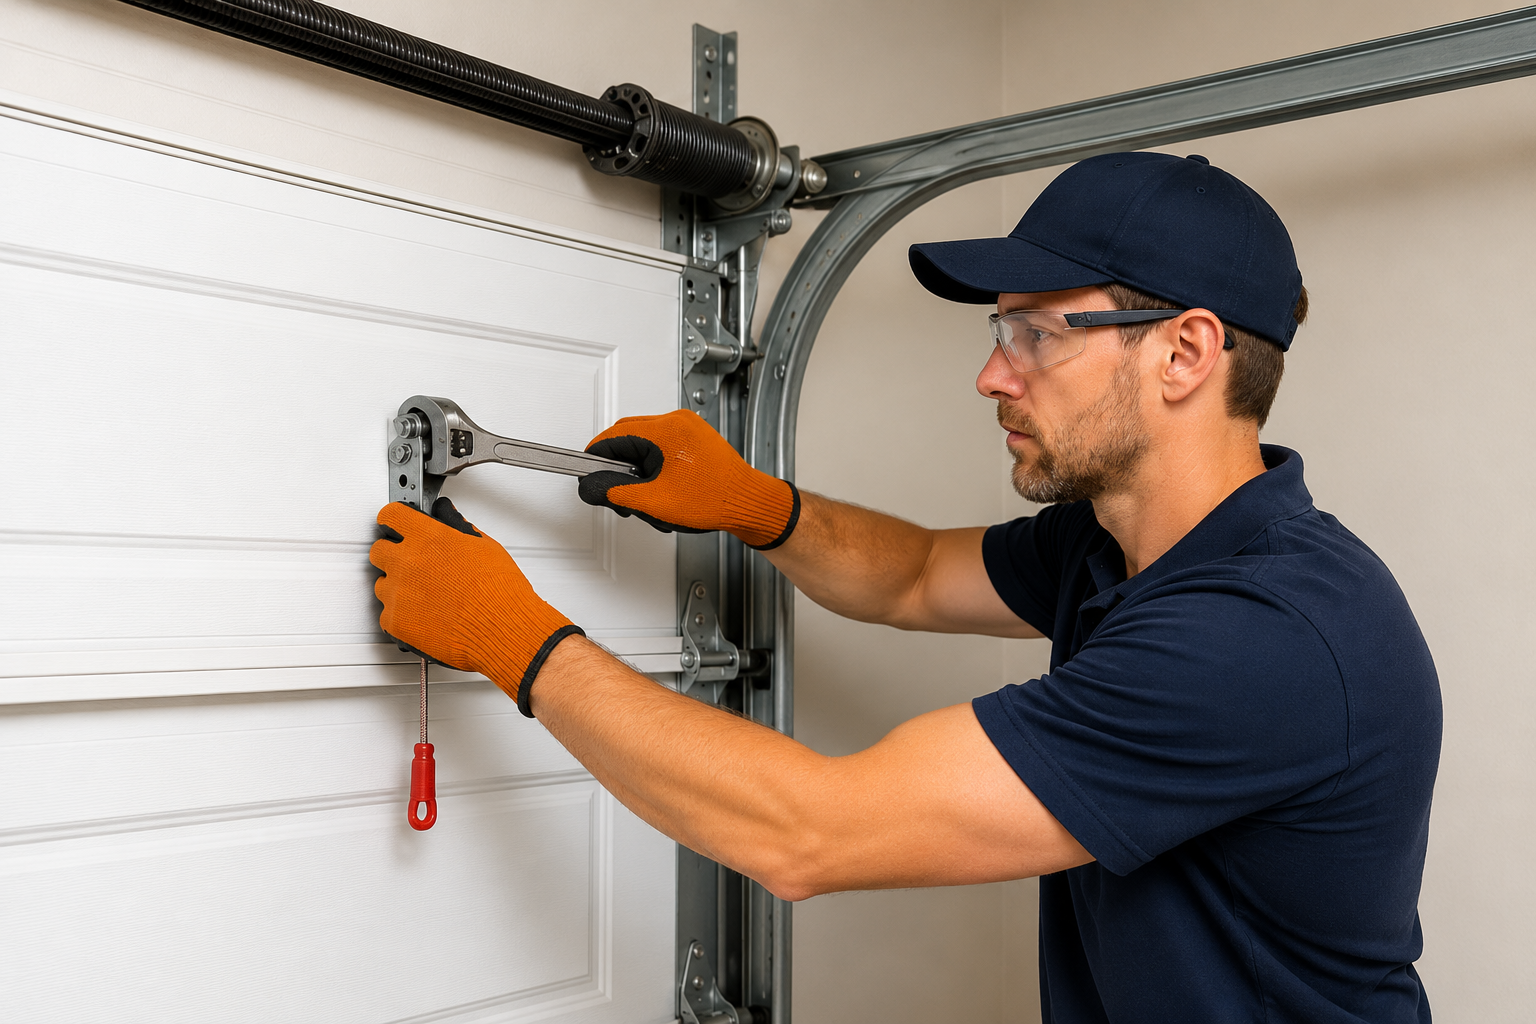
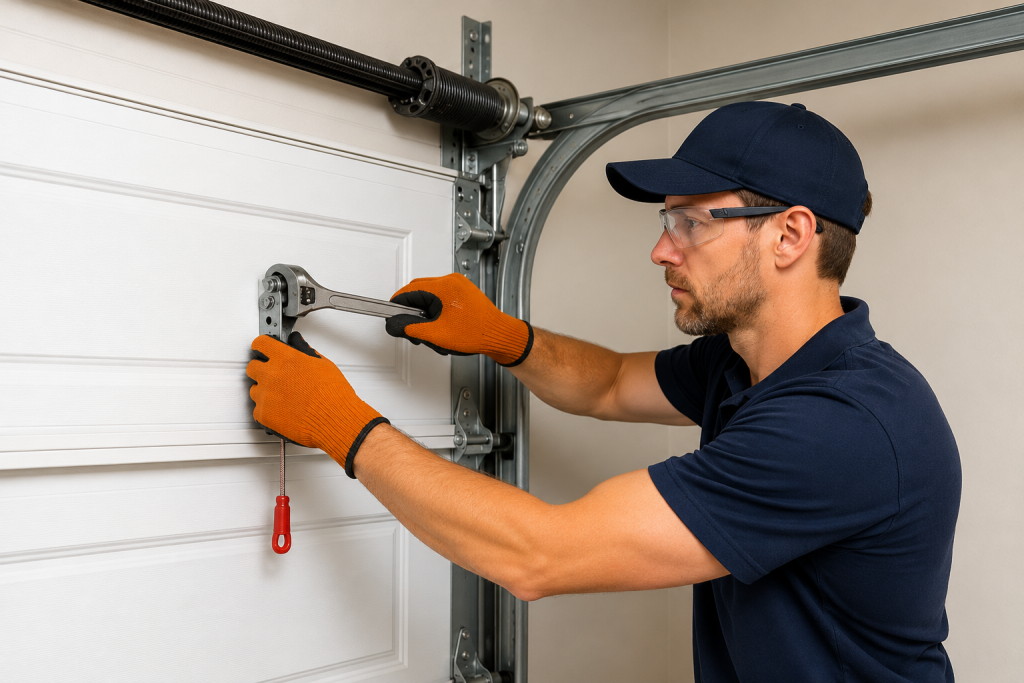
Dealing with a broken garage door can completely disrupt your daily routine, leaving you stranded and frustrated before your day even begins. If you are currently asking yourself, “Is it difficult to replace a garage door opener?”, you are not alone in feeling overwhelmed by the prospect of tackling this heavy home improvement project. Let us walk through everything you need to know to get your door running smoothly again, safely and efficiently.
Is It Difficult To Replace A Garage Door Opener Yourself?
To give you a straight answer: replacing a garage door opener is a moderately difficult DIY task. On a scale of 1 to 10, it sits right around a 6.
It does not require advanced electrical engineering skills, but it does demand physical stamina, basic mechanical aptitude, and a solid understanding of safety protocols. You will be working on a ladder, handling heavy equipment (most motors weigh between 80 to 110 pounds), and dealing with high-tension components.
However, modern garage door openers are designed with the DIYer in mind. Most new units come with comprehensive, step-by-step manuals and pre-assembled rails. If you are comfortable using a power drill, reading a tape measure, and following detailed instructions, you can absolutely handle this project yourself.
Important Safety Note: While replacing the opener (the motor and rail) is manageable, never attempt to repair or replace the high-tension springs yourself. Those require specialized tools and professional training due to the extreme risk of severe injury.
Understanding Your Garage Door Opener Types
Before you start unbolting your old unit, it helps to know what you are working with. According to the comprehensive history and mechanics detailed on Wikipedia’s Garage Door Opener page, these motorized mechanisms have evolved significantly since their invention in the 1920s.
Today, US homes primarily use three types of systems:
- Chain-Drive Openers: The most common and affordable. They use a metal chain to pull the door. They are durable but can be noisy.
- Belt-Drive Openers: These use a fiberglass belt instead of a chain. They are significantly quieter, making them ideal if your garage is attached to your house or located beneath a bedroom.
- Screw-Drive Openers: These use a threaded steel rod. They have fewer moving parts, which means less maintenance, but they can be sensitive to extreme temperature changes.
Step-by-Step Guide: How To Replace a Garage Door Opener
If you are ready to tackle the job, here is a concrete, step-by-step tutorial. Grab a helper—do not attempt to lift the motor alone!
Step 1: Disconnect Power and Remove the Old Unit
First, unplug the old opener from the ceiling outlet or turn off the circuit breaker. Pull the emergency release cord to disconnect the door from the opener carriage. Using a 6-foot stepladder, unbolt the rail from the header bracket above the door. Have your helper support the motor’s weight while you remove the mounting bolts. Lower the unit carefully.
Step 2: Assemble the New Rail and Motor
Lay a piece of cardboard on the floor to protect the new components. Assemble the rail sections according to the manual. Pro tip: Apply a small amount of white lithium grease to the chain or screw drive to ensure smooth, quiet operation right out of the box.
Step 3: Mount the Header Bracket
This is the most critical step for alignment. Measure the exact center of your garage door and mark it on the structural header (the wooden beam above the door). Do not attach this to drywall. Use the provided 2-inch lag screws and a 3/8-inch drill bit to secure the header bracket firmly into the wood.
Step 4: Hang the Motor and Attach the Rail
Cut a 2×4 piece of lumber to exactly 7 feet high. Use this as a temporary prop to hold the motor unit at the correct height. Slide the rail into the header bracket and secure it with the provided bolts. Once the rail is perfectly level, use your drill to permanently mount the motor hangers to the ceiling joists. Remove the 2×4 prop.
Step 5: Install the Door Arm and Set Limits
Attach the straight arm to the motor carriage and the curved arm to the top bracket on your garage door. Next, plug in the unit and follow the manual to set the “Up” and “Down” travel limits using the dials on the motor. Finally, test the auto-reverse safety feature by placing a 2×4 block or a roll of paper towels on the ground under the door. When the door touches the object, it must immediately reverse.
DIY vs. Professional Installation: Which Is Better?
To help you decide, we have broken down the pros and cons of doing it yourself versus hiring a pro.
| Feature | DIY Installation | Professional Installation |
|---|---|---|
| Cost | $150 – $350 (Unit cost only) | $300 – $650 (Unit + Labor) |
| Time Required | 3 to 5 hours (for a beginner) | 1 to 2 hours (for an expert) |
| Skill Level | Moderate (Requires basic tools) | None (Handled by trained techs) |
| Warranty | Standard manufacturer warranty | Extended labor and parts warranty |
| Safety Risk | Moderate (Risk of improper mounting) | Very Low (Fully insured technicians) |
According to the International Door Association (IDA), improper installation is a leading cause of garage door malfunctions and injuries. If you are not confident in your ability to securely mount a 100-pound motor to your ceiling joists, hiring a professional is a highly recommended investment.
How Much Does It Cost To Replace a Garage Door Opener?
Budgeting correctly is crucial. Here is a realistic breakdown of what you can expect to spend in the current US market:
- Basic Chain-Drive Unit: $150 – $220
- Premium Belt-Drive Unit (with Wi-Fi/Battery backup): $250 – $400
- Professional Labor Rates: $85 – $150 per hour (usually 1.5 to 2 hours)
- Disposal Fee: Some pros charge $30 – $50 to haul away your old unit.
Money-Saving Tip: If you choose the DIY route, you can easily save upwards of $250 in labor costs. Just ensure you factor in the cost of tools if you need to buy a new drill or ladder.
Frequently Asked Questions (FAQ)
1. Do I need a professional to install a garage door opener?
No, you do not need a professional if you have moderate DIY skills, the right tools, and a helper. However, if you are uncomfortable working on ladders, dealing with electrical wiring, or lifting heavy objects, hiring a licensed technician is the safest route.
2. How much should I expect to pay for a new garage door opener?
For the equipment alone, expect to pay between $150 and $400 depending on the drive type and smart features. If you hire a professional for both the unit and the installation, your total cost will typically range from $300 to $650.
3. Can I replace just the motor on my garage door opener?
While it is technically possible to replace just the motor, it is rarely recommended. Opener components wear out at similar rates, and finding compatible replacement parts for an older motor can be difficult and nearly as expensive as buying a brand-new, fully warrantied system.
4. How often should a garage door opener be replaced?
A high-quality garage door opener typically lasts between 10 to 15 years. If your unit is older than a decade, makes excessive grinding noises, or struggles to connect to your smart home devices, it is time for a replacement.
5. Will a new opener work with my existing garage door?
Yes, in 95% of cases, a new garage door opener will work perfectly with your existing door. The opener simply pulls the door along its existing tracks. The only exception is if your current door is severely warped, unbalanced, or lacks a reinforced center strut, in which case the door itself may need repair first.
Conclusion
So, is it difficult to replace a garage door opener? While it requires a weekend of physical effort, careful measurements, and a respect for safety, it is a highly achievable project for a dedicated DIYer. By following the proper steps, choosing the right drive type for your home, and prioritizing the auto-reverse safety features, you can restore convenience to your home and save a significant amount of money on labor.
Leave a Reply