Introduction
There are few things more frustrating than pulling into your driveway in the pouring rain, only to realize you cannot get your built-in car visor remote to sync with your garage opener. You are not alone; millions of drivers struggle with this exact issue every year, often assuming their hardware is broken when it simply needs a reset. If you are searching for how to program a garage door remote to your car, this comprehensive guide will walk you through the process safely and effectively, getting you back into your warm garage in no time.
Understanding Your System: HomeLink vs. Universal Remotes
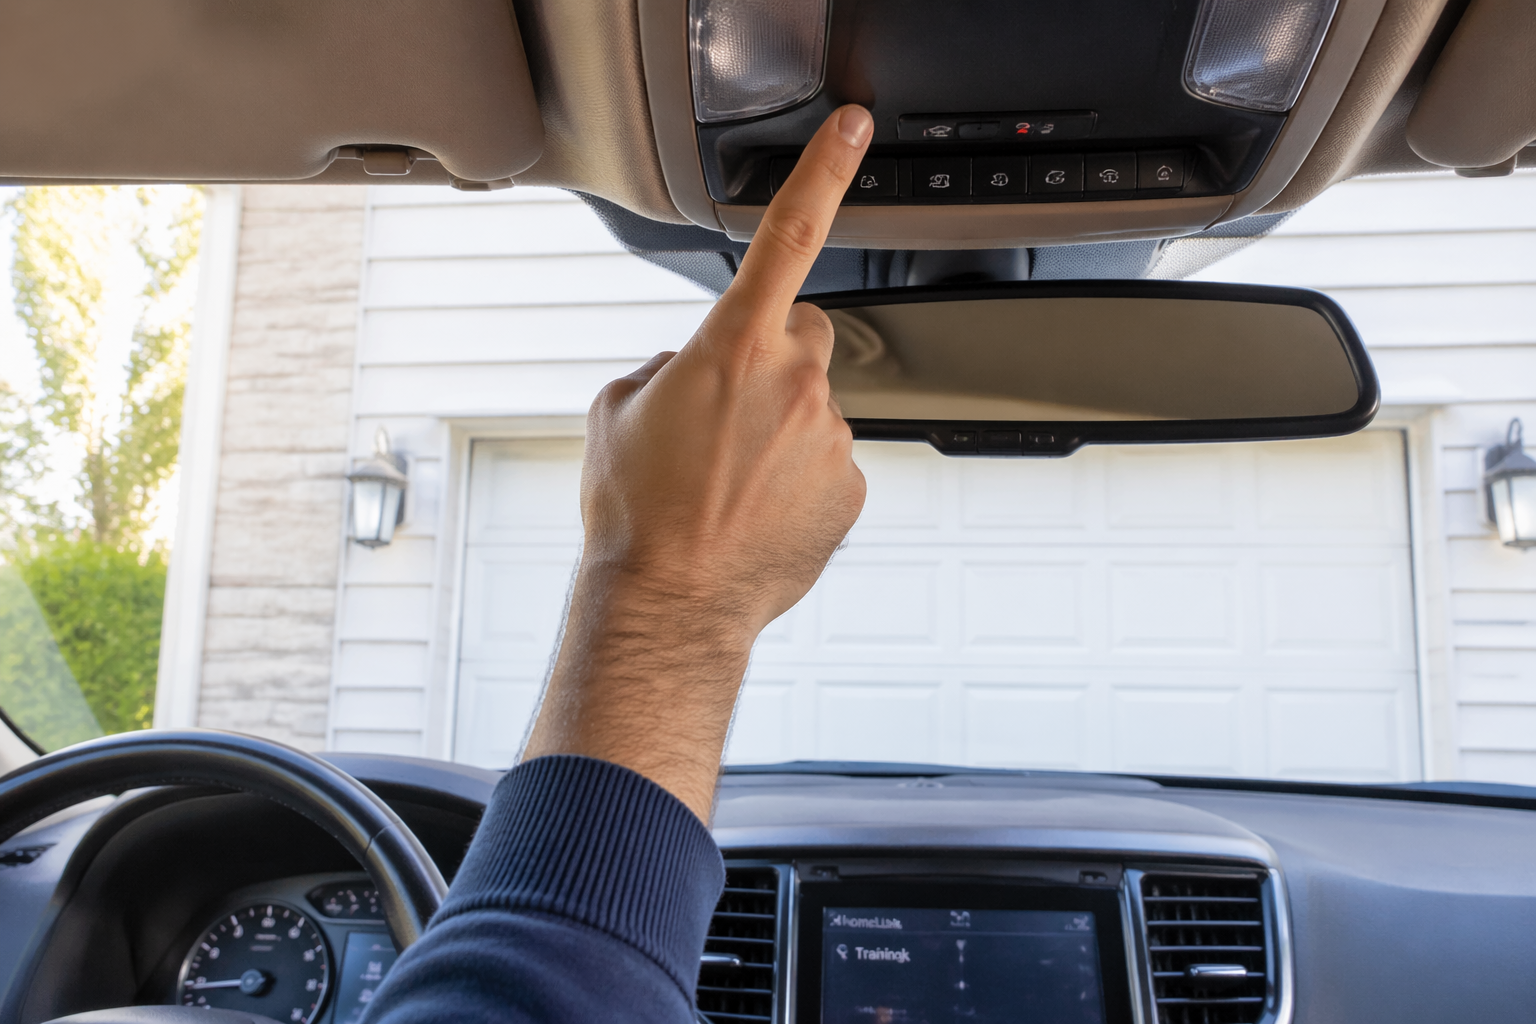
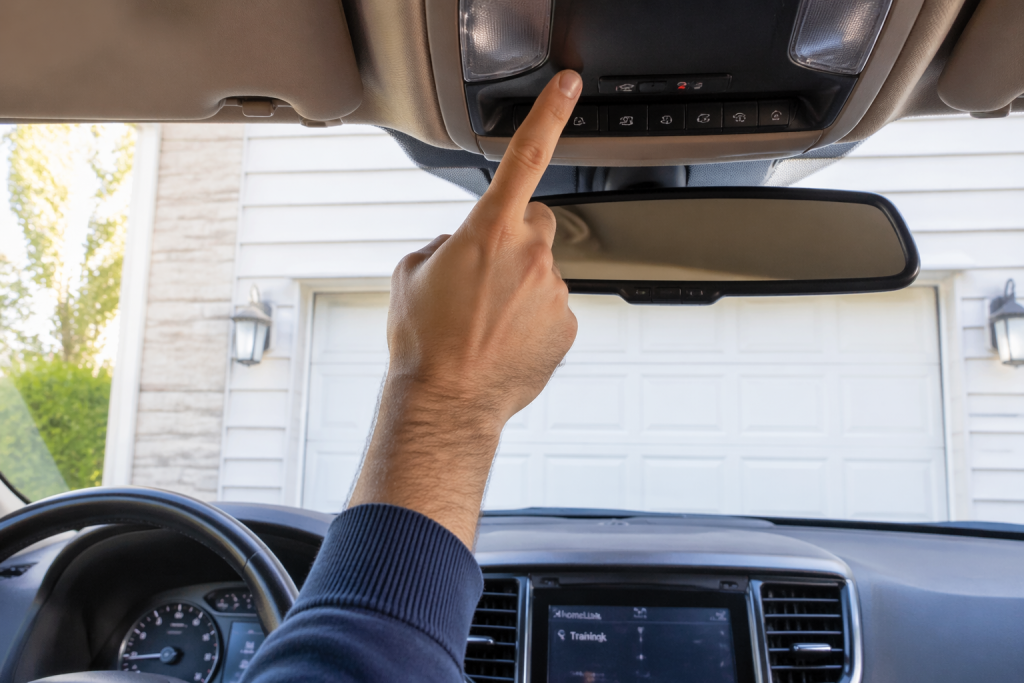
Before grabbing a ladder, it is vital to identify which technology your vehicle uses. Most modern vehicles (post-2000) come equipped with HomeLink or Car2U systems integrated directly into the rearview mirror or overhead console. Older vehicles or aftermarket setups may use a standalone universal visor clip remote.
Knowing the difference matters because the programming sequences differ significantly. According to automotive industry data, over 85% of new vehicles sold in the US now include integrated transceiver systems as standard or optional equipment. Identifying your system prevents wasted effort on incompatible steps.
| Feature | Integrated HomeLink/Car2U | Universal Clip-On Remote |
|---|---|---|
| Location | Rearview mirror, visor, or overhead console | Clips onto sun visor |
| Power Source | Vehicle electrical system | Coin cell battery (CR2032) |
| Compatibility | Rolling Code & Fixed Code | Mostly Fixed Code (older openers) |
| Programming Steps | Requires “Learn” button on motor unit | Usually DIP switch matching |
| Security Level | High (Rolling Code encryption) | Low to Medium |
Safety First: Pre-Programming Checklist
Safety is non-negotiable when working with automated machinery. Before attempting any programming, ensure the following:
- Clear the Area: Ensure no people, pets, or objects are in the path of the garage door.
- Check Batteries: Replace the battery in your handheld original remote before starting. Weak signals cause programming failures.
- Locate the Learn Button: Find the “Learn,” “Smart,” or “Program” button on your garage door motor unit. It is typically yellow, purple, red, or orange.
- Read the Manual: Consult your vehicle owner’s manual for model-specific nuances. As noted in general technical documentation regarding radio frequency transmission, interference from nearby devices can disrupt pairing, so patience is key.
Step-by-Step: How to Program HomeLink to Your Garage Door
This is the most common scenario for US drivers. Follow these precise steps for rolling-code openers (most units manufactured after 1996).
Step 1: Clear Previous Codes (If Necessary)
If you bought a used car or previously programmed a different door, clear the memory first. Press and hold the two outer HomeLink buttons simultaneously for 10–20 seconds until the indicator light flashes rapidly. Release immediately. Do not skip this step if unsure.
Step 2: Enter Training Mode
Sit in the driver’s seat with the ignition in the “ON” or “ACC” position (engine running is recommended to prevent battery drain). Hold your original handheld remote 1–3 inches away from the HomeLink buttons. Simultaneously press and hold the desired HomeLink button and your handheld remote button. Watch the HomeLink indicator light. It will flash slowly at first, then rapidly. Once rapid flashing occurs, release both buttons. This confirms the car has learned the signal.
Step 3: Sync with the Garage Door Motor
This step bridges the car and the opener. Get out of the car and go to the garage door motor unit. Press and release the “Learn” button on the motor. You typically have 30 seconds to complete the next action. Return to your vehicle and firmly press and hold the newly programmed HomeLink button for 2 seconds, then release. Repeat this press-hold-release cycle up to three times. The garage door lights should flash or the door should move, confirming successful synchronization.
Step 4: Test the System
Press the HomeLink button once. The door should activate smoothly. If it does not, repeat Step 3, ensuring you are within the 30-second window after pressing the Learn button.
Troubleshooting: What If It Doesn’t Work?
Even professionals encounter hiccups. Here are data-backed solutions for common failures:
- Light Flashes But Door Won’t Move: The car learned the signal, but the motor didn’t accept it. Replace the battery in your handheld remote and repeat Step 3. Ensure you are pressing the Learn button firmly.
- No Light Response During Training: Your handheld remote may be incompatible or dead. Test the handheld remote independently first. If it works alone but not during training, try holding the remote at different angles or distances (1 inch vs. 3 inches).
- Works Intermittently: This often indicates radio frequency interference. LED bulbs in garage fixtures can emit RF noise that blocks signals. Try turning off garage lights temporarily to test. If it works with lights off, replace LEDs with RF-shielded garage-specific bulbs.
- Older Fixed-Code Openers: If your opener lacks a Learn button and uses DIP switches, you must manually match the switch positions inside the car’s remote (if accessible) to the motor unit. These systems are less secure; consider upgrading to a rolling-code opener for safety.
Expert Tips for Long-Term Reliability
- Reprogram After Power Outages: Surge events can corrupt memory. Keep your handheld remote as a backup master key.
- Update Firmware: Some newer smart openers receive OTA updates that change protocols. Check manufacturer apps quarterly.
- Avoid Extreme Temperatures During Programming: Lithium batteries in remotes perform poorly below 32°F (0°C). Program in moderate conditions for best results.
- Label Your Buttons: Use a small sticker or mental note to designate which HomeLink button controls which device to avoid accidental activation.
Frequently Asked Questions (FAQ)
Can I program my car remote without the original handheld transmitter?
Generally, no. The handheld remote acts as the authentication token to transfer the encrypted code to your vehicle. However, some newer smart openers allow direct pairing via smartphone apps or QR codes on the motor unit. Check your opener’s manual for “direct vehicle pairing” options. Without the original remote or app access, you may need to purchase a compatible replacement transmitter first.
Why does my HomeLink work for my neighbor’s door but not mine?
This is almost always a frequency or protocol mismatch. Garage door openers operate on specific frequencies (315 MHz, 390 MHz, etc.) and security protocols. Your car may have successfully captured a signal on a shared frequency, but your specific opener requires a different handshake. Verify your opener’s frequency matches your vehicle’s HomeLink generation. Vehicles pre-2015 may not support newer Security+ 2.0 protocols without an adapter.
How many devices can I program to my car’s visor remote?
Most HomeLink systems support three distinct devices. This typically includes your primary garage door, a secondary garage or gate, and perhaps outdoor lighting or a smart plug. Car2U systems also support three channels. Exceeding this limit requires clearing existing codes. Always prioritize your primary entry point for the most accessible button position.
Is it safe to program my garage door remote myself, or should I hire a pro?
DIY programming is completely safe and intended by manufacturers. No electrical wiring is involved during the pairing process. However, if you need to replace the motor unit, install new safety sensors, or modify wiring, hire a certified technician. The Consumer Product Safety Commission mandates professional installation for structural or electrical modifications to prevent entrapment hazards. For simple syncing, follow this guide confidently.
My car has HomeLink but my garage opener is 25 years old. Will it work?
Possibly, but with caveats. Older fixed-code openers lack rolling-code security and may require a compatibility bridge or repeater kit sold by HomeLink. These kits translate modern car signals to legacy frequencies. While functional, we strongly recommend upgrading to a modern rolling-code opener. Older units lack auto-reverse safety features required since 1993, posing significant risk. The investment in a new opener pays dividends in safety and reliability.
Conclusion
Mastering how to program a garage door remote to your car transforms daily convenience and enhances home security. By understanding your system type, following precise safety protocols, and methodically executing the training sequence, you can achieve reliable operation without professional service calls. Remember to troubleshoot systematically—most issues stem from weak batteries, timing errors, or RF interference rather than hardware failure.
Your time is valuable, and a properly synced remote saves minutes every single day while keeping you safe from weather and potential security risks. Found this guide helpful? Share it with friends, family, or neighbors who might be struggling with their own garage door syncing woes on Facebook, X (Twitter), or Nextdoor. A quick share could save someone a rainy evening of frustration. Happy programming, and welcome home!
Leave a Reply