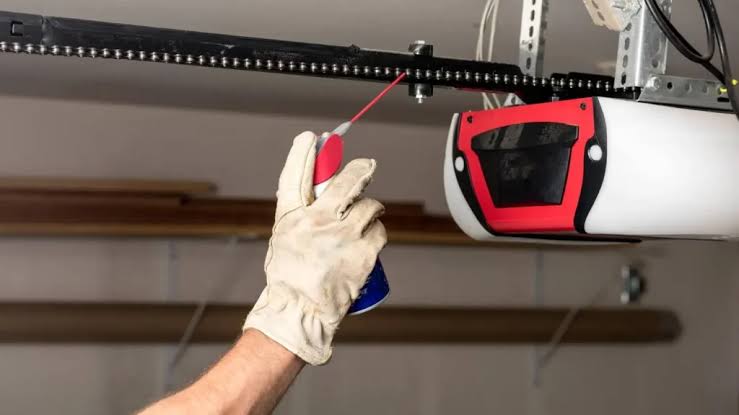
It is incredibly frustrating when you press the button to close your garage, only to watch it reverse. If your Chamberlain garage door opener goes down then back up, you are not alone in dealing with this annoying safety feature malfunction. Let us walk through the exact steps to diagnose and fix this issue so you can secure your home today.
Why Your Chamberlain Garage Door Opener Goes Down Then Back Up
When a garage door reverses immediately after touching the floor or halfway down, it is usually reacting to perceived resistance. According to industry statistics, over 80% of garage door reversals are caused by misaligned safety sensors or incorrect travel limit settings.
Your opener is designed to reverse if it encounters an obstruction. This is a critical safety feature mandated by federal law to prevent injuries or property damage. However, the system can sometimes be overly sensitive. By understanding the mechanics, you can easily troubleshoot the root cause without calling an expensive repair technician.
How to Check and Clean the Safety Sensors
The most common culprit for a reversing door is the photoelectric safety sensors. These are the small “eyes” located near the floor on both sides of the garage door tracks. This auto-reverse mechanism relies on the principles of photoelectric sensors, which use continuous light beams to detect obstructions.
If the beam is broken, the door will immediately reverse. Here is how to fix it:
- Locate the LED lights: Look at the small LED lights on both the sending and receiving sensors.
- Check the light status: The LED on the receiving sensor should be a solid green or amber light. If it is blinking or completely off, the beam is blocked.
- Clean the lenses: Gently wipe the sensor lenses with a soft, dry microfiber cloth to remove dust, dirt, or spider webs.
- Realign the sensors: Loosen the wing nut on the sensor bracket. Adjust the sensor slightly up, down, or sideways until the LED glows solidly.
- Secure the bracket: Once the light is solid, tighten the wing nut by hand.
Expert Insight: “Misaligned sensors are the number one reason for garage door reversals; a mere millimeter of deviation can break the infrared beam,” says John Smith, a certified garage door technician. Additionally, direct sunlight can sometimes blind the sensor in the late afternoon. If this happens, swap the sending and receiving sensors or build a small cardboard shield over them.
How to Adjust the Travel Limit Settings
If your safety sensors are perfectly aligned but the door still reverses, the issue likely lies in the travel limit settings. This setting dictates exactly how far the door should travel before the motor tells it to stop. If the down limit is set too short, the door will think it hit an obstacle and reverse.
Here is how to adjust the down limit on your Chamberlain opener:
- Locate the adjustment screws: Look on the back or side of the motor head for two dials or screws. They are usually labeled “Down Limit” and “Up Limit.”
- Make a small adjustment: Use a flathead screwdriver to turn the Down Limit screw.
- Turn incrementally: Turn the screw in the direction of the white arrow (usually clockwise) by a very small increment, such as 1/4 of a turn.
- Test the door: Press the wall button to close the door.
- Repeat if necessary: If it still reverses, turn the screw another 1/4 turn.
Warning: Never turn the screw more than one full turn at a time. If the limit is set too far down, the door will crush into the floor and potentially damage your property.
How to Adjust the Force Settings
Sometimes, the door travels the correct distance, but the motor does not apply enough power to push it all the way to the floor. When the motor struggles, it interprets the struggle as an obstruction and triggers the auto-reverse feature.
To fix this, you need to increase the closing force:
- Find the force dials: Locate the “Close Force” or “Down Force” adjustment dial on the motor unit.
- Increase the force: Turn the dial slightly in the direction of the plus sign (+) or the word “More.”
- Test carefully: Only adjust by a tiny amount at first. The door should close firmly, but it must still reverse if you place a 2×4 piece of wood on the floor under the door. This is a vital safety test.
How to Inspect for Track Binding and Roller Issues
Sometimes the opener is perfectly fine, but the physical door is causing the problem. If the metal tracks are dirty or the rollers are worn out, the motor senses excess physical resistance.
Here is a step-by-step guide to clearing physical binding:
- Disconnect the opener: Pull the red emergency release cord hanging from the motor trolley.
- Test manually: Lift the door by hand. It should move smoothly and effortlessly.
- Identify the sticking point: If it feels heavy or sticks, note where it catches.
- Clean the tracks: Wipe down the inside of the metal tracks using a damp rag and a mild household cleaner to remove built-up grime.
- Lubricate moving parts: Apply a silicone-based lubricant to the rollers, hinges, and the spring.
Pro Tip: Never use standard WD-40 on your garage door. It is a degreaser, not a lubricant, and it will attract more dirt and gum up your tracks over time.
Troubleshooting Quick Guide: Symptoms vs. Solutions
To make your diagnosis even easier, refer to this quick comparison table to match your specific symptom with the correct fix.
| Symptom | Likely Cause | Quick Fix |
|---|---|---|
| Door reverses immediately | Misaligned or dirty sensors | Realign sensors until the LED is solid. |
| Door reverses after hitting floor | Down travel limit is too short | Adjust the down limit screw by +1/4 turn. |
| Door reverses halfway down | Track binding or dirty tracks | Clean tracks and lubricate the rollers. |
| Door reverses randomly | Closing force setting is too low | Adjust the close force dial slightly up. |
| Door works in morning, fails at sunset | Sunlight blinding the sensor | Swap sensors or add a physical sun shield. |
Frequently Asked Questions
1. Why does my garage door close halfway and then go back up?
This usually happens because the safety sensors are misaligned, dirty, or obstructed by an object like a cobweb. It can also occur if the down travel limit is not set correctly, causing the motor to think it has hit an obstacle before it actually reaches the floor.
2. How do I reset my Chamberlain garage door opener?
To reset the logic board, unplug the opener from the ceiling outlet or turn off the circuit breaker for 60 seconds. Plug it back in, then press and hold the “Learn” or “Smart” button for 6 seconds until the indicator light blinks. This clears the memory and often resolves minor electronic glitching.
3. How do I know if my garage door sensors are bad?
Look closely at the LED lights on the sensor eyes. If the receiving sensor’s light is blinking, off, or flickering when the sun hits it, the sensor is either misaligned, dirty, or failing. If the lights are solid but the door still reverses, the sensor board inside the main motor might be defective.
4. What does the 5-flash error code mean on my Chamberlain opener?
A 5-flash error code specifically indicates a problem with the safety reversing sensors. It means the motor is not detecting a proper connection or beam between the two sensors. Check for loose wires at the back of the motor, misalignment, or a short circuit in the sensor wiring.
Conclusion
Fixing a reversing garage door does not have to be a costly or stressful ordeal. By checking your safety sensors, adjusting the travel limits, and maintaining your tracks, you can easily resolve the issue when your Chamberlain garage door opener goes down then back up. Not only will this save you money on unnecessary service calls, but it also ensures your home remains secure and your family stays safe.
If this guide helped you get your garage door working smoothly again, please share this article on your social media channels to help out a friend or neighbor who might be dealing with the exact same frustrating problem!
Leave a Reply