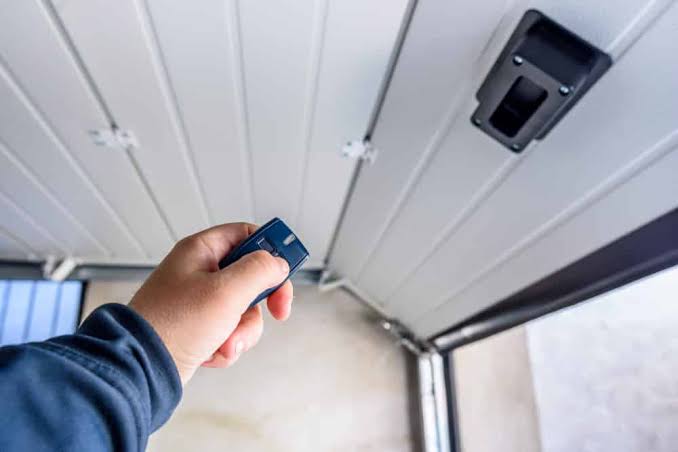
It is incredibly frustrating when you are ready to head to bed, but you find yourself wondering what to do if garage door won’t close. Don’t worry, as this common issue is usually a quick fix that you can handle yourself without calling an expensive technician.
What To Do If Garage Door Won’t Close: Check the Sensors First
The most common culprit for a stubborn garage door is misaligned safety sensors. These small units are located near the floor on both sides of the door track.
They shoot an invisible beam of light to each other. If the beam is broken, the door will refuse to close to prevent accidents. Modern garage doors utilize this safety reversal system. According to Wikipedia’s guide on garage doors, these photoelectric sensors have been mandated by law in the United States since 1993 to prevent entrapment.
Here is how to fix them:
- Check the LED lights: Look at the sensor eyes. One should have a green light, and the other a red or amber light. If the sending sensor’s light is blinking or off, they are misaligned.
- Clean the lenses: Use a clean microfiber cloth to gently wipe away dust, spider webs, or dirt.
- Realign the brackets: Loosen the wing nut on the misaligned sensor. Gently adjust the eye until the receiving sensor’s LED light turns solid. Tighten the wing nut by hand.
How to Realign the Tracks: A Step-by-Step Guide
If your sensors are perfectly aligned but the door still won’t close, the metal tracks might be bent or misaligned. When the tracks are out of alignment, the rollers bind up, causing the motor to reverse the door automatically.
Follow these concrete steps to realign the tracks:
- Inspect the gap: Look at the space between the metal rollers and the vertical track. The gap should be exactly 1/8 inch on both sides.
- Loosen the bolts: Use a 3/8-inch socket wrench to slightly loosen the mounting bolts that hold the track to the frame. Do not remove them completely.
- Tap the track: Use a rubber mallet to gently tap the steel track into the correct position.
- Check with a level: Place a carpenter’s level against the track to ensure it is perfectly plumb (vertical).
- Tighten securely: Once the gap is exactly 1/8 inch and the track is plumb, tighten the mounting bolts firmly.
Adjusting the Travel Limits on Your Opener
Sometimes, the door closes perfectly but reverses right before it hits the floor. This usually means the “down limit” setting on your motor is not adjusted correctly. The motor thinks it has hit an obstacle when it actually hasn’t.
To adjust the travel limits:
- Locate the limit adjustment screws on the back or side of the motor unit. They are usually labeled “Up” and “Down”.
- Turn the ‘Down’ limit screw exactly 1/4 turn clockwise using a flathead screwdriver.
- Test the door by pressing the close button.
- If it still reverses, repeat the process in 1/4 turn increments until the door seals properly against the floor rubber. Never turn the screw more than 1/4 turn at a time to avoid damaging the motor.
The Impact of Weather Stripping and Temperature
Environmental factors play a massive role in garage door functionality. According to the International Door Association (IDA), nearly 30% of winter service calls are related to frozen weather seals or extreme temperature shifts affecting the door’s balance.
If the bottom rubber seal is frozen to the concrete, the door will immediately reverse when it tries to close.
- Clear the area: Ensure there is no ice, snow, or debris blocking the door’s path.
- Inspect the weather seal: Check the bottom rubber gasket. If it is cracked, brittle, or torn, it can catch on the concrete.
- Replace if necessary: Slide the old seal out of the retainer channel and push a new high-density rubber seal into place.
DIY Fixes vs. Calling a Professional
Not every issue requires a professional, but knowing your limits is crucial for safety. Here is a quick comparison to help you decide.
| Approach | Pros | Cons |
|---|---|---|
| DIY Repair | Saves money ($0–$20), immediate results, builds home maintenance skills. | Requires personal time, potential safety risk if heavy parts are mishandled. |
| Professional | Expert diagnosis, warranty on parts, safe execution of dangerous tasks. | Higher upfront cost ($150–$300), requires scheduling and waiting for arrival. |
When to Call a Professional for Garage Door Repair
While sensor alignment and track adjustments are safe for beginners, some parts of the garage door system are highly dangerous.
Specifically, torsion springs are under extreme tension—often holding up to 300 pounds of force. If a spring is broken, the door will feel incredibly heavy when you try to lift it manually, and it will not stay open.
Never attempt to stretch, adjust, or replace torsion springs yourself. A slipping wrench can cause the spring to uncoil violently, leading to severe injury or property damage. If you suspect a broken spring, this is the time to call a certified garage door repair technician.
Frequently Asked Questions
1. Why does my garage door close then immediately open?
This is almost always caused by the safety reversal system being triggered. The most common reasons are dirty or misaligned photoelectric sensors, an object blocking the door’s path, or the down-limit switch needing adjustment. Check your sensor lights first to diagnose the issue.
2. Can I force my garage door to close?
You should never physically force a modern garage door to close. If it is reversing, it means the safety sensors have detected an obstruction. Forcing it can damage the motor, bend the tracks, or cause the door to crush an object or person. Always diagnose the underlying issue first.
3. How do I reset my garage door opener?
To reset the logic board on most openers, locate the “Learn” or “Smart” button on the motor unit. Press and hold this button for about 6 to 10 seconds until the indicator light blinks or turns off. This clears the memory. You will then need to reprogram your remote controls and keypads.
4. How much does it cost to fix a garage door that won’t close?
If the issue is minor, like sensor alignment or limit adjustments, the cost is $0 if you do it yourself. If you hire a professional for a service call and minor adjustment, expect to pay between $100 and $150. However, if a sensor needs replacing, parts usually cost around $25 to $50.
Conclusion
Dealing with a stubborn garage door doesn’t have to ruin your day. By systematically checking the safety sensors, realigning the tracks, and adjusting the limit switches, you can easily solve most closing issues yourself. Always remember to prioritize safety, especially when dealing with heavy mechanical parts or high-tension springs.
If you found this guide helpful and managed to get your door working again, please share this article on your social media to help a friend who might be stuck in the cold!
Leave a Reply