Introduction
There’s nothing more frustrating than pressing your garage door remote and hearing… nothing. Whether you’re rushing to work in the morning or coming home after a long day, a malfunctioning garage door can throw off your entire schedule. If you’re wondering what to do if garage door opener stops working, you’re not alone — millions of homeowners face this exact problem every year. The good news? Most issues can be diagnosed and even fixed without calling a professional. In this comprehensive guide, we’ll walk you through every possible cause and solution so you can get your garage door back on track quickly and safely.
Understanding How Your Garage Door Opener Works
Before diving into fixes, it helps to understand the basic components involved. A typical garage door opener system includes:
- Motor unit – mounted on the ceiling, powers the opening/closing mechanism
- Remote control / Wall switch – sends signals to the motor
- Safety sensors (photo eyes) – located near the floor on both sides of the door
- Drive mechanism – chain, belt, or screw that moves the door
- Springs and cables – counterbalance the weight of the door
When any one of these components fails, the entire system can stop functioning. Let’s break down the most common culprits and exactly how to address each one.
Step 1: Check the Power Source First
The simplest explanation is often the right one. Before assuming something is broken, verify that your opener is actually receiving power.
What to check:
- Is the unit plugged in? It sounds obvious, but vibrations from normal operation can loosen the plug over time. Make sure the power cord is firmly seated in the outlet.
- Check your circuit breaker. Go to your electrical panel and look for a tripped breaker labeled “garage” or “garage door.” If it’s flipped to the middle or OFF position, reset it by switching it fully OFF and then back ON.
- Test the outlet. Plug a lamp or phone charger into the same outlet to confirm it’s delivering electricity. If the outlet is dead, you may have a wiring issue that requires an electrician.
💡 Pro Tip: According to the International Door Association, regular maintenance checks — including verifying power connections — can prevent up to 70% of unexpected opener failures.
Step 2: Inspect the Remote Control and Batteries
If the wall switch works but your remote doesn’t, the problem likely lies with the remote itself.
Quick diagnostic steps:
- Replace the batteries. Most remotes use a CR2032 coin battery. Swap in a fresh one and test again.
- Reprogram the remote. Sometimes the signal pairing gets lost. Consult your owner’s manual for reprogramming instructions — it usually involves pressing a “Learn” button on the motor unit and then pressing the remote button within 30 seconds.
- Check the range. Stand within 15–20 feet of the garage and try again. Interference from LED bulbs, Wi-Fi routers, or neighboring openers can reduce signal strength.
| Issue | Likely Cause | Fix |
|---|---|---|
| Remote works up close but not far away | Weak battery or signal interference | Replace battery; relocate interfering devices |
| Remote doesn’t work at all | Dead battery or lost programming | New battery + reprogram |
| Wall switch works, remote doesn’t | Remote-specific issue | Reprogram or replace remote |
| Nothing works | Power or motor failure | Check breaker and motor unit |
Step 3: Examine the Safety Sensors
Modern garage door openers manufactured after 1993 are required by federal law to include photoelectric safety sensors. These small devices sit about 6 inches above the ground on either side of the door and create an invisible beam. If anything breaks that beam, the door will refuse to close — and sometimes won’t operate at all.
How to troubleshoot sensor issues:
- Look at the indicator lights. Each sensor has a small LED. One should glow steady green (or amber), and the other should glow steady red (or green, depending on brand). If either light is blinking or off, there’s a problem.
- Clean the lenses. Dust, spider webs, and dirt can block the infrared beam. Wipe each lens gently with a soft, dry cloth.
- Check alignment. The sensors must point directly at each other. Even a slight bump can knock them out of alignment. Loosen the wing nut, adjust the sensor until both LEDs glow steadily, then tighten.
- Inspect the wiring. Look for frayed, chewed (by rodents), or disconnected wires running from the sensors to the motor unit.
Safety sensors are your first line of defense against injury — never bypass or disable them.
Step 4: Listen to the Motor Unit
When you press the button, pay close attention to what happens at the motor unit mounted on your ceiling.
Scenario A: You hear a humming sound, but the door doesn’t move.
This usually means the motor is trying to work but something is physically blocking it. Possible causes include:
- Locked or disconnected trolley. The trolley connects the drive mechanism to the door arm. If it’s disengaged (often via a red emergency release cord), the motor spins but the door stays still. Pull the release cord toward the door to re-engage it.
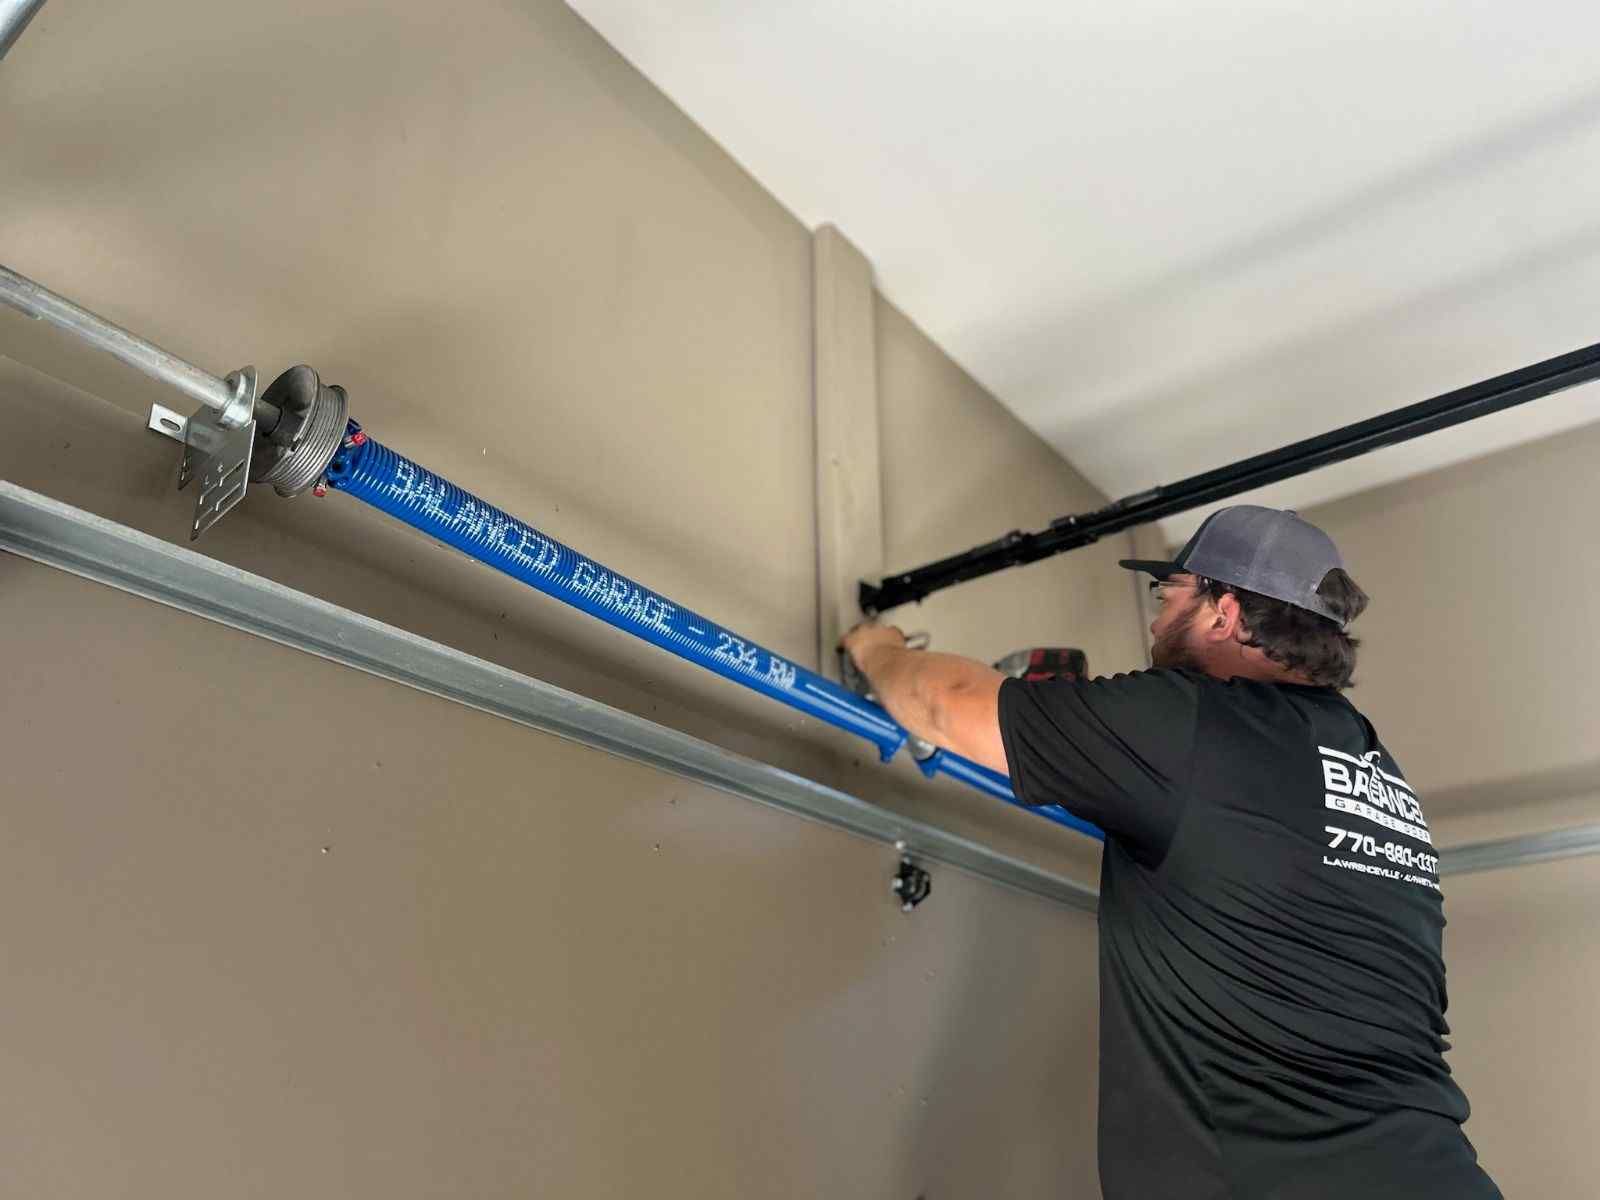
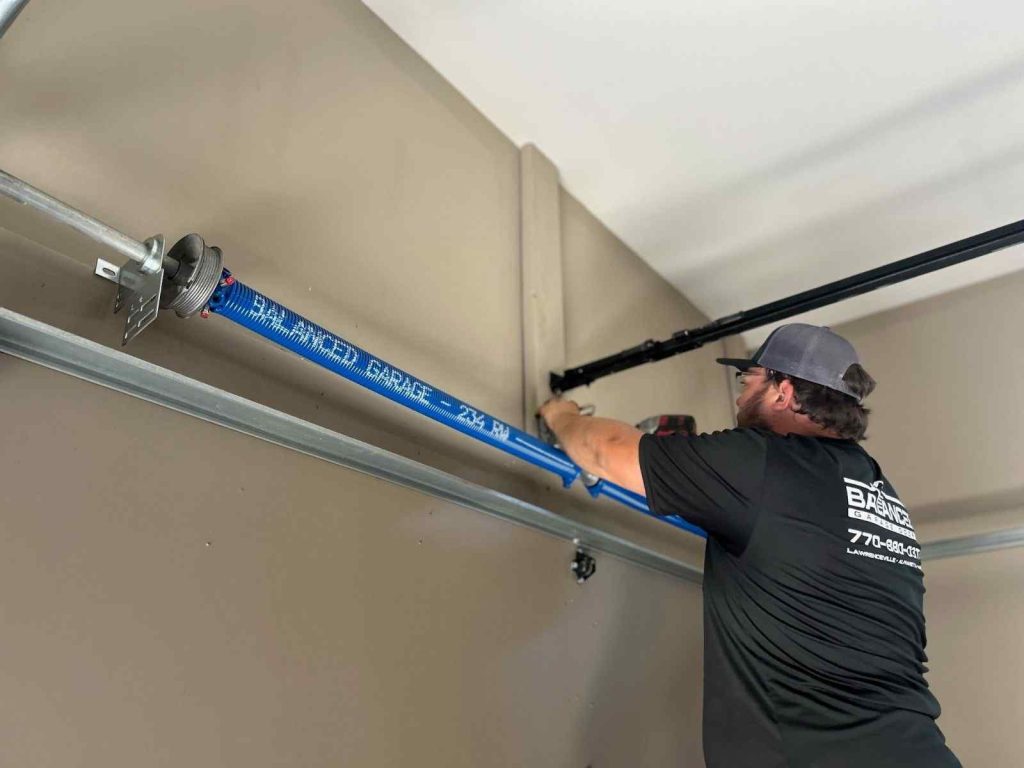
- Broken spring. Torsion springs bear the entire weight of the door. If one snaps, the motor cannot lift the door alone. Do not attempt to replace torsion springs yourself — they store extreme tension and can cause serious injury. Call a licensed technician.
- Stripped gears. Over years of use, the plastic gears inside the motor housing can wear down. If you hear grinding or see plastic shavings near the unit, gear replacement is needed.
Scenario B: Complete silence — no sound at all.
- Revisit Step 1 (power source).
- Check if the motor unit has an internal fuse. Some models include a small automotive-style fuse that can blow during power surges.
- If the unit is over 15 years old, the logic board may have failed. Replacement units typically cost between $150–$400 installed.
Step 5: Inspect the Door Itself
Sometimes the opener is perfectly fine, but the garage door is the real problem.
Things to check manually:
- Disconnect the opener using the red emergency release cord.
- Try lifting the door by hand. It should move smoothly with moderate effort. If it feels extremely heavy or sticks, the issue is mechanical — not electrical.
- Examine the tracks. Look for dents, debris, or misalignment. Clean the tracks with a damp cloth and apply a silicone-based lubricant (never grease or WD-40).
- Check rollers and hinges. Worn nylon rollers or rusted hinges create friction that overwhelms the opener motor. Replace damaged rollers — they typically cost $10–$25 per set and can be swapped in under an hour.
Step 6: Reset the Garage Door Opener
A full system reset can resolve glitches caused by power surges or software errors.
How to perform a factory reset:
- Unplug the opener from the power outlet.
- Wait at least 60 seconds to allow residual charge to dissipate.
- Plug it back in.
- Reprogram all remotes and keypads using the “Learn” button on the motor unit.
- Test the door’s travel limits and force settings according to your manual.
Note: After a reset, you’ll need to re-sync every remote and keypad — keep your manuals handy.
When to Call a Professional
While many issues are DIY-friendly, some situations demand expert help:
- ⚠️ Broken torsion or extension springs — extremely dangerous to handle without proper tools and training
- ⚠️ Frayed or snapped cables — under high tension and can snap violently
- ⚠️ Bent tracks — require specialized equipment to straighten or replace
- ⚠️ Repeated motor failures — may indicate an underlying electrical problem
- ⚠️ Door falls rapidly when closing — indicates a critical balance issue
The average cost for a professional garage door repair ranges from $150 to $350, while a full opener replacement averages $300 to $600 including installation. Investing in professional help for complex issues protects both your safety and your wallet in the long run.
Preventive Maintenance Checklist
Avoid future breakdowns by following this simple maintenance schedule:
- Monthly: Test the auto-reverse feature by placing a 2×4 board on the floor under the door. The door should reverse immediately upon contact.
- Quarterly: Lubricate rollers, hinges, and springs with silicone spray. Tighten all bolts and brackets.
- Biannually: Inspect cables for fraying. Clean sensor lenses. Test battery backup (if equipped).
- Annually: Schedule a professional inspection, especially if your system is over 10 years old.
Frequently Asked Questions (FAQ)
Q1: Why does my garage door opener click but not open the door?
A clicking sound usually means the relay inside the motor unit is engaging, but the drive mechanism isn’t turning. This is commonly caused by stripped internal gears, a disengaged trolley, or a broken spring. Start by checking the emergency release cord and inspecting the gear assembly.
Q2: Can a power outage damage my garage door opener?
Yes. Power surges that occur when electricity is restored can fry the logic board or capacitor inside the opener. Using a surge protector rated for garage door openers (minimum 900 joules) is highly recommended to protect your investment.
Q3: How long does a garage door opener typically last?
Most residential garage door openers last between 10 and 15 years with proper maintenance. Belt-drive models tend to last longer than chain-drive models due to reduced vibration and wear. If your opener is approaching this age and experiencing frequent issues, replacement may be more cost-effective than repeated repairs.
Q4: Why does my garage door only open halfway?
This is often a travel limit setting issue. The opener has adjustable “up” and “down” limit screws that tell the motor how far to move. If these are set incorrectly — or if something is obstructing the door’s path — it will stop prematurely. Consult your manual to recalibrate the travel limits.
Q5: Is it safe to manually open my garage door if the opener fails?
Yes, as long as you use the emergency release cord (usually red) to disconnect the door from the opener first. Lift the door slowly and evenly. Be cautious — if the springs are broken, the door will be extremely heavy and could fall suddenly. If you feel excessive resistance, stop and call a professional.
Q6: How much does it cost to replace a garage door opener motor?
A new garage door opener, including professional installation, typically costs between $300 and $600. Higher-end models with Wi-Fi connectivity, battery backup, and ultra-quiet belt drives can cost up to $800. DIY installation can save $100–$200 but requires comfort with electrical wiring and ceiling mounting.
Conclusion
Knowing what to do if garage door opener stops working empowers you to handle most common problems quickly, safely, and affordably. From checking the power source and replacing remote batteries to realigning safety sensors and resetting the system, the majority of issues can be resolved in under 30 minutes with basic tools and a little patience.
Remember: regular preventive maintenance is always cheaper than emergency repairs. Set a reminder on your phone to run through the maintenance checklist above every few months, and you’ll dramatically reduce the chances of being caught off guard.
Found this guide helpful? Share it on Facebook, Twitter/X, or Pinterest to help a friend who might be stuck outside their garage right now! 🏠🔧 Bookmark this page for future reference — because when it comes to garage doors, being prepared makes all the difference.
Leave a Reply