There is nothing more frustrating than finishing a long day, pressing your remote, and watching the door reverse right before it hits the floor. If you are thinking, “My garage door goes down and then back up,” you are not alone in this frustrating experience. This common issue is usually caused by misaligned sensors or incorrect force settings, and the good news is that you can often fix it yourself in just a few minutes.
Reasons Why “My Garage Door Goes Down And Then Back Up”
Before we grab our tools, it helps to understand why this happens. Modern garage doors are designed with safety as the top priority.
According to federal regulations established in 1993, all automatic residential garage door openers must feature an auto-reverse mechanism. You can read more about the historical development and safety standards of these systems on Wikipedia’s comprehensive guide to garage doors.
When the door encounters resistance—or thinks it encounters resistance—it immediately reverses to prevent injury or property damage. According to the International Door Association (IDA), over 70% of garage door service calls are related to these safety sensors and travel limits.
Here are the most common culprits:
- Misaligned safety sensors: The infrared beam is blocked.
- Dirty sensor lenses: Dust or spiderwebs interrupt the signal.
- Incorrect travel limits: The motor doesn’t know where the floor is.
- Excessive track friction: Dirt or bent tracks make the door work too hard.
DIY Fixes vs. Professional Repair
Before diving into the steps, let’s look at your options.
| Approach | Pros | Cons |
|---|---|---|
| DIY Fix | Saves money ($0–$20), quick, and empowering. | Risk of injury if you touch the high-tension springs. |
| Professional Repair | Guaranteed fix, completely safe, includes a warranty. | Costs $100–$250 for a standard service call. |
Note: Never attempt to repair or adjust the torsion springs yourself. They are under extreme tension and can cause severe injury.
How to Check and Align the Safety Sensors
The photo-eye sensors are the most common reason your door reverses. These small black units are located on both sides of the door track, about 6 inches above the ground.
Here is a step-by-step tutorial to fix them:
- Locate the LED lights: Look at the back of each sensor. One should have a solid green light (the sender), and the other should have a solid red or amber light (the receiver).
- Identify the problem: If the receiving sensor’s light is blinking or completely off, the beam is broken.
- Clean the lenses: Take a clean microfiber cloth and gently wipe the small glass lenses. Remove any spiderwebs, dirt, or condensation.
- Check the alignment: Look closely at the sensor “eyes.” They must be pointing directly at each other.
- Adjust the brackets: Loosen the wingnut on the misaligned sensor bracket just enough to move it. Gently nudge the sensor until the blinking light turns solid.
- Tighten and test: Tighten the wingnut securely with your fingers. Ensure the bracket didn’t shift while tightening. Press your wall button to test the door.
Adjusting the Travel Limits and Force Settings
If your sensors are perfectly aligned but the door still reverses, the issue likely lies with the motor’s limit settings. The motor needs to know exactly how far to close before stopping.
Step 1: Locate the adjustment screws Climb a sturdy step ladder and look at the back or side of the motor head unit. You will see several screws or dials labeled “Up,” “Down,” “Force,” and “Travel.”
Step 2: Adjust the Down Limit Find the screw labeled “Down Limit” or “Down Travel.” Using a flathead screwdriver, turn this screw clockwise by exactly 1/4 turn. This tells the motor to travel slightly further down before stopping.
Step 3: Test the door Hold the wall button (this overrides the sensors for testing) and close the door. If it still reverses, turn the screw another 1/4 turn clockwise.
Step 4: Adjust the Down Force (If necessary) If adjusting the limit doesn’t work, the door might be encountering slight resistance. Locate the “Down Force” dial. Turn it clockwise by a tiny increment (about 5% to 10%).
Safety Warning: Do not increase the down force too much. If the force is set too high, the door will not reverse if it hits a real obstruction, creating a major safety hazard.
Cleaning and Inspecting the Tracks and Rollers
Sometimes, the door isn’t actually hitting anything, but friction makes the motor think there is an obstruction.
- Inspect the tracks: Use a standard bubble level to ensure the vertical and horizontal tracks are perfectly plumb and level. If you see a dent, it may need to be gently tapped back into shape with a rubber mallet.
- Clean the tracks: Wipe the inside of the metal tracks with a damp rag to remove built-up grime and old grease.
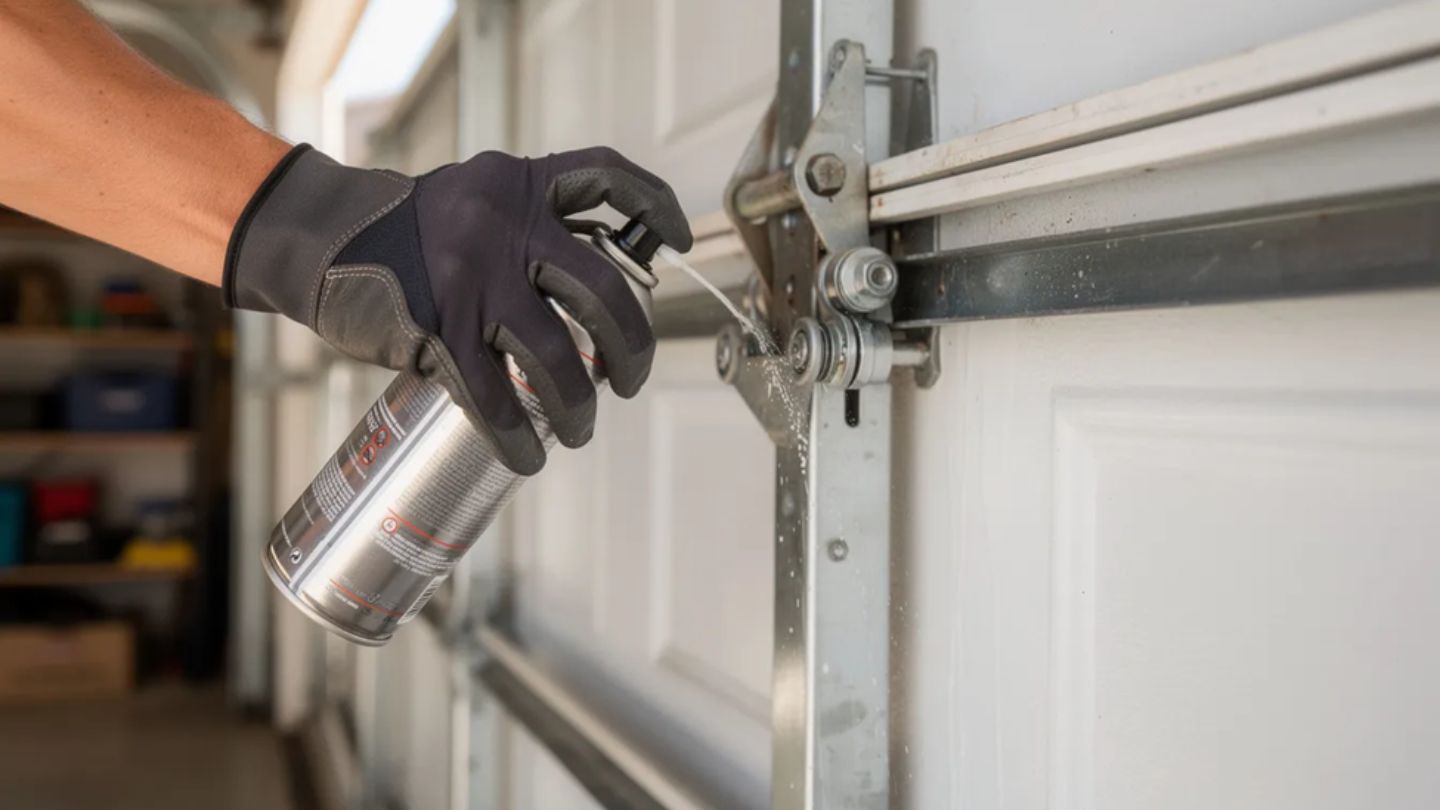
- Lubricate the rollers: Spray the metal roller stems and the hinges with a white lithium grease or a silicone-based garage door lubricant. Never use standard WD-40, as it attracts dust and dries out the moving parts.
Frequently Asked Questions
Why does my garage door close halfway and then go back up?
This is almost always caused by an interrupted safety sensor beam. Check for misaligned photo-eye sensors, dirty lenses, or direct sunlight shining into the sensor receiver, which can blind the infrared beam.
How do I know if my garage door sensors are bad?
If the outside LED light on the receiving sensor is blinking or completely dark when you try to close the door, the sensor is either blocked, dirty, misaligned, or has a broken internal wire.
Can extreme weather affect my garage door’s ability to close?
Yes, absolutely. Direct, bright sunlight can interfere with the infrared sensor beam, causing false reversals. Additionally, extreme cold weather can stiffen the rubber rollers and lubricants, increasing physical resistance and triggering the auto-reverse mechanism.
How much does it cost to fix a reversing garage door?
If you perform the DIY fixes mentioned above, it will cost you nothing. However, if you hire a professional technician to diagnose and adjust the sensors, limits, or tracks, expect to pay between $100 and $200 for a standard service call.
Conclusion
Dealing with a reversing garage door is incredibly annoying, but it is rarely a catastrophic failure. By systematically checking your safety sensors, adjusting the travel limits, and lubricating the tracks, you can restore smooth operation to your door in under an hour. Not only will this save you the cost of a service call, but it will also ensure your home’s primary entry point is safe and secure.
Leave a Reply