Have you ever stood in your driveway, pressing the remote control frantically, only to watch your garage door remain stubbornly closed? It is a frustrating scenario that leaves many homeowners wondering about the inner workings of their system. Specifically, the question “Is there a reset button on a garage door opener?” is one of the most common searches for those facing connectivity or operational issues. The short answer is: it depends on your model, but usually, there is no single magic button labeled “Reset.” Instead, the process involves a specific sequence of steps to clear the opener’s memory and reprogram it.
In this guide, we will demystify the resetting process. We will explore how different brands handle resets, provide step-by-step instructions, and help you determine when a simple reset will fix the problem versus when you might need professional assistance.
Understanding the “Reset” Concept
Before diving into buttons and sequences, it is crucial to understand what “resetting” actually means in the context of garage door openers. Unlike a computer or a smartphone, most garage door openers do not have a dedicated factory reset switch that wipes all data instantly.
Instead, resetting typically refers to clearing the stored codes from the opener’s memory. This action removes all previously paired remotes, keypads, and smart home integrations. Once cleared, you must reprogram every device from scratch. This is often necessary if:
- You have lost a remote and want to ensure it cannot be used to enter your home.
- You are experiencing interference from neighbors’ openers.
- The opener is behaving erratically or failing to respond to commands.
The Role of the “Learn” Button
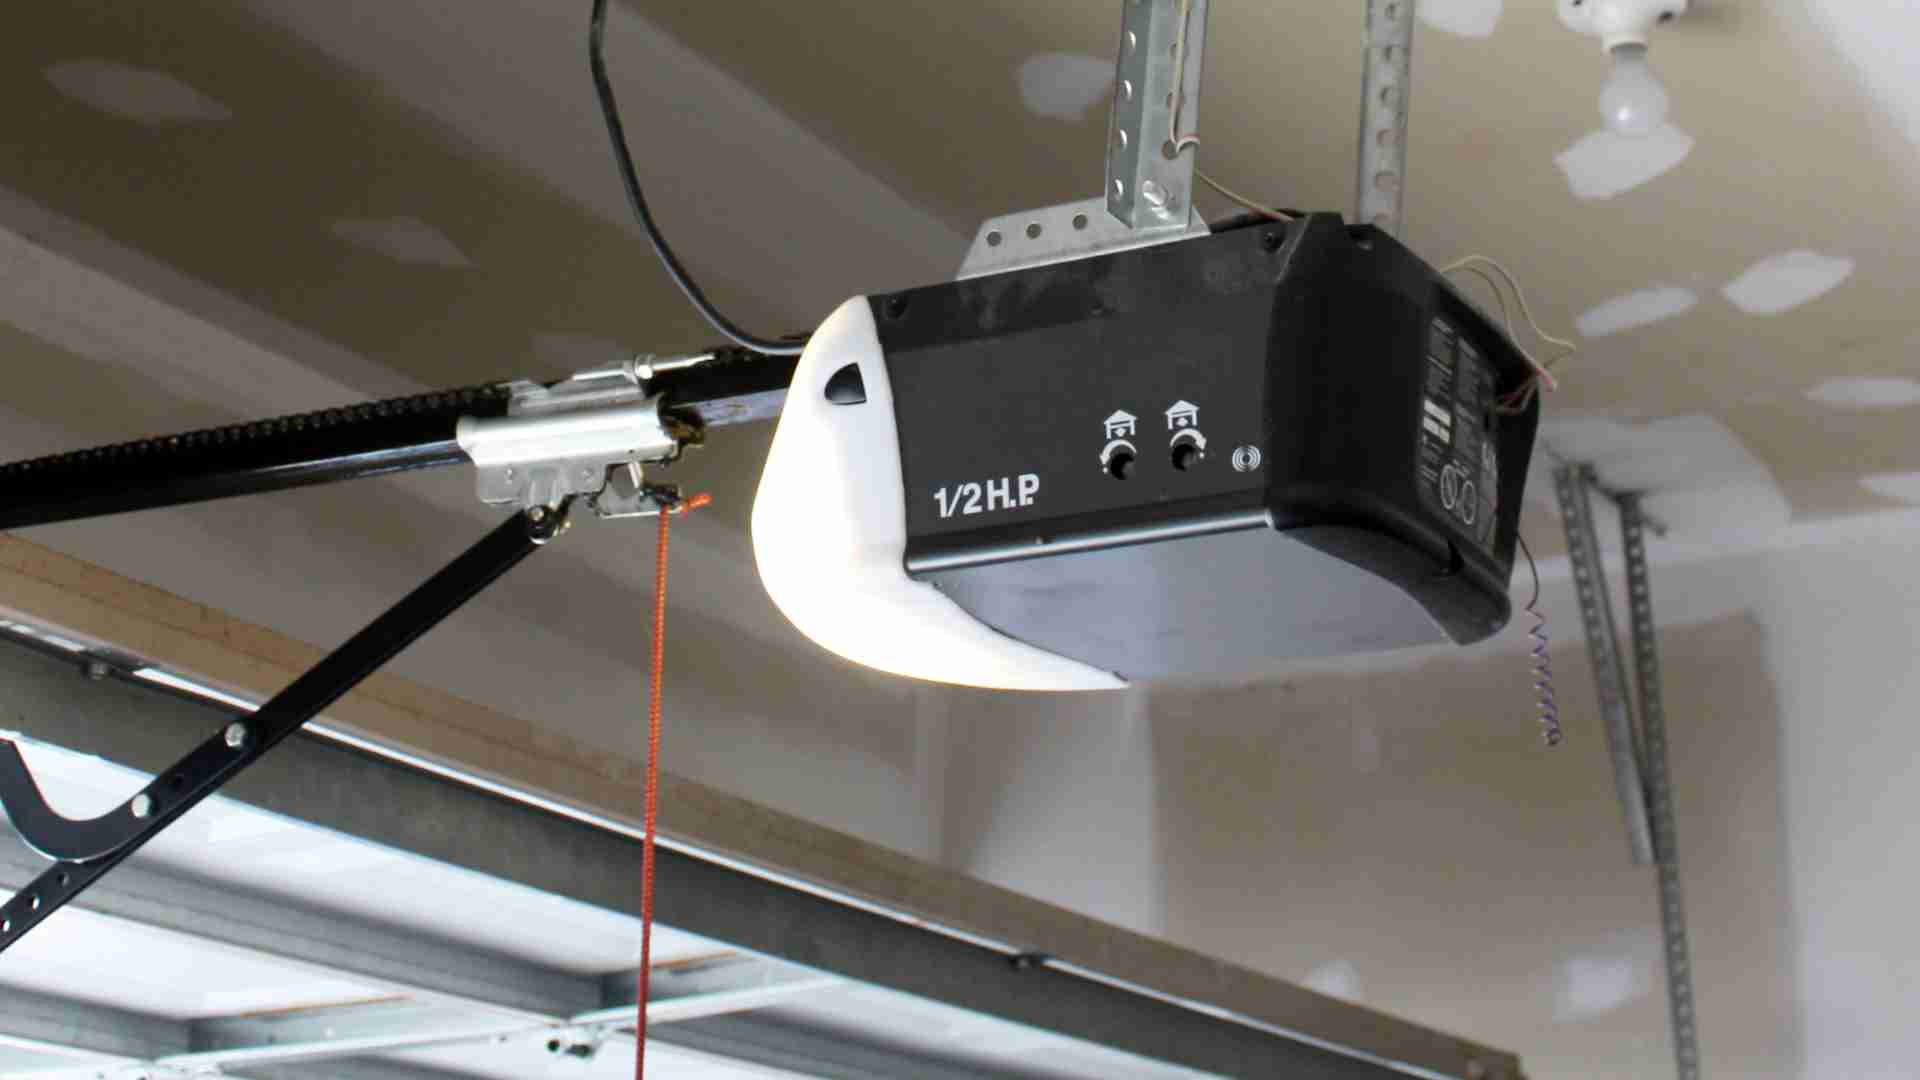
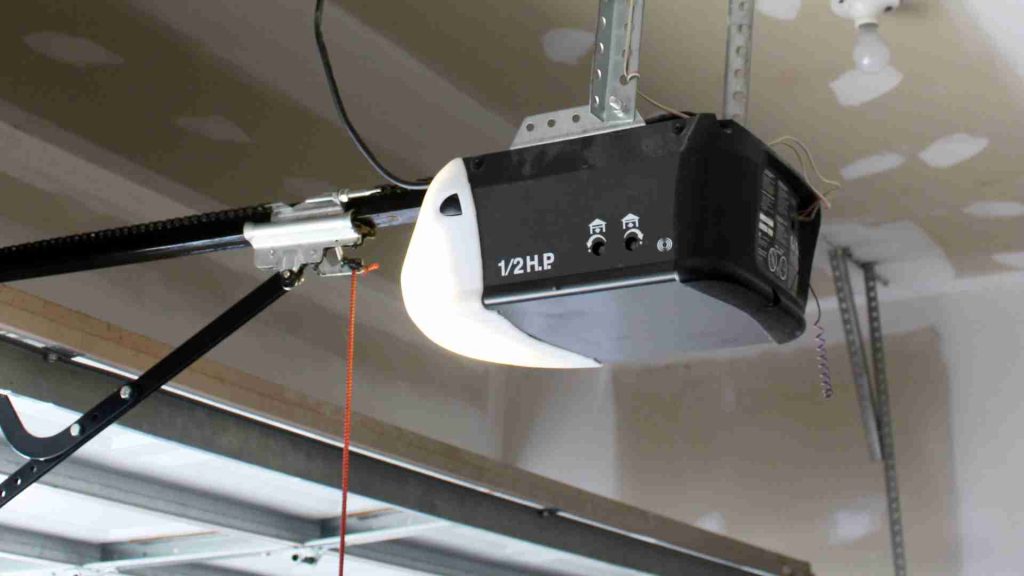
If you are looking for a reset button, you are likely actually looking for the “Learn” button (sometimes labeled as “Smart,” “Program,” or “Home”). This small button, usually located on the back or side of the motor unit hanging from your ceiling, is the key to managing your opener’s memory.
While it is not a “reset” button in the traditional sense, holding it down for an extended period (usually 6–10 seconds) serves the same purpose: it erases all programmed codes. According to general technical standards for residential openers, this function is standardized across most major manufacturers, though the color and location may vary. For more detailed technical specifications on garage door safety and operation standards, you can refer to resources like Wikipedia’s page on Garage Door Openers.
How to Find the Reset or Learn Button
Locating the correct button is the first step in any troubleshooting process. Since there is no universal design, you will need to inspect your motor unit closely. Here is where to look based on common brands:
| Brand | Typical Button Color | Location |
|---|---|---|
| Chamberlain / LiftMaster | Yellow, Purple, or Red | Back panel, near the antenna wire |
| Genie | Purple, Orange, or Green | Side or back panel, often under a light cover |
| Craftsman | Red or Purple | Back panel, near the wiring terminals |
| Stanley | Red or Green | Side of the motor housing |
Pro Tip: If you cannot find a colored button, look for a small pinhole. Some older models require a paperclip to press a recessed reset switch. Always consult your owner’s manual if available, as it provides the exact diagram for your specific model number.
Step-by-Step Guide: How to Reset Your Garage Door Opener
Now that you have located the button, follow these precise steps to perform a full reset. This process works for the majority of chain-drive, belt-drive, and screw-drive openers manufactured in the last 20 years.
Step 1: Ensure Safety First
Before touching any components, ensure the garage door is fully closed. Disconnect the power to the opener by unplugging it or turning off the circuit breaker. Wait for 30 seconds to allow any residual electricity to dissipate. This step protects the logic board from power surges during the reset.
Step 2: Locate and Press the Learn Button
Restore power to the unit. Locate the “Learn” button you identified earlier. Using a ladder if necessary, press and hold the button.
- For most modern units: Hold the button for 6 to 10 seconds.
- Indicator: Watch the LED light next to the button. It will typically turn on and then go out. Once the light extinguishes, the memory is cleared.
Step 3: Verify the Reset
Try using any old remote or keypad. If the reset was successful, the door should not respond. This confirms that all previous codes have been wiped from the system.
Step 4: Reprogram Your Devices
Now that the slate is clean, you must reprogram your remotes and keypads.
- Press the “Learn” button once briefly (do not hold it). The LED will light up or blink.
- Within 30 seconds, press and hold the button on your remote control that you wish to program.
- Release the button when the opener’s lights flash or you hear a click.
- Test the remote by opening and closing the door.
Repeat this process for every remote, keypad, and vehicle homelink system you own.
Common Issues That Mimic the Need for a Reset
Sometimes, homeowners believe they need a reset when the issue is actually mechanical or electrical. Before going through the trouble of reprogramming all your devices, check these common culprits:
1. Dead Remote Batteries
It sounds simple, but weak batteries are the number one cause of “unresponsive” openers. Replace the battery in your remote with a fresh CR2032 or AA battery (depending on the model) and test again.
2. Misaligned Safety Sensors
Look at the small photo-eye sensors near the bottom of your garage door tracks. If the LED light on either sensor is blinking or off, the door will not close. Clean the lenses with a soft cloth and ensure they are pointing directly at each other. No amount of resetting will fix a misaligned sensor.
3. Locked Control Panel
Many wall-mounted control panels have a “Lock” feature. If this is activated, the remote will not work. Check your wall console for a lock icon or a button combination (often holding the “Lock” button for 3 seconds) to disable it.
4. Power Surges
If your home recently experienced a power outage or surge, the opener’s logic board may have glitched. Simply unplugging the unit for 60 seconds and plugging it back in can often resolve minor software hiccups without a full code wipe.
When to Call a Professional
While resetting is a DIY-friendly task, there are scenarios where professional help is warranted. If you have performed a reset and reprogrammed your devices correctly but the door still fails to operate, the issue may lie in the motor’s internal circuitry or the drive mechanism.
Additionally, if your opener is more than 15 years old, it may lack modern security features like rolling code technology. In such cases, investing in a new unit is often more cost-effective and secure than repeatedly troubleshooting an aging system. Modern openers also offer smartphone integration, allowing you to monitor and control your door from anywhere, adding a layer of convenience and security that older models cannot match.
FAQ Section
Q1: Will resetting my garage door opener delete my Wi-Fi settings?
A: Yes, in most cases. If your opener is connected to Wi-Fi for smart home integration (like MyQ or Alexa), a full reset via the Learn button will disconnect it. You will need to reconnect the opener to your Wi-Fi network using the manufacturer’s app after the reset.
Q2: How long does it take to reset a garage door opener?
A: The actual reset process takes less than 10 seconds. However, reprogramming all your remotes, keypads, and car systems can take 15–30 minutes depending on how many devices you own.
Q3: Can I reset just one remote without deleting the others?
A: Generally, no. Most standard openers do not allow for the deletion of individual codes. To remove one remote, you must wipe the entire memory and reprogram all the devices you wish to keep. Some high-end smart openers may offer app-based management that allows individual device removal.
Q4: Why is my garage door opener resetting itself?
A: If your opener frequently loses its programming, it could indicate a failing logic board, loose wiring, or persistent power fluctuations. Check your home’s electrical connections and consider installing a surge protector. If the issue persists, consult a technician.
Q5: Is there a difference between resetting and reprogramming?
A: Yes. Resetting clears all stored codes from the opener’s memory. Reprogramming is the act of adding new codes to the memory. You must reset before you can effectively reprogram if you are troubleshooting connectivity issues or security concerns.
Q6: What if my opener doesn’t have a Learn button?
A: Very old openers (pre-1990s) may use dip switches instead of a Learn button. In this case, “resetting” involves matching the tiny switches inside the remote to the switches inside the motor unit. If you have this type of system, consider upgrading to a modern opener for better security and ease of use.
Conclusion
So, is there a reset button on a garage door opener? While there isn’t a single button labeled “Reset,” the “Learn” button serves this critical function when held down for several seconds. Understanding how to use this feature empowers you to troubleshoot connectivity issues, enhance your home’s security, and ensure smooth operation of your garage door.
By following the steps outlined above, you can confidently clear your opener’s memory and reprogram your devices. Remember to always prioritize safety, check for simple fixes like dead batteries first, and consult your manual for brand-specific nuances.
Did you find this guide helpful? Share it with your neighbors or on social media to help others tackle their garage door woes! If you have further questions or experiences with resetting your opener, leave a comment below—we’d love to hear from you.
Leave a Reply