Introduction
There is nothing quite as frustrating as pulling into your driveway in the pouring rain, only to realize your fancy rear-view mirror garage door opener isn’t responding. You press the button repeatedly, stare at the blinking LED, and wonder if you’ll ever get inside without getting soaked. If you are searching for how to set up rear view mirror garage door opener technology, you are likely dealing with a new vehicle integration or a replacement mirror unit that needs precise configuration.
Setting up these integrated systems can feel intimidating because they combine automotive electronics with home automation. However, with the right guidance, this process is entirely manageable for the average homeowner. This comprehensive guide will walk you through every step of the setup process, ensuring your system works reliably and safely every time you approach your home.
What Is a Rear View Mirror Garage Door Opener?
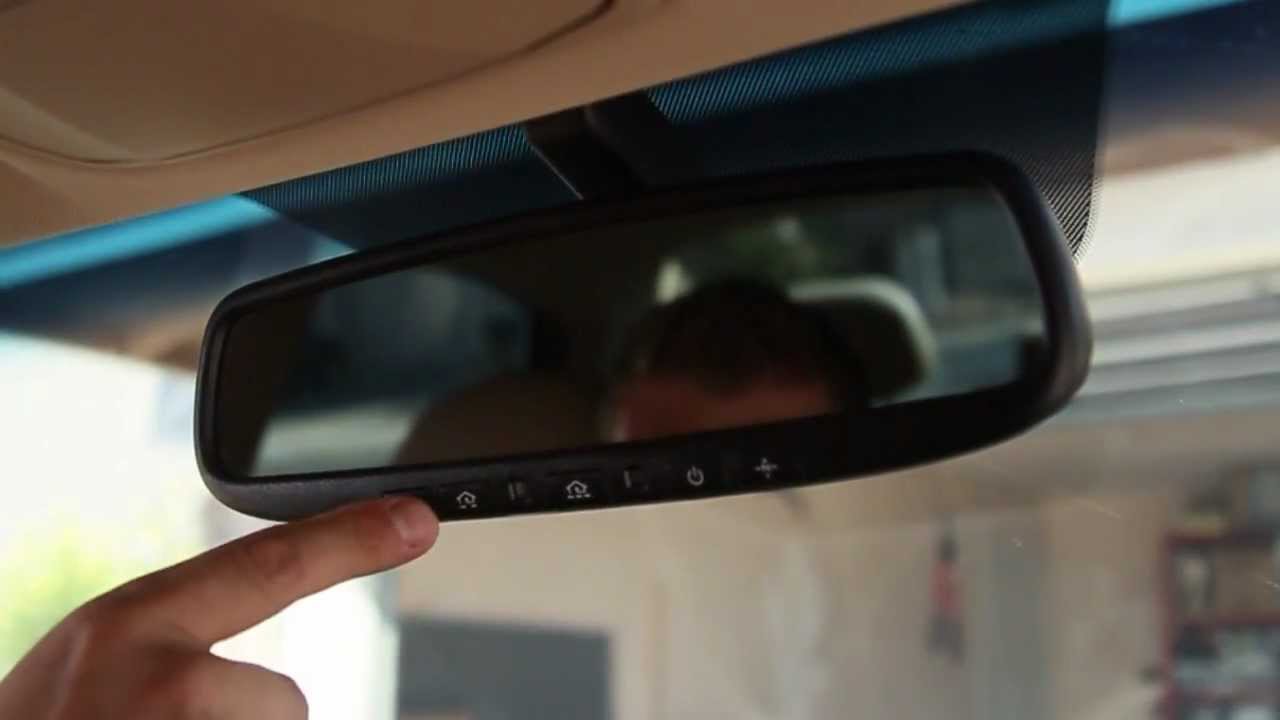
Before diving into installation, it is crucial to understand what this technology actually is. A rear-view mirror garage door opener is typically an integrated Homelink or Car2U transceiver built directly into the vehicle’s auto-dimming or standard rear-view mirror. Unlike traditional visor clips, these systems draw power from the vehicle’s electrical system and communicate via radio frequency (RF) signals to your garage door motor.
According to industry standards, most modern vehicles manufactured after 2015 utilize this integrated approach to reduce cabin clutter and improve aesthetics. The system acts as a universal remote, capable of storing frequencies for garage doors, gates, and even smart home lighting. Understanding this distinction is vital because the setup process differs significantly from programming a standalone handheld remote.
For a deeper technical understanding of the underlying radio frequency protocols used in these systems, you can refer to the Radio Frequency entry on Wikipedia, which explains the spectrum bands these openers utilize to communicate securely with your garage receiver.
How Do I Prepare My Vehicle and Garage for Setup?
Preparation is the most overlooked phase of learning how to set up rear view mirror garage door opener units correctly. Skipping this step often leads to failed programming attempts and unnecessary frustration.
Gather Your Tools and Information
- Vehicle Owner’s Manual: Specific Homelink/Car2U instructions vary by make and model.
- Garage Door Opener Manual: Needed to locate the “Learn” or “Smart” button on the motor head.
- Stepladder: Safe access to the garage ceiling motor unit.
- Fresh Batteries: If your original handheld remote uses batteries, replace them before starting; weak signals cause sync failures.
- Smartphone Flashlight: Essential for seeing labels in dim garage ceilings.
Verify Compatibility
Not all mirrors work with all openers. Check if your garage opener uses rolling code technology (standard post-1996) or older fixed-code systems. Most modern rear-view mirror systems require rolling code compatibility. If your opener is pre-1996, you may need a compatibility bridge kit.
Expert Tip: Always perform setup with the vehicle parked outside the garage. Running the engine during programming ensures stable voltage, but exhaust fumes in an enclosed space are dangerous. Park outside, run the engine, and keep the garage door closed until testing begins.
Step-by-Step: How To Set Up Rear View Mirror Garage Door Opener
This tutorial assumes you have a standard Homelink-integrated mirror, which represents over 80% of the US market. Always defer to your specific vehicle manual if steps differ.
Step 1: Clear Previous Codes (If Applicable)
If the mirror was previously programmed or is from a used vehicle, clear the memory first.
- Turn the ignition to the “ON” or “ACC” position.
- Press and hold the two outer buttons on the mirror simultaneously.
- Hold for 10–20 seconds until the indicator light flashes rapidly.
- Release both buttons. The mirror is now in factory reset mode.
Step 2: Put the Mirror in Learning Mode
- Choose which button on the mirror you want to assign (left, center, or right).
- Press and hold that specific button.
- Watch the indicator LED. It should begin to flash slowly (usually amber or red).
- Keep holding until the flash pattern changes or the manual specifies a timing cue (typically 20 seconds max).
Step 3: Sync with Your Handheld Remote
Note: Some newer “direct-to-motor” systems skip this step. Check your manual.
- Hold your original handheld remote 1–3 inches away from the mirror surface.
- Simultaneously press the handheld remote button AND the mirror button you are programming.
- Watch the mirror’s LED. When it changes from slow flash to rapid flash or solid light, the frequency has been captured.
- Release both buttons.
Step 4: Program the Garage Door Motor (Rolling Code)
This is the critical security handshake.
- Locate the “Learn,” “Smart,” or “Program” button on your garage door motor head. It is usually colored yellow, purple, orange, or red.
- Press and release the Learn button. The indicator light on the motor will illuminate or blink.
- Within 30 seconds, return to your vehicle and press the programmed mirror button firmly.
- Release and press again. Repeat a third time if necessary.
- The garage door should activate, confirming successful pairing.
Step 5: Test Range and Safety Sensors
Never assume the setup is complete after one successful open.
- Test from 20 feet, 50 feet, and 100 feet away.
- Verify the safety reversal sensors work by placing a 2×4 board in the door’s path. The door must reverse upon contact.
- Confirm the mirror’s LED provides accurate status feedback (solid = active, flashing = transmitting).
Pros and Cons of Integrated Mirror Openers
Understanding the trade-offs helps manage expectations after learning how to set up rear view mirror garage door opener systems.
| Feature | Integrated Mirror Opener | Traditional Visor Clip Remote |
|---|---|---|
| Aesthetics | Clean, OEM look | Bulky, visible clip |
| Power Source | Vehicle battery (always charged) | Coin cell battery (replaces yearly) |
| Range | Typically superior (amplified antenna) | Variable, degrades with battery |
| Installation | Complex initial setup | Simple clip-on |
| Transferability | Tied to vehicle | Easily moved between cars |
| Cost | Included in trim/package | $30–$60 aftermarket |
| Security | Rolling code standard | Varies by model age |
Common Troubleshooting Issues
Even professionals encounter hiccups. Here are solutions to the most frequent problems:
- LED Flashes But Door Doesn’t Move: Usually indicates incomplete rolling code handshake. Repeat Step 4, ensuring you press the mirror button within the 30-second window after hitting the motor’s Learn button.
- Works Only When Very Close: Potential interference from LED bulbs in the garage. Replace garage light fixtures with RF-shielded LED bulbs designed for garage openers.
- Mirror Button Unresponsive: Check vehicle fuse panel. Some mirrors have dedicated fuses for the Homelink module. Also verify ignition is in correct position.
- Intermittent Operation: Weak vehicle battery can reduce transmitter power. Test vehicle battery health; below 12.4V can affect accessory performance.
- Previously Worked, Now Fails: Power outage or motor reset may have cleared codes. Re-perform Step 4 only; mirror memory usually persists.
Frequently Asked Questions (FAQ)
Can I program my rear view mirror opener without the original remote?
Yes, many modern systems support “direct-to-motor” programming. Instead of cloning a handheld remote, you put the mirror in learn mode and then press the Learn button on the garage motor itself. Consult your vehicle manual for this specific procedure, as it varies significantly between manufacturers.
Why does my mirror opener work for my neighbor’s door but not mine?
This indicates frequency overlap or incorrect code capture. Clear the mirror’s memory completely (Step 1 above) and restart the entire programming sequence. Ensure you’re holding the handheld remote at the correct distance—too close can cause signal distortion, too far causes incomplete capture.
Is it safe to install a rear view mirror garage door opener myself?
Programming is absolutely safe and designed for consumer use. However, if your vehicle requires physical replacement of the mirror assembly (wiring harness connection), professional installation is recommended. Incorrect wiring can damage vehicle CAN bus systems or create fire hazards. Programming existing hardware carries no risk.
How long does the setup process typically take?
For most users, learning how to set up rear view mirror garage door opener functionality takes 15–30 minutes from start to finish. First-timers should budget 45 minutes to account for reading manuals and troubleshooting. Experienced users often complete it in under 10 minutes.
Will this drain my car battery if left unused for weeks?
No. Integrated mirror openers draw negligible standby current (typically under 5 milliamps). Even after 30 days of non-use, battery impact is minimal. However, if your vehicle has known parasitic drain issues, address those separately before blaming the mirror system.
Can I program multiple garage doors to one mirror?
Absolutely. Most rear-view mirror systems offer three programmable buttons, allowing you to store codes for your primary garage, secondary garage, and community gate or smart lock. Each button operates independently and follows the same setup procedure outlined above.
Conclusion
Mastering how to set up rear view mirror garage door opener technology transforms your daily arrival experience from frustrating to seamless. By following the preparation checklist, executing the five-step programming sequence precisely, and verifying safety systems afterward, you ensure reliable operation for years to come. Remember that patience during the initial setup pays dividends in convenience and security.
The integration of automotive and home technology continues to evolve, making our lives easier one synchronized signal at a time. Your newly configured mirror opener isn’t just about opening a door—it’s about arriving home with confidence and comfort.
Found this guide helpful? Share it with friends, family, or neighbors who are struggling with their own garage door setups! Post this article on Facebook, X (Twitter), or Pinterest to help others avoid common setup mistakes. Have questions or unique experiences? Drop a comment below—we’d love to hear how your installation went!
Leave a Reply