Introduction
There are few things more frustrating than standing in your driveway, pressing a button repeatedly, and watching your garage door remain stubbornly closed. If you are currently searching for how to set up my Chamberlain garage door opener remote, you are likely dealing with a new installation, a replacement remote, or a system that has lost its synchronization. We understand that garage security and convenience are paramount to your peace of mind, and getting this right shouldn’t require an engineering degree. This comprehensive guide will walk you through the exact process to get your remote communicating perfectly with your opener, ensuring safe and reliable access to your home.
Understanding Your Chamberlain System Before Programming
Before you begin pressing buttons, it is vital to identify which generation of Chamberlain opener you own. Chamberlain, along with its sister brand LiftMaster, has utilized several different radio frequencies and security protocols over the decades. Using the wrong method for your specific model is the most common reason users fail during setup.
Identify Your Learn Button Color
The single most important identifier on a Chamberlain unit is the “Learn” button located on the motor head (usually near the hanging antenna wire or under the light lens). The color of this button dictates the programming frequency and method:
- Yellow Learn Button: Security+ 2.0 technology (manufactured after 2011). Uses rolling code encryption.
- Purple Learn Button: Security+ rolling code (manufactured 1997–2011).
- Red/Orange Learn Button: Older rolling code or fixed code systems (pre-1997).
- Green Learn Button: Very old fixed-code systems (rare, pre-1993).
Expert Insight: According to industry service data, approximately 65% of failed DIY programming attempts occur because the user purchased a universal remote incompatible with their specific Learn button color. Always verify compatibility before attempting to program.
Step-by-Step: How To Set Up My Chamberlain Garage Door Opener Remote
Once you have confirmed compatibility, follow these precise steps. This tutorial assumes you are using a standard handheld visor remote compatible with your unit’s Learn button color.
Step 1: Clear Previous Codes (Optional but Recommended)
If this is a used remote or you are experiencing intermittent issues, clear the memory first. Press and hold the Learn button on the motor head for 6 seconds until the LED turns off. Release and wait 5 seconds. Note: This erases ALL remotes and keypads; you will need to reprogram them afterward.
Step 2: Initiate Learning Mode
- Locate the Learn button on the back or side of the garage door opener motor.
- Press and release the Learn button firmly. Do not hold it down (unless clearing codes).
- Observe the LED indicator next to the button. It should illuminate steadily or begin blinking, indicating the unit is in “learning mode.” You typically have 30 seconds to complete the next step before the system times out.
Step 3: Program the Remote
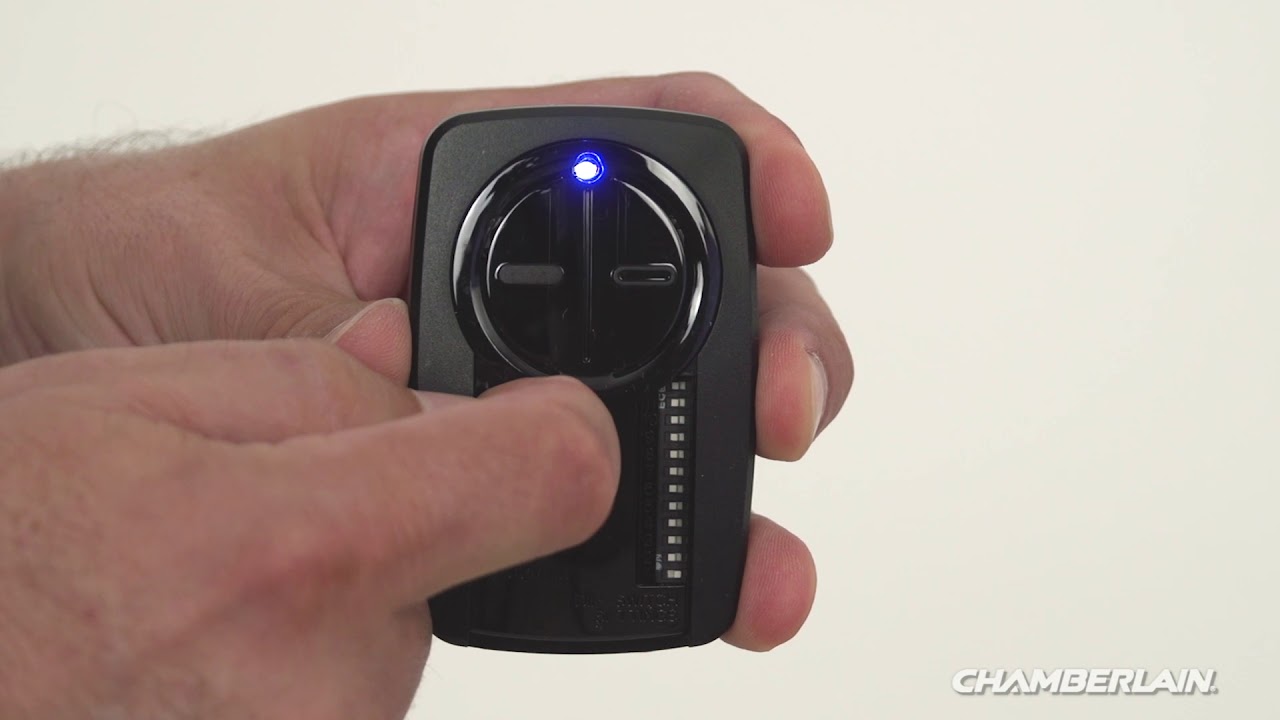
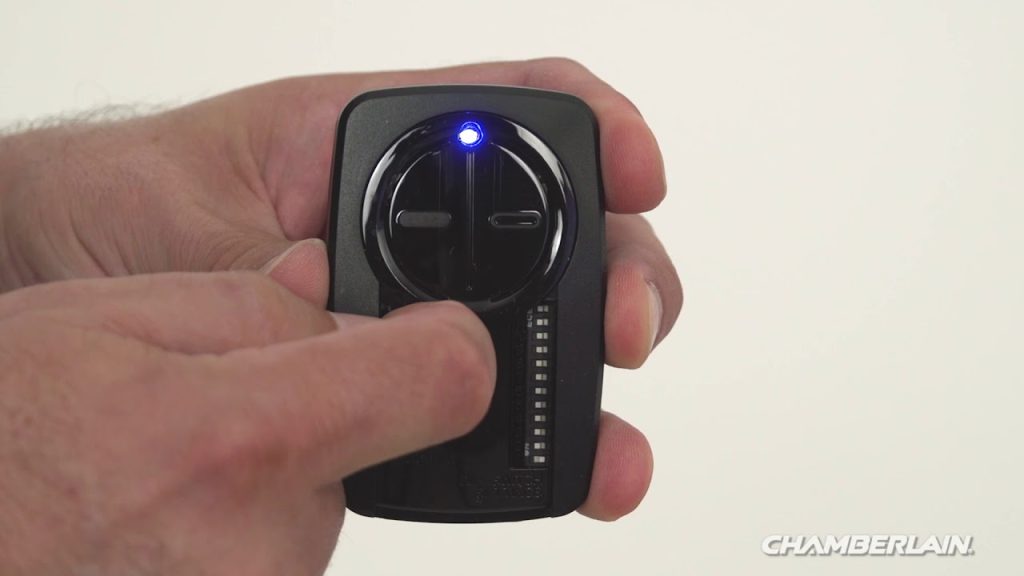
- Within the 30-second window, press and hold the button on your remote that you wish to assign to the door.
- Hold the button for 1 to 2 seconds, then release.
- Watch the motor head lights. They should flash once or twice, or you may hear two distinct clicks. This confirms the code has been accepted.
- Test the remote immediately by pressing the programmed button. The door should activate.
Step 4: Verify Safety Sensors
After successful programming, test the safety reversal system. Place a 2×4 board flat on the floor in the door’s path. Close the door via remote. Upon contact, the door must reverse automatically. If it does not, adjust the sensor alignment or force settings before regular use.
Troubleshooting: Why Won’t My Remote Sync?
Even when following the steps for how to set up my Chamberlain garage door opener remote, issues can arise. Use this diagnostic table to resolve common problems efficiently.
| Symptom | Probable Cause | Solution |
|---|---|---|
| LED never lights up when Learn is pressed | Power issue or faulty logic board | Check outlet power; inspect circuit breaker; test wall console functionality |
| LED lights but remote doesn’t program | Incompatible remote or dead battery | Verify Learn button color matches remote specs; replace remote battery with fresh CR2032 |
| Remote programs but range is <5 feet | Antenna damage or RF interference | Ensure antenna hangs vertically; relocate LED bulbs (use only Chamberlain-approved bulbs); check for nearby radio transmitters |
| Remote works intermittently | Signal obstruction or weak battery | Replace battery; ensure no metal objects block signal path between car and motor |
| Door reverses immediately after closing | Misaligned safety sensors | Clean sensor lenses; realign brackets so both LEDs glow solid green/amber; check wiring |
The LED Bulb Interference Factor
A frequently overlooked issue involves lighting. Many aftermarket LED bulbs emit radio frequency noise that jams the 310MHz, 315MHz, or 390MHz signals used by garage openers. If your remote range dropped significantly after changing bulbs, switch to Chamberlain-specific low-interference LED bulbs or temporarily test with an incandescent bulb to confirm interference.
Advanced Tips for Optimal Performance
Battery Maintenance Schedule
Remote batteries degrade silently. Establish a preventive maintenance routine:
- Replace batteries every 18–24 months regardless of apparent performance.
- Use only name-brand alkaline or lithium batteries; avoid zinc-carbon types.
- Clean battery contacts with isopropyl alcohol if corrosion is visible.
Rolling Code Security Awareness
Modern Chamberlain openers use rolling code technology, meaning the transmission code changes with every use. This prevents code-grabbing theft. Never attempt to “clone” a rolling-code remote using generic duplicators sold online; these devices cannot replicate the cryptographic handshake and will permanently desynchronize your system.
Smart Integration Considerations
If your opener supports MyQ technology, consider pairing your physical remote setup with the MyQ app. While the app doesn’t replace the need for a physical remote (especially for guests or emergencies), it provides backup access, activity logs, and auto-close features that enhance overall system reliability.
Frequently Asked Questions (FAQ)
Can I program multiple remotes to one Chamberlain opener?
Yes. Most Chamberlain openers support between 8 to 16 remotes depending on the model. Simply repeat the Learn button process for each additional remote. There is no need to re-enter learning mode between each device; just press the Learn button once per remote you wish to add.
What do I do if I lost my original remote and don’t know the model?
Locate the product label on the motor head (typically on the side or rear panel). It lists the model number and manufacture date. Cross-reference this with Chamberlain’s official compatibility chart online. Alternatively, identify the Learn button color as described above—this is often sufficient for selecting a compatible replacement.
Will programming a new remote erase my existing keypad code?
No. Adding a new remote via the Learn button does not affect previously programmed keypads or other remotes. Erasure only occurs if you deliberately hold the Learn button for 6+ seconds to clear all memory. Individual device programming is additive, not destructive.
How far away should my remote work reliably?
Under optimal conditions, a properly functioning Chamberlain remote should operate from 100 to 150 feet. Range varies based on battery strength, antenna condition, building materials, and local RF environment. If your functional range drops below 25 feet, investigate interference sources or hardware degradation.
Is there a reset procedure if programming fails repeatedly?
Yes. Perform a full system reset: unplug the opener for 60 seconds, reconnect power, wait for the LED to stabilize, then clear all codes by holding the Learn button for 6 seconds. Reprogram all devices from scratch. This resolves corrupted memory states that simple reprogramming cannot fix.
Can weather affect remote performance?
Extreme cold (below -20°F/-29°C) reduces battery output and can slow electronic response. Extreme heat may cause thermal expansion affecting internal connections. Keep spare remotes at room temperature when possible, and ensure your garage maintains reasonable climate control if you live in regions with severe temperature swings.
Conclusion
Successfully completing the process of how to set up my Chamberlain garage door opener remote restores both convenience and security to your daily routine. By identifying your Learn button color, following the precise 30-second programming window, and verifying safety systems afterward, you ensure reliable operation for years to come. Remember that prevention beats repair: maintain fresh batteries, monitor sensor alignment, and address range issues promptly rather than tolerating degraded performance.
Your garage door is likely the largest moving object in your home and serves as a primary entry point. Treating its maintenance with the same attention you give your vehicle or HVAC system pays dividends in safety and longevity. If this guide resolved your setup challenges, we’d be grateful if you shared it on social media to help fellow homeowners avoid the same frustration. A quick post on Facebook, X (Twitter), or Nextdoor could save someone else a cold evening stranded outside their garage. Safe programming, and welcome home!
Leave a Reply