Introduction
There is nothing quite as frustrating as pressing your garage door clicker after a long day, only to be met with silence and a closed door. If you are currently standing in your driveway wondering how to replace battery in Craftsman garage door opener remote, you have come to the right place for a quick, stress-free solution. This common maintenance task takes less than five minutes, requires no special tools, and will get you back inside your home safely and efficiently.
Understanding Your Craftsman Remote Model
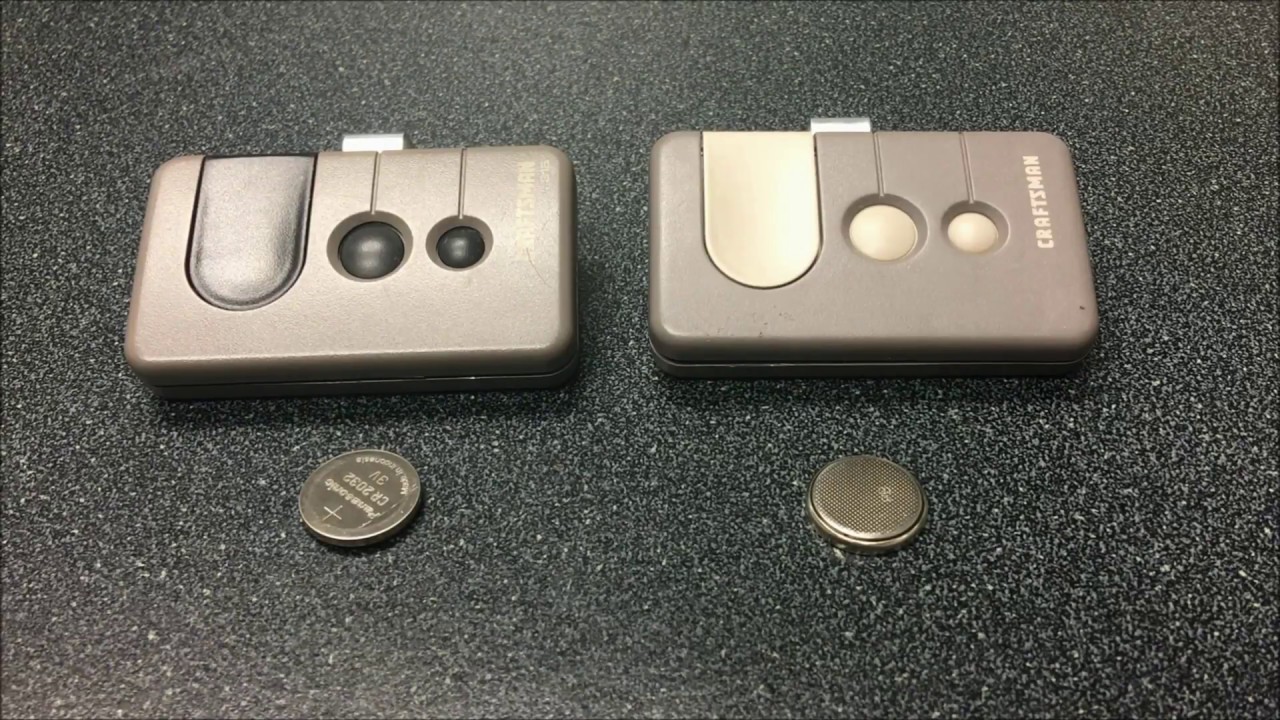
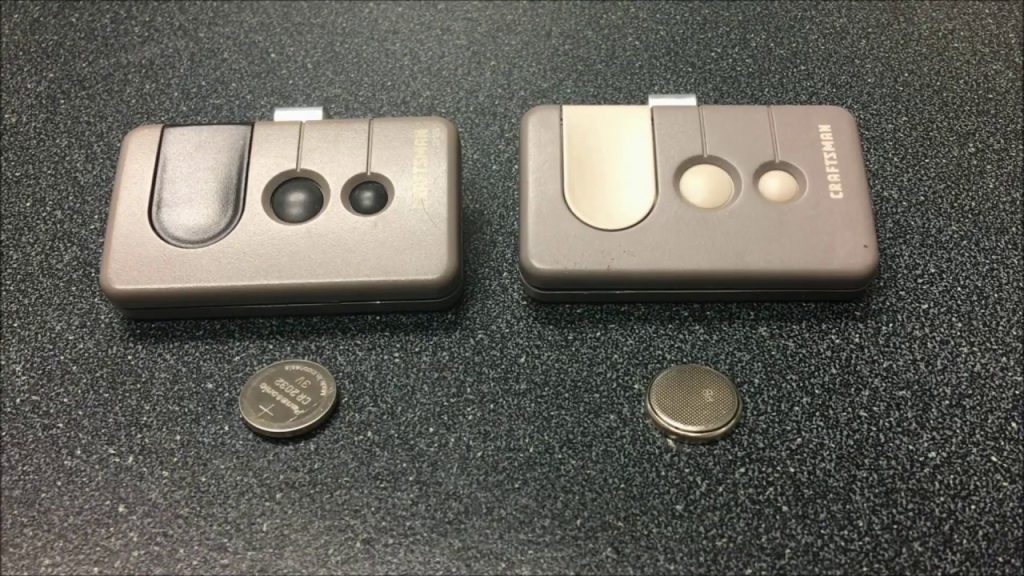
Before you grab a screwdriver, it is vital to understand that not all Craftsman remotes are identical. Over the last two decades, Craftsman (often manufactured by Chamberlain Group) has released various iterations of garage door openers. Identifying your specific model ensures you purchase the correct replacement cell and avoid damaging the casing during opening.
Most modern Craftsman visor clips and keychain remotes utilize one of three battery types:
- CR2032: The most common coin-cell battery for newer models (post-2010).
- CR2016: A slightly thinner coin cell found in mid-era compact remotes.
- A23 (12V): A smaller, cylindrical alkaline battery used in older or specialty mini-remotes.
Expert Insight: According to industry service data, approximately 85% of “broken” Craftsman remotes brought to repair shops simply have depleted batteries or corroded contacts. Always rule out power issues before assuming the internal circuit board has failed.
For a deeper understanding of how these radio frequency signals interact with your opener unit, you can refer to the Wikipedia page on garage door opener technology, which explains the evolution from dip switches to rolling code security systems.
Tools You Will Need
You do not need a professional toolkit for this job. Gathering these items beforehand prevents interruptions:
- Replacement Battery: Verify voltage and size against your old cell.
- Small Phillips Head Screwdriver: Usually #0 or #1 size for older models with screws.
- Flathead Pry Tool or Guitar Pick: For newer snap-together casings without visible screws.
- Microfiber Cloth: To clean contact points and remove finger oils.
- Isopropyl Alcohol (Optional): For cleaning corrosion if the old battery leaked.
Step-by-Step: How To Replace Battery In Craftsman Garage Door Opener Remote
Follow this detailed tutorial to ensure a safe and successful replacement. These steps apply to the vast majority of Craftsman/Craftsman-compatible clickers.
Step 1: Open the Remote Casing
Locate the seam running along the side of the remote.
- For Screw Models: Remove the single screw on the back using your Phillips driver. Keep it in a small bowl so it does not roll into a floor drain.
- For Snap Models: Insert your flat pry tool or guitar pick into the notch at the bottom edge. Gently twist to separate the two halves. Do not use excessive force, as the plastic tabs can snap in cold weather.
Step 2: Remove the Old Battery
Note the orientation of the existing battery before removing it. Typically, the positive (+) side faces up, but some Craftsman keychain models seat the battery upside down. Use your fingernail or a non-conductive plastic spudger to pop the cell out. Avoid using metal tweezers, as they can short-circuit residual charge or scratch the housing.
Step 3: Clean the Contact Points
This step is frequently skipped but is critical for longevity. Inspect the metal prongs inside the compartment. If you see white or green crusty residue, dampen your microfiber cloth with a tiny amount of isopropyl alcohol and wipe the contacts clean. Allow them to dry completely for 30 seconds. Clean contacts ensure optimal conductivity and prevent intermittent signal failures.
Step 4: Insert the New Battery
Place the fresh battery into the slot, matching the polarity markings engraved in the plastic. Press down gently until it sits flush. If the battery feels loose or wobbles, double-check that you have the correct size; a CR2016 will fit loosely in a CR2032 slot but may not maintain consistent contact when the remote is jostled in your car.
Step 5: Reassemble and Test
Snap the two halves back together, starting from the top edge and working down to the bottom tab. If your model uses a screw, reinsert and tighten it snugly but do not overtighten, as this can strip the plastic threads. Stand within 10 feet of your garage door and press the button. The LED should light up brightly, and the door should respond immediately.
Troubleshooting: Remote Still Not Working?
If you have successfully learned how to replace battery in Craftsman garage door opener remote but the device remains unresponsive, consult this comparison table before buying a new unit:
| Symptom | Likely Cause | Recommended Action |
|---|---|---|
| LED lights up, door ignores signal | Lost programming / Rolling code sync | Reprogram remote to opener head unit |
| No LED light at all | Dead new battery or reversed polarity | Verify battery orientation and test with multimeter |
| Intermittent response (works sometimes) | Dirty contacts or cracked solder joint | Clean contacts; inspect board for hairline cracks |
| Works only when held directly against motor | Weak battery or antenna wire issue | Try another fresh battery; check opener antenna |
| LED flashes rapidly then dies | Internal capacitor failure | Replace remote unit entirely |
Pro Tip: Always purchase batteries from reputable brands with recent manufacturing dates. Discount bin coin cells often have reduced capacity or higher internal resistance, leading to premature failure in high-drain RF devices.
Best Practices for Battery Longevity
Maximize the lifespan of your replacement cell with these evidence-based habits:
- Avoid Extreme Temperatures: Leaving your remote in a freezing car overnight or baking on a dashboard accelerates chemical degradation. Store it in a temperate environment when possible.
- Use Lithium Over Alkaline for Coin Cells: Lithium CR2032 batteries maintain stable voltage across their entire discharge curve, whereas alkaline equivalents suffer voltage sag that can confuse sensitive opener circuits.
- Replace Proactively: Most Craftsman remotes achieve 2–3 years of normal use. If yours is approaching the 2-year mark, replace the battery during seasonal maintenance rather than waiting for failure.
- Remove Dead Batteries Immediately: Leaked electrolyte destroys copper traces permanently. If a remote will not be used for extended periods, store it without a battery installed.
Frequently Asked Questions (FAQ)
How often should I replace the battery in my Craftsman remote?
Under normal residential use (2–4 activations daily), expect 2 to 3 years of service. High-traffic households or commercial settings may require annual replacement. If you notice reduced range or dimmer LED output, replace the battery preemptively regardless of age.
Do I need to reprogram my Craftsman remote after changing the battery?
Generally, no. Battery replacement does not erase rolling code memory in modern Craftsman units. However, if the battery was completely dead for an extended period or if you accidentally held buttons during the swap, reprogramming may be necessary. Consult your opener’s learn button procedure if synchronization is lost.
Can I use a rechargeable CR2032 battery in my Craftsman remote?
It is not recommended. Rechargeable coin cells typically operate at 3.6V nominal but drop to 3.0V or lower under load, which falls below the threshold many Craftsman circuits require for reliable transmission. Stick with primary lithium CR2032 cells rated at 3.0V for guaranteed compatibility.
Why did my Craftsman remote stop working suddenly even with a new battery?
Sudden failure despite fresh power usually indicates either lost programming (common after power outages affecting the opener head unit) or physical damage to the internal circuit board. Check for cracked solder joints where the button pad meets the PCB, as this is a known failure point in heavily used remotes.
Where can I find the model number on my Craftsman remote?
The model number is typically printed on the back label beneath the visor clip or inside the battery compartment. If the label is worn, locate the FCC ID printed on the casing and search it online to identify the exact model and compatible battery specification.
Is it safe to mix old and new batteries if my remote takes two?
Never mix batteries. Different charge states and chemistries cause uneven discharge, leakage risk, and potential damage to the remote’s voltage regulator. Always replace all cells simultaneously with identical brand and batch-matched units.
Conclusion
Mastering how to replace battery in Craftsman garage door opener remote is one of the simplest yet most valuable home maintenance skills you can possess. By following the five-step process outlined above—opening safely, cleaning contacts, verifying polarity, and testing properly—you eliminate unnecessary service calls and restore convenience in minutes. Remember that proactive replacement and proper storage extend both battery life and remote longevity, saving you money and frustration over time.
Found this guide helpful? Share it with friends, family, or neighbors who might be stuck outside their garage tonight! Tag us on social media or leave a comment below with your Craftsman model number if you need personalized assistance. Your next smooth entry starts with a fresh battery and the confidence to install it yourself.
Leave a Reply