Have you ever stood in the rain, frantically pressing the button on your garage remote, only to hear silence? It is a frustrating experience that disrupts your daily routine and leaves you feeling helpless. If you are wondering how to program remote to Craftsman garage door opener, you are in the right place. This guide will walk you through the process simply and effectively, getting your garage back in working order without the need for an expensive technician.
Understanding Your Craftsman Garage Door Opener Model
Before diving into the programming steps, it is crucial to identify which type of Craftsman opener you own. Craftsman has produced several models over the decades, and the programming method can vary slightly depending on the age and technology of the unit. Generally, these openers fall into two categories: those with a “Learn” button and older models that use DIP switches.
Most modern Craftsman openers (manufactured after 1993) utilize a smart technology system with a Learn button. This button is usually located on the back or side of the motor unit hanging from your garage ceiling. The color of this button is significant, as it indicates the frequency and security code type your remote uses. Common colors include purple, red/orange, yellow, and green.
Identifying your model correctly ensures you follow the right steps. If you have an older model with rows of tiny switches inside the remote and the motor unit, you will need to match these DIP switches manually. However, since the majority of users today have push-button models, we will focus primarily on the “Learn” button method, which is the standard for most current households.
Step-by-Step Guide: How to Program a Standard Remote
Programming a new or replacement remote to your Craftsman garage door opener is a straightforward process if you follow the correct sequence. Safety is paramount; ensure the garage door area is clear of people and objects before beginning. Here is the detailed procedure for most Craftsman models with a Learn button.
Step 1: Locate the Learn Button
Climb a sturdy ladder to access the motor unit of your garage door opener. Look for the Learn button on the back panel. It is often situated near the antenna wire (a hanging wire). Note the color of the button, as this may affect the timing in later steps. If there is a LED light next to it, ensure it is not currently blinking rapidly, which might indicate a lock mode.
Step 2: Clear Old Codes (Optional but Recommended)
If you are reprogramming because the remote was lost or stolen, or if the system is glitching, it is wise to clear the memory first. Press and hold the Learn button for about 6–10 seconds until the indicator light turns off. This erases all previously programmed remotes and keypads. Note: You will need to reprogram all your existing devices after this step.
Step 3: Initiate Programming Mode
Press and release the Learn button once. The indicator LED will illuminate steadily or begin to blink, signaling that the opener is in “learning mode.” You typically have 30 seconds to complete the next step. If the light turns off before you finish, simply press the Learn button again to restart the timer.
Step 4: Sync the Remote
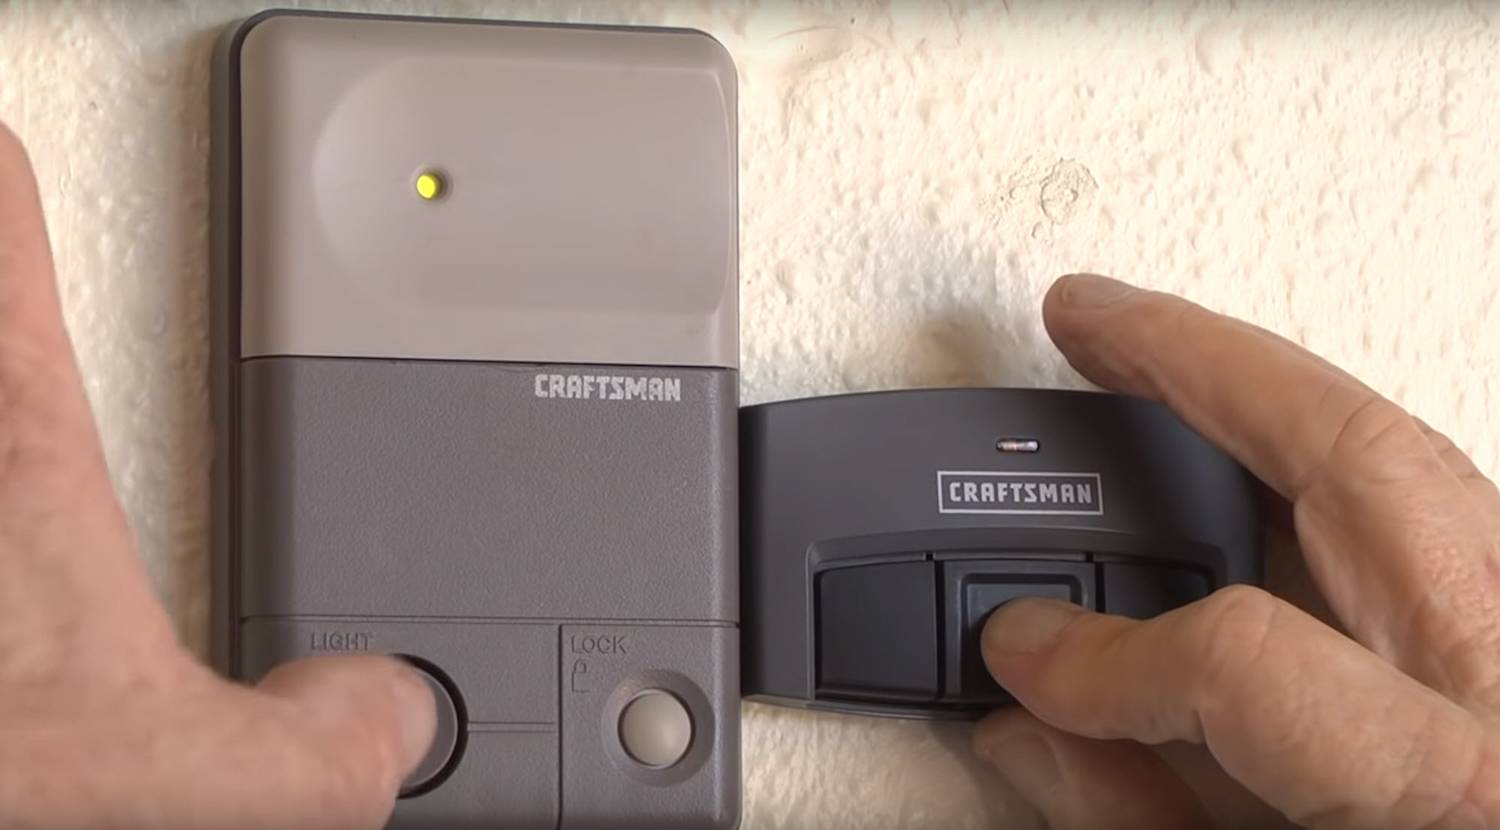
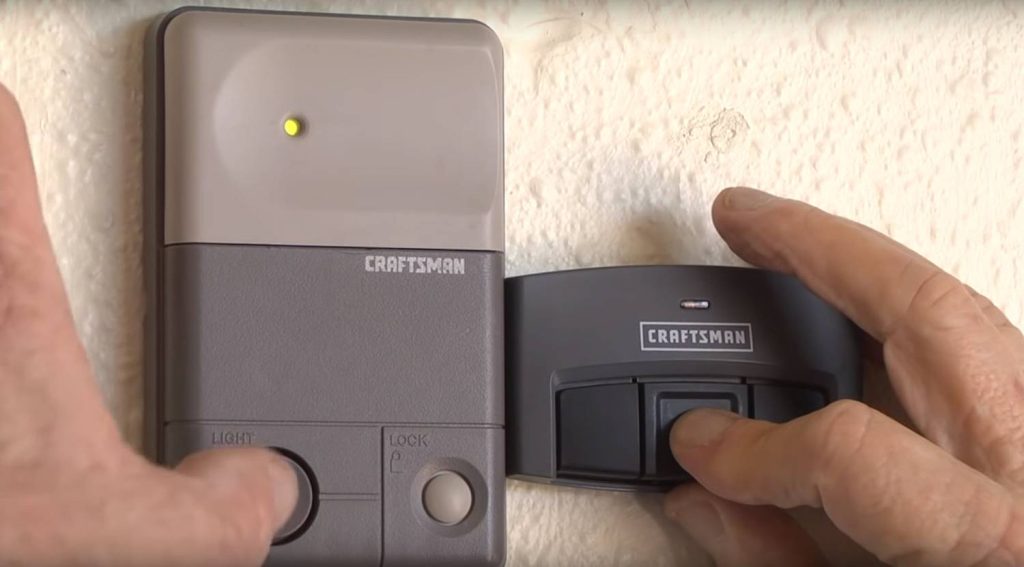
While standing within range of the opener (usually within 10–15 feet), take your handheld remote. Press and hold the button you wish to use for operating the door. Keep holding it down. Watch the motor unit’s LED light. When the light blinks or you hear two clicks from the motor unit, release the remote button immediately. This confirms that the code has been accepted.
Step 5: Test the Connection
Step away from the ladder and test the remote. Press the programmed button once. The garage door should activate. If it does not, repeat the process, ensuring you are pressing the remote button firmly and holding it long enough for the signal to transmit.
Troubleshooting Common Programming Issues
Even with careful following of instructions, things can go wrong. Understanding common pitfalls can save you time and frustration. Below is a breakdown of frequent issues and their solutions.
| Issue | Possible Cause | Solution |
|---|---|---|
| Remote not syncing | Dead batteries in remote | Replace batteries with fresh alkaline ones. |
| LED light doesn’t turn on | Opener is locked or malfunctioning | Check if the lock feature is enabled on the wall console. Unplug the opener for 1 minute to reset. |
| Door moves but reverses | Safety sensors misaligned | Check the photo-eye sensors at the bottom of the door tracks. Ensure they are clean and aligned. |
| Interference from neighbors | Same frequency code | Clear memory and reprogram. Consider upgrading to a rolling-code remote if using an old fixed-code model. |
If you continue to face issues, it may be helpful to consult the Craftsman Garage Door Opener technical specifications on Wikipedia to understand the broader history and technological standards of these devices. This external resource provides context on how security codes have evolved to prevent interference and unauthorized access.
Programming a Keypad and MyQ Smart Devices
Many homeowners do not just use a handheld remote; they also rely on wireless keypads outside the garage or smart home integrations. The process for these devices is similar but has slight variations.
For a wireless keypad, enter your desired PIN on the keypad, then press and hold the “Enter” or “Send” button. While holding it, go to the motor unit and press the Learn button. Release both buttons when the light blinks. Test the PIN by entering it on the keypad.
For MyQ Smart Garage Hub users, the process is digital. Download the MyQ app, create an account, and follow the in-app instructions to add your device. You will still need to press the Learn button on the motor unit to allow the hub to connect, but the app guides you through the Wi-Fi integration seamlessly. This allows you to open and close your garage door from anywhere using your smartphone, adding a layer of convenience and security monitoring.
When to Replace Your Remote or Opener
Not all programming failures are due to user error. Sometimes, the hardware itself is the culprit. Remotes have a limited lifespan, typically ranging from 5 to 10 years depending on usage and battery quality. If your remote requires multiple presses to work, or if the casing is cracked, it may be time for a replacement.
Similarly, if your garage door opener is more than 15 years old, it may lack modern safety features and security encryption. Older models use fixed codes, which are easier for thieves to intercept. Upgrading to a newer model with rolling code technology ensures that the code changes every time you use the remote, significantly enhancing your home’s security.
FAQ Section
1. Why won’t my Craftsman remote program to the opener?
The most common reason is dead batteries. Always start by replacing the batteries. If that fails, ensure you are pressing the Learn button correctly and that you are within range. Also, check if the opener’s memory is full; clearing old codes might resolve the issue.
2. Can I program a universal remote to my Craftsman opener?
Yes, most universal remotes are compatible with Craftsman openers. You will need to follow the specific instructions provided with the universal remote, which usually involve setting dip switches or using a code-search function to find the right frequency for your model.
3. How do I know if my Craftsman opener uses rolling codes?
If your opener was manufactured after 1993 and has a Learn button, it likely uses rolling code technology. You can also check the model number on the motor unit and search for it online. Rolling code remotes are more secure and prevent code grabbing by thieves.
4. What does it mean if the Learn button light is blinking rapidly?
A rapidly blinking light often indicates that the motor unit is in lock mode or has detected an error. Try unplugging the opener for a minute to reset the system. If the blinking persists, consult your owner’s manual for specific error codes related to your model.
5. Can I program multiple remotes to one Craftsman opener?
Yes, most Craftsman openers can store codes for multiple remotes and keypads. Typically, you can program up to 8 different devices. Simply repeat the programming steps for each additional remote you wish to add.
Conclusion
Learning how to program remote to Craftsman garage door opener is a valuable skill that empowers you to maintain your home’s convenience and security. By identifying your model, following the step-by-step synchronization process, and troubleshooting common issues, you can avoid unnecessary service calls. Remember, regular maintenance and timely battery replacements extend the life of your devices.
If you found this guide helpful, please share it with friends or family who might be struggling with their garage doors. A working garage door means peace of mind, and now you have the knowledge to keep it running smoothly. Stay safe, and enjoy the ease of a perfectly programmed remote!
Leave a Reply