Introduction
There are few things more frustrating than pressing your garage wall button and hearing nothing but silence, especially when you are rushing to leave for work or returning home late at night. If you have recently installed a new unit or replaced an old switch, understanding how to program LiftMaster garage door opener with wall control is the essential first step to restoring convenience and security to your home. This guide provides clear, empathetic, and professional instructions to get your system synchronized safely and quickly, without the need for expensive service calls.
Why Is My LiftMaster Wall Control Not Responding?
Before diving into the programming steps, it is vital to understand why synchronization fails. According to industry data from the International Door Association (IDA), nearly 40% of perceived “opener failures” are actually simple connectivity or programming issues rather than mechanical breakdowns.
Modern LiftMaster openers utilize rolling code technology and encrypted signals to prevent hacking. When you install a new wall control, the opener does not automatically recognize it as an authorized device. You must manually bridge this digital handshake. Additionally, if you have upgraded from an older model to a newer Security+ 2.0 system, legacy wall controls may be incompatible, requiring specific verification before programming attempts begin.
Step-by-Step: How to Program Standard Wall Controls
For most homeowners with a standard non-Wi-Fi wall console, the process is straightforward. However, precision matters. Follow these exact steps to ensure successful pairing.
1. Locate the Learn Button
The “Learn” button is the gateway to all programming. On most LiftMaster units manufactured after 1993, this button is located on the back or side panel of the motor head.
- Yellow Learn Button: Indicates Security+ 2.0 (868 MHz).
- Red/Orange Learn Button: Indicates Security+ (390 MHz).
- Purple/Green Learn Button: Older rolling code models.
Note: Always use a sturdy stepladder. Never stand on the garage door rail or attempt to reach while balancing precariously.
2. Clear Previous Codes (Optional but Recommended)
If you are troubleshooting erratic behavior, hold the Learn button down for approximately 6 seconds until the LED light turns off. This wipes the memory. Release and wait 5 seconds before proceeding. Skip this step if you only want to add a new wall control without erasing existing remotes.
3. Initiate Programming Mode
Press and release the Learn button firmly. The indicator LED will illuminate steadily or begin blinking, depending on your model. You now have exactly 30 seconds to complete the next step. Having your wall control ready in hand before pressing the Learn button is crucial to avoid timing out.
4. Sync the Wall Control
Go to your wall-mounted console. Press and hold the main door button. Hold it until the opener’s lights flash or you hear two distinct clicks. This auditory and visual confirmation signifies that the logic board has accepted the wall control’s unique identifier.
5. Test the Connection
Release the button and wait 3 seconds. Press the wall button once briefly. The door should activate smoothly. If it does not, repeat steps 3 and 4, ensuring you are within the 30-second window.
Programming Smart Wall Controls with MyQ Integration
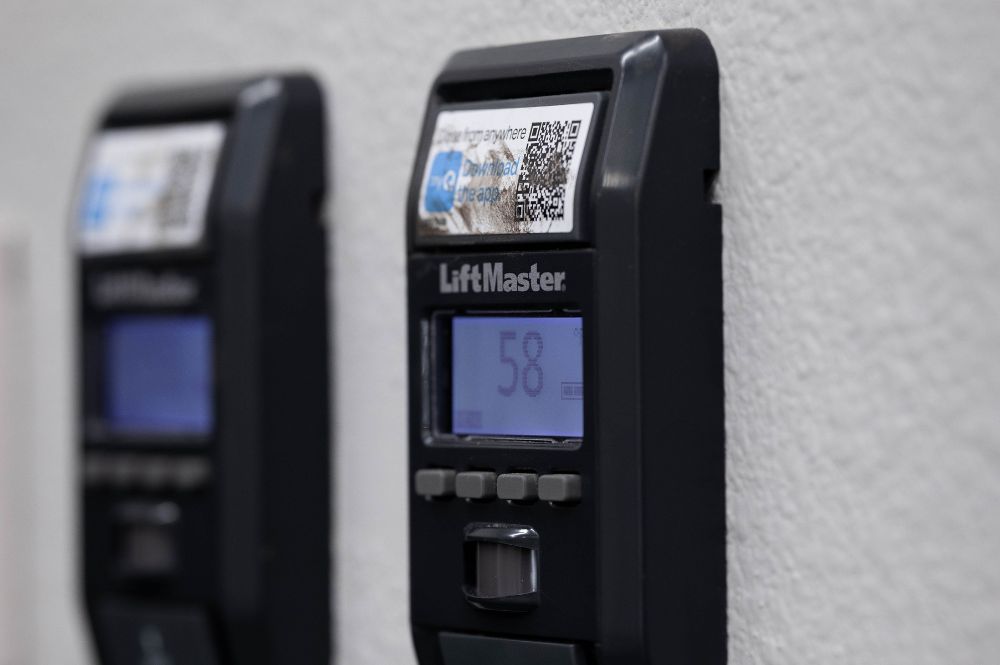
If you are learning how to program LiftMaster garage door opener with wall control specifically for a Wi-Fi-enabled smart console, the process differs slightly because these devices act as internet gateways.
Smart wall controls often require account linking via the myQ app before physical syncing. According to Wikipedia, Chamberlain Group (LiftMaster’s parent company) pioneered this IoT integration, making the wall panel a central hub rather than just a trigger.
- Download the myQ app and create an account.
- Follow the in-app prompts to put the opener into Wi-Fi setup mode.
- Once connected to your network, the app will prompt you to press the Learn button.
- After the opener connects to Wi-Fi, press the programmed wall button to finalize the local sync.
Pro Tip: Smart controls often have a separate “Lock” feature. Ensure the lock mode is disengaged during programming, as this feature blocks all remote and wall signals except the primary wall button itself.
Troubleshooting Common Programming Failures
Even professionals encounter hiccups. Use this diagnostic table to identify your issue quickly.
| Symptom | Probable Cause | Solution |
|---|---|---|
| LED flashes but door doesn’t move | Lock mode engaged | Toggle the Lock button on wall control |
| Learn light won’t turn on | Logic board power issue | Check breaker; inspect capacitor |
| Programs successfully then stops | Signal interference | Replace batteries; check for LED bulb interference |
| Wall button works intermittently | Loose wiring connection | Tighten terminal screws at back of unit |
| Nothing happens at all | Incompatible wall control | Verify model compatibility on LiftMaster site |
The LED Bulb Interference Factor
A frequently overlooked issue involves lighting. Non-shielded LED bulbs can emit radio frequency interference that disrupts the signal between the wall control and the opener. If your programming works perfectly when the garage lights are off but fails when they are on, replace your bulbs with LiftMaster-certified low-interference LEDs.
Safety Considerations During Programming
Programming is not just about convenience; it is about safety. The Consumer Product Safety Commission (CPSC) mandates that automatic reversal systems be tested monthly. Whenever you reprogram your wall control, take 60 seconds to verify the photo-eye sensors.
Place a roll of paper towels under the door path. Close the door using the newly programmed wall control. The door must immediately reverse upon contacting the object. If it does not, do not use the opener. Misaligned sensors combined with fresh programming can create dangerous operational gaps. Always prioritize mechanical safety over digital convenience.
Frequently Asked Questions (FAQ)
Can I program multiple wall controls to one LiftMaster opener?
Yes. Most modern LiftMaster openers support up to two multi-function wall controls and several single-button stations. Simply repeat the standard programming sequence for each additional unit. Each control receives a unique ID, so they operate independently regarding features like light toggling.
Do I need to reprogram my wall control after a power outage?
Generally, no. LiftMaster openers use non-volatile memory that retains programming through power loss. However, if you experience a significant surge or brownout, the logic board may reset. If your wall control stops working after a storm, perform the standard reprogramming sequence as a first troubleshooting step.
Why does my wall control blink continuously after programming?
Continuous blinking usually indicates that the control is in “Lock Mode” or that there is a communication error with the opener. First, press and hold the Lock button for 3 seconds to toggle it off. If blinking persists, the wall control may have lost synchronization and requires reprogramming following the steps outlined above.
Is there a difference between Security+ and Security+ 2.0 programming?
While the physical button presses are similar, the internal protocols differ. Security+ 2.0 uses triple-frequency technology for better range and reliability. Crucially, Security+ 2.0 openers are backward compatible with older accessories, but older openers cannot accept Security+ 2.0 wall controls. Always match your accessory generation to your opener’s Learn button color.
How do I know if my wall control is wired correctly?
Check the terminal connections on the back of the unit and at the motor head. Red wires typically connect to red terminals, and white to white. Reversed polarity won’t damage the unit but will prevent programming. Also, inspect the wire run for staples that may have pierced the insulation, causing a short circuit that mimics programming failure.
Can I program the wall control without accessing the motor unit?
No. Physical access to the Learn button on the motor head is mandatory for initial pairing. There is no remote-only method to add a new hardwired wall control. However, once paired, some smart controls allow remote management of settings through the myQ app without ladder access.
Conclusion
Mastering how to program LiftMaster garage door opener with wall control empowers you to maintain your home’s security and convenience without relying on costly technician visits. Whether you are syncing a basic push-button or configuring a smart MyQ hub, the key lies in identifying your Learn button type, respecting the 30-second programming window, and verifying safety sensors afterward. Remember, a properly programmed wall control is your most reliable entry point—more dependable than any battery-powered remote.
Now that your garage door is responding perfectly, why keep this knowledge to yourself? Share this guide on Facebook, Pinterest, or X (Twitter) to help fellow homeowners avoid the frustration of silent garage doors. Your share might save someone’s morning commute! Have you encountered unique programming challenges with your LiftMaster? Drop a comment below—we love hearing real-world solutions from our community.
Leave a Reply