
Coming home to a garage door that won’t open is incredibly frustrating, especially after a long, exhausting day. If you are wondering how do you program a LiftMaster garage door opener, don’t worry—we’ve got you covered with a simple, stress-free guide. Let’s get your remote synced and your day back on track!
How Do You Program a LiftMaster Garage Door Opener With a Learn Button?
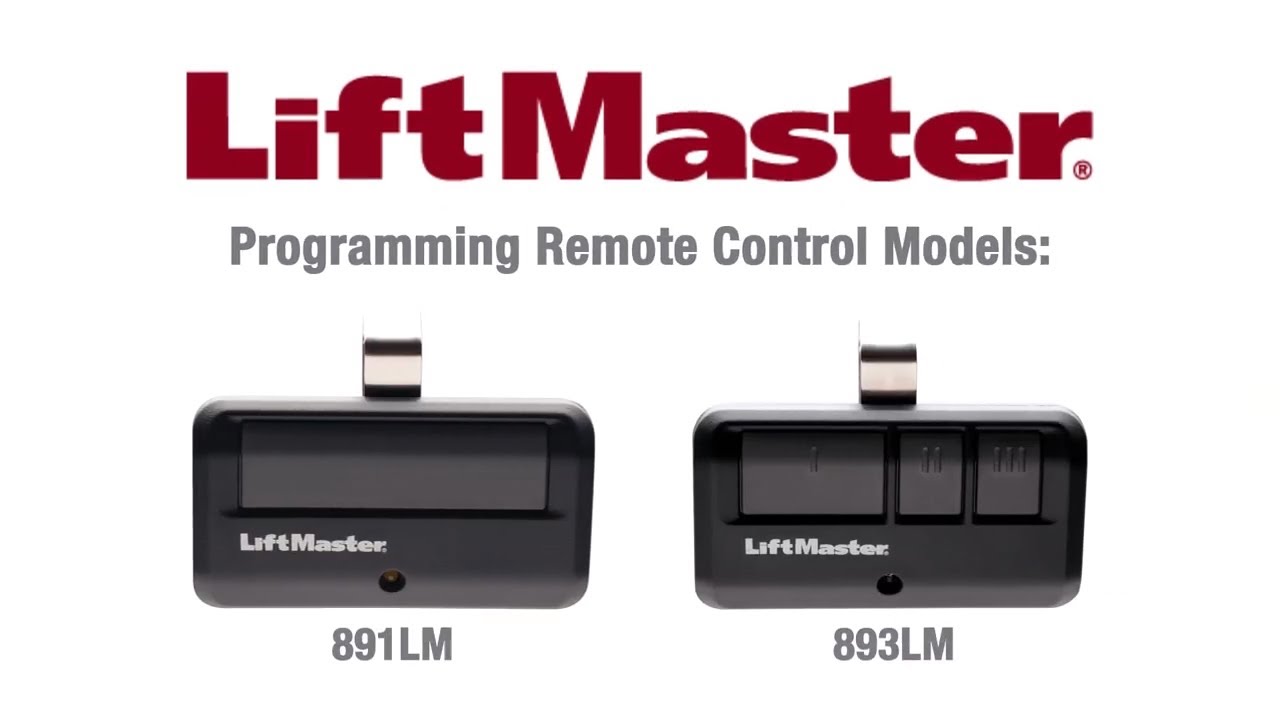
Most modern LiftMaster openers manufactured after 1993 feature a “Learn” button. According to the International Door Association (IDA), over 70% of US homeowners use their garage as the primary entrance, making a properly synced remote an absolute necessity.
Programming a remote with a Learn button is incredibly straightforward. Here is exactly how to do it:
- Locate the Learn Button: Grab a sturdy stepladder and look at the back of the motor unit hanging from your garage ceiling. You will see a large, colored button (usually yellow, orange, purple, red, or green) next to a small LED light.
- Press the Learn Button: Press and release the Learn button. Do not hold it down. The LED light next to it will either glow steadily or start blinking.
- Act Quickly: You have exactly 30 seconds to complete the next step before the system times out.
- Program the Remote: On your handheld remote control, press and hold the button you want to use to open the door.
- Wait for the Confirmation: Keep holding the remote button until you see the garage door motor light flash, or until you hear a distinct “click” sound. This usually takes about 2 to 3 seconds.
- Test It: Release the remote button and press it once normally. Your garage door should respond immediately!
Pro Tip: If the LED on the motor unit stops blinking before you finish, simply press the Learn button again to restart the 30-second window.
What If My LiftMaster Opener Doesn’t Have a Learn Button?
If your garage door opener is an older model (typically manufactured before 1993), it might not have a Learn button. Instead, it relies on DIP (Dual Inline Package) switches. A standard garage door opener is a motorized device that opens and closes heavy doors, and older models require manual frequency matching.
Here is how you can sync an older DIP switch model:
- Open the Compartments: You need to access the DIP switches on both the motor unit and the handheld remote. This usually involves removing a small plastic cover.
- Note the Motor’s Pattern: Look at the tiny row of switches inside the motor unit. They will be set in a specific up-and-down pattern.
- Match the Remote: Using a small tool like a pen or a toothpick, adjust the switches inside your remote to perfectly match the exact up-and-down pattern of the motor unit.
- Secure and Test: Put the covers back on, climb down from your ladder, and press the remote button.
Note: If you have a universal remote, you will need to match its internal switches to the motor’s switches. If it still fails, the remote’s internal battery or the motor’s receiver might be faulty.
How Do You Program a LiftMaster Garage Door Opener Keypad?
Want to enter your garage without a remote? Programming an external wireless keypad is just as easy. This is highly recommended for families with children or for when you are jogging and don’t want to carry a remote.
Follow these concrete steps to set up your keypad:
- Initiate Programming Mode: Just like with the remote, press and release the Learn button on the back of the motor unit. The LED will light up.
- Enter Your PIN: Within 30 seconds, walk over to your external keypad and type in your preferred 4-digit personal identification number (PIN).
- Confirm the Code: Immediately after typing the 4 digits, press and hold the Enter button on the keypad.
- Wait for the Flash: Keep holding the Enter button until the lights on the motor unit flash or you hear a click. This usually takes about 3 to 5 seconds.
- Test the Keypad: Enter your new 4-digit PIN and press Enter. The door should activate!
How Do You Clear the Memory and Reset the System?
Sometimes, you might experience interference, or you may have moved into a new house and want to erase all previously programmed remotes for security reasons. Clearing the memory gives you a clean slate.
Here is how to completely reset your LiftMaster opener:
- Locate the Learn Button: Find the colored Learn button on the motor head.
- Hold It Down: Press and hold the Learn button continuously.
- Watch the LED: After about 6 to 10 seconds, the LED light next to the button will turn off.
- Release: Let go of the button immediately. The system has now erased all previously programmed remotes and keypads.
- Reprogram: You will need to repeat the programming steps above for every remote and keypad you wish to use.
DIY Programming vs. Hiring a Professional
When your remote stops working, you have two choices: do it yourself or call a technician. Here is a quick comparison to help you decide.
| Feature | DIY Programming | Hiring a Professional |
|---|---|---|
| Cost | $0 (Free) | $50 – $150 (Service call fee) |
| Time Required | 5 – 10 minutes | 1 – 2 hours (scheduling + travel) |
| Skill Level | Beginner (Follow simple steps) | Expert handled |
| Convenience | Do it on your own schedule | Wait for an appointment window |
| Risk Factor | Low (Risk of erasing memory if holding Learn button too long) | Zero (Warrantied work) |
Verdict: For simple remote syncing, DIY is highly recommended. It saves you money and takes less time than waiting for a technician.
Troubleshooting Common Programming Issues
Even with the best instructions, things can occasionally go wrong. Here are a few common hiccups and how to fix them:
- The Remote Light Blinks, But the Door Doesn’t Move: Your remote battery is likely weak. Replace the battery (usually a CR2032 coin cell) and try again.
- The Motor Light Doesn’t Flash: You might be too far from the motor unit during programming. Stand directly underneath it on your stepladder while pressing the remote button.
- The Door Reverses Immediately After Closing: This is not a programming issue. Your safety sensor eyes (located near the floor on both sides of the door track) are misaligned or dirty. Wipe the lenses and ensure the small LED lights on both sensors are glowing steadily.
Frequently Asked Questions
1. How do I know what frequency my LiftMaster remote is?
You can find the frequency by looking at the color of the Learn button on your motor unit. Generally, a yellow button means 315 MHz, a purple or red button means 310 MHz or 315 MHz, and a green or orange button indicates 390 MHz. You can also check the FCC ID printed on the back of your remote and search it online.
2. Why is my LiftMaster remote not programming?
If your remote refuses to sync, the most common culprits are a dead battery in the remote, being out of the 30-second programming window, or LED light bulbs in the opener causing radio frequency (RF) interference. Try removing the LED bulbs temporarily and reprogramming.
3. Can I program my phone to open my LiftMaster garage door?
Yes! If you have a newer LiftMaster model with MyQ technology, you can download the myQ app. Simply create an account, plug in the MyQ smart hub (if not built-in), and follow the in-app prompts to link your garage door to your smartphone.
4. How often should I change my garage door opener code?
For optimal security, cybersecurity experts recommend changing your external keypad PIN every 6 to 12 months. You should also change it immediately if you lose your remote, if a family member moves out, or if you suspect your code has been compromised.
5. What do the different colored Learn buttons mean?
The color of the Learn button indicates the year of manufacture and the frequency of the radio signals. Yellow (2011-present), Purple/Orange (2005-2014), Red/Orange (2005-2014), and Green (1995-2021). Knowing the color helps you buy the exact compatible remote for your specific motor.
Conclusion
Learning how do you program a LiftMaster garage door opener is a fantastic way to take control of your home maintenance. By following these simple, step-by-step instructions, you can sync your remotes, set up a secure keypad, and clear old memory in just a few minutes. Not only does this save you the cost of a service call, but it also gives you the peace of mind that your home is secure and accessible.
Did you find this guide helpful? Don’t keep it to yourself! Hit the share button and spread the word on Facebook, Twitter, or Pinterest to help your friends and family fix their garage doors too!
Leave a Reply