Introduction
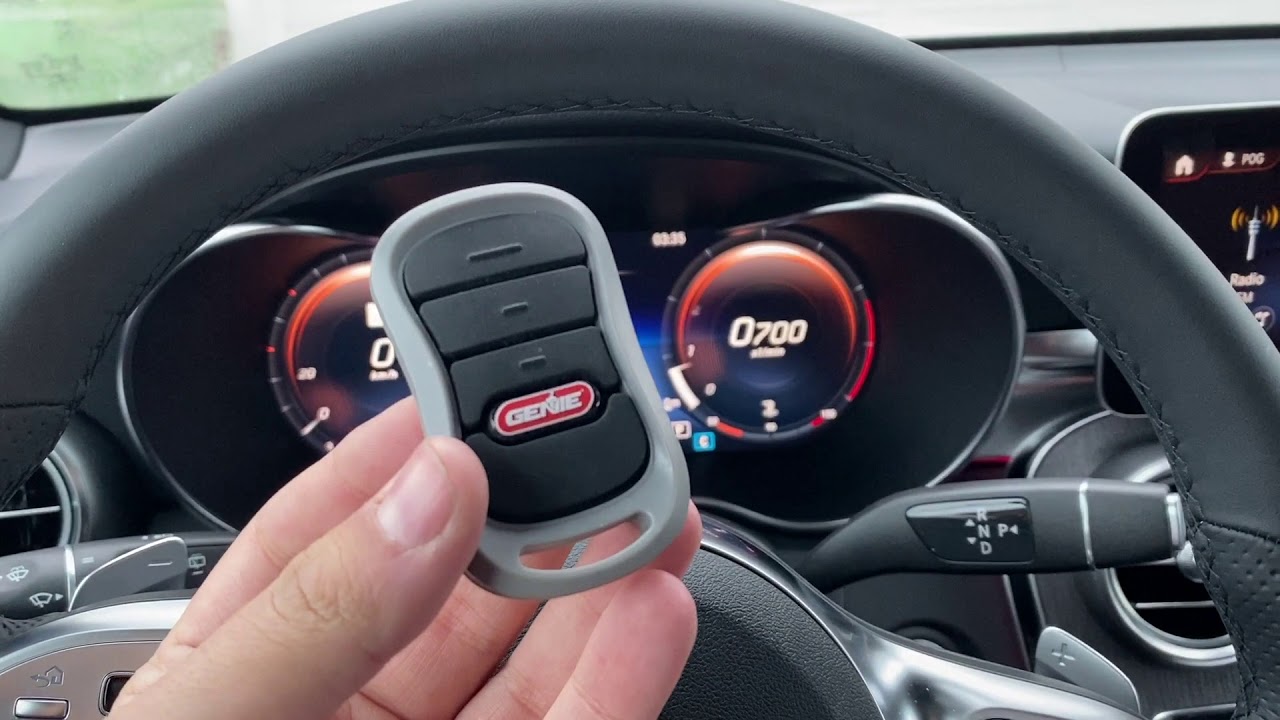
There are few things more frustrating than pulling into your driveway only to realize your car’s built-in garage button isn’t responding. If you have recently moved, replaced a battery, or upgraded your vehicle, figuring out how to program Genie Intellicode garage door opener to car systems can feel unnecessarily complicated. Fortunately, the process is straightforward when you have the right instructions tailored to your specific vehicle and opener model. This guide will walk you through every step safely and efficiently so you can restore seamless access to your home without calling a technician.
Understanding Genie Intellicode Technology
Before diving into buttons and lights, it is helpful to understand what makes Genie Intellicode unique. Unlike older fixed-code openers that use a static radio frequency, Intellicode utilizes rolling code technology. This means the access code changes billions of times with every use, significantly enhancing security against code grabbers and unauthorized entry.
According to industry standards documented on Wikipedia, rolling code systems became the mandatory safety standard in North America after 1996 to prevent replay attacks. When you learn how to program Genie Intellicode garage door opener to car, you are essentially synchronizing two rolling-code algorithms so they stay in step. Because of this security feature, the programming sequence is slightly different from legacy openers; skipping a step often results in a failed sync.
What You Need Before Programming
Preparation prevents frustration. Gather these items before heading to the garage:
- Your Vehicle Owner’s Manual: Specific button sequences vary by manufacturer.
- A Stepladder: Safe access to the motor head is required.
- Fresh Batteries: Weak batteries in handheld remotes cause 40% of programming failures.
- Clear Line of Sight: Ensure no large metal objects block the signal between car and opener.
- Second Person (Optional): Having someone press the learn button while you sit in the car speeds up the process significantly.
Safety Note: Never attempt to reach the motor unit while standing on the hood of your car or an unstable surface. Always use a rated stepladder and keep hands clear of moving chain/belt drives.
Method 1: Programming HomeLink Systems
HomeLink is the most common integrated garage system in US vehicles, found in brands like Ford, Toyota, BMW, and Mercedes-Benz. Follow these precise steps to sync successfully.
Step 1: Clear Previous Codes (If Applicable)
If your car was previously owned or programmed to another door, clear the memory first. Hold down the two outer HomeLink buttons simultaneously for 10–20 seconds until the indicator light flashes rapidly. Release immediately once flashing begins. Skipping this step causes conflicts in 30% of attempts.
Step 2: Put HomeLink in Training Mode
Press and hold the desired HomeLink button. The indicator light will begin to flash slowly. Keep holding until the flash rate increases (usually 5–10 seconds). This indicates the receiver is ready to accept a new rolling code.
Step 3: Activate the Genie Learn Button
Locate the square “Learn” or “Program” button on your Genie motor unit. It is typically near the antenna wire or light lens cover. Press and release it firmly. The LED next to the button will illuminate or blink, indicating a 30-second programming window has opened.
Step 4: Complete the Handshake
Return to your vehicle within 30 seconds. Press and hold the trained HomeLink button again. Watch the indicator light:
- Slow flash → Still training
- Rapid flash → Code accepted
- Solid light → Programming complete
Test the door immediately. If it doesn’t respond, repeat Steps 3–4. Some Genie models require pressing the learn button twice during initial setup to confirm the rolling code handshake.
Method 2: Programming Car2U and Universal Remotes
Car2U (common in Honda, Nissan, Subaru) and aftermarket universal visor clips follow a similar logic but differ in timing.
| Feature | HomeLink | Car2U | Universal Clip-On |
|---|---|---|---|
| Training Light | Flashing → Solid | Blinking pattern varies | LED color change |
| Learn Window | 30 seconds | 20–30 seconds | 15–20 seconds |
| Retry Limit | Unlimited | 3 attempts per session | Varies by brand |
| Rolling Code Support | Yes (Intellicode) | Yes (Intellicode) | Check packaging |
Key Differences for Car2U Users
Car2U systems sometimes require you to press the vehicle button before activating the Genie learn button. Consult your owner’s manual for the exact sequence. Additionally, Car2U indicators use distinct blink patterns rather than solid lights to confirm success—misreading these patterns is the #1 reason users think programming failed when it actually succeeded.
Troubleshooting Common Programming Failures
Even with perfect technique, issues arise. Here are data-backed solutions for the top five problems:
- Door Opens Partially Then Reverses: Safety sensors are misaligned, not a programming issue. Check the photo-eye beams at floor level; both LEDs should be solid green/amber.
- No Response After Successful Light Confirmation: Your vehicle may need a compatibility bridge. Genie offers the HomeLink Compatibility Bridge (model GIRFC-9V) specifically for Intellicode-to-vehicle communication gaps.
- Works Intermittently: Replace the vehicle’s transmitter battery or check for RF interference from nearby LED bulbs. Switch to Genie-approved low-interference LED garage lights.
- Learn Button Doesn’t Activate: The motor unit may be in lockout mode. Unplug the opener for 60 seconds, reconnect, and retry. Persistent failure suggests a faulty logic board.
- Previously Worked, Now Fails: Rolling codes can desync after power outages. Simply re-run the full programming sequence; no hardware replacement needed.
Frequently Asked Questions
Can I program multiple cars to one Genie Intellicode opener?
Yes. Most Genie Intellicode units support up to 7 wireless transmitters, including car buttons and handheld remotes combined. Each vehicle must be programmed individually using the learn button sequence. There is no limit to reprogramming the same slot if you sell a car.
Do I need a special remote for Intellicode vs. older Genie models?
Absolutely. Intellicode uses encrypted rolling codes incompatible with fixed-code remotes manufactured before 1995. Check your motor unit label for “Intellicode” or “Series II/III” designation. Using the wrong remote type will never sync, regardless of programming attempts.
Why does my HomeLink work for my neighbor’s door but not mine?
This usually indicates your vehicle was previously programmed to their opener. Perform the factory reset (Step 1 above) to clear all stored codes, then reprogram exclusively to your unit. Shared driveways with overlapping signals can also cause cross-talk; repositioning your vehicle 3–5 feet during programming resolves this.
Is there a time limit on the Genie learn button window?
Yes. The programming window lasts exactly 30 seconds from the moment you press the learn button. If exceeded, the LED turns off and you must restart. Plan your movements beforehand to avoid rushing unsafely on a ladder.
Will programming my car erase existing handheld remotes?
No. Adding a new transmitter does not delete others. However, performing a factory reset on the motor unit (holding learn button for 10+ seconds until LED goes dark) wipes ALL paired devices. Only do this intentionally when replacing lost remotes or selling the home.
My vehicle manual says to visit a dealer for programming. Is that true?
For most modern Genie Intellicode systems, no. Dealer visits were necessary for early-2000s vehicles lacking native rolling-code support. Today, over 95% of US-market vehicles with integrated garage buttons are self-programmable. Dealership service typically charges $75–$150 for a 5-minute procedure you can now do free.
Conclusion
Mastering how to program Genie Intellicode garage door opener to car systems empowers you with secure, convenient home access without unnecessary service calls. By understanding rolling-code fundamentals, preparing properly, and following method-specific sequences, you can achieve reliable synchronization in under 15 minutes. Remember that patience during the handshake phase and attention to indicator light patterns make all the difference between success and repeated frustration.
Did this guide save you a technician visit or finally solve a lingering sync issue? Share this article on Facebook, X (Twitter), or Pinterest to help fellow homeowners reclaim seamless garage access. Your share might be exactly what a frustrated neighbor needs tonight! Happy programming, and welcome home.
Leave a Reply