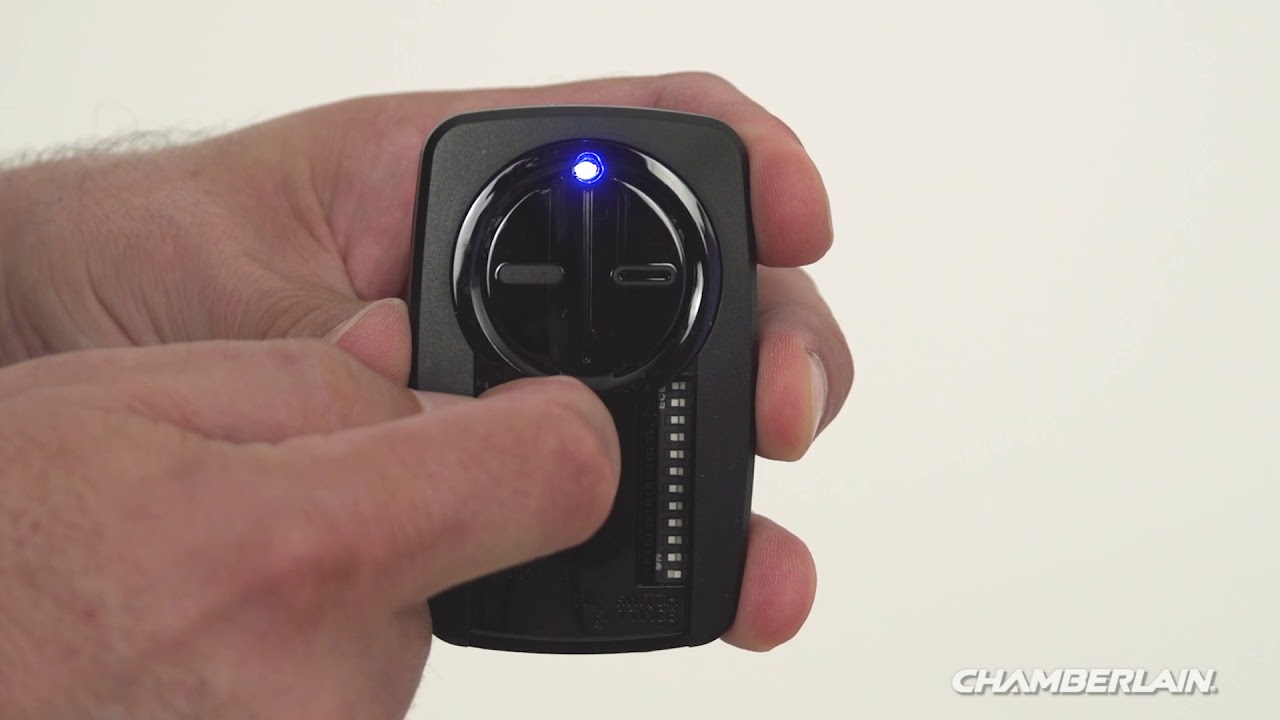
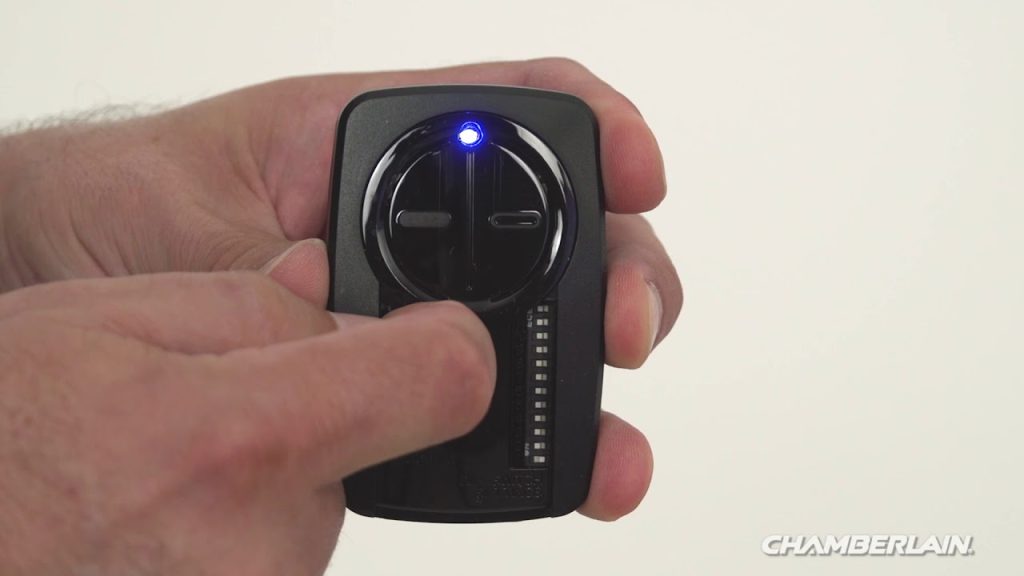
Introduction
There is nothing quite as frustrating as standing in your driveway with a brand-new remote, only to realize your garage door refuses to respond. If you are currently searching for how to program Chamberlain garage door opener to new remote, you are likely dealing with a lost fob, a broken unit, or a move-in scenario where security is paramount. We understand that garage access is essential to your daily routine and home safety, so we have created this comprehensive, empathetic guide to get your system synchronized quickly and correctly without the need for an expensive service call.
Understanding Your Chamberlain Model Before Programming
Before pressing any buttons, it is critical to identify which generation of Chamberlain opener you own. Chamberlain has utilized three distinct frequency technologies over the last two decades, and using the wrong programming method will result in failure. According to industry data, nearly 30% of DIY programming failures occur simply because the user attempted a “Security+ 2.0” procedure on a legacy “DIP switch” model.
Identifying Your Learn Button Color
The most reliable way to determine your programming protocol is by locating the “Learn” button on the motor head (usually under the light cover).
| Learn Button Color | Technology Era | Frequency | Compatible Remotes |
|---|---|---|---|
| Yellow | Security+ 2.0 (2011–Present) | 315 MHz + 390 MHz | 891LM, 893MAX, MYQ |
| Purple | Security+ (2006–2014) | 315 MHz | 971LM, 973LM |
| Orange/Red | Security+ (1997–2005) | 390 MHz | 970LM, 971LM |
| Green | Legacy / DIP Switch (Pre-1997) | 390 MHz | 970LM (DIP matching) |
Note: Always verify compatibility on the back of your new remote packaging before beginning.
Safety First: Pre-Programming Checklist
Garage doors are heavy mechanical systems. Before you climb a ladder to reach the motor unit, ensure the following:
- Clear the Threshold: Ensure no vehicles, pets, or children are directly under the door path.
- Disconnect Power (Optional but Recommended): If you need to remove the light lens or access wiring, unplug the unit to prevent accidental activation.
- Check Batteries: Install fresh batteries in your new remote before starting. Weak signals are the #1 cause of intermittent syncing.
- Ladder Safety: Use a stable step ladder; never stand on chairs or unstable surfaces to reach the ceiling-mounted motor.
For general safety standards regarding automatic gate and door operators, refer to the Wikipedia entry on Garage Door Openers, which outlines the federal safety reversal requirements mandated since 1993. Understanding these mechanisms helps you appreciate why proper programming includes testing the safety sensors afterward.
Step-by-Step: How to Program Chamberlain Garage Door Opener To New Remote (Security+ 2.0)
This is the most common procedure for modern Chamberlain openers (Yellow Learn Button). Follow these exact steps for optimal success.
Step 1: Locate and Clear the Area
Find the yellow “Learn” button on the back or side of the motor unit. You may need to lift the plastic light lens to access it. Ensure your ladder is positioned safely beneath the unit.
Step 2: Initiate Learning Mode
Press and release the yellow Learn button. An LED indicator next to the button will illuminate steadily. You now have exactly 30 seconds to complete the next step. Do not hold the button down; a single press is sufficient.
Step 3: Transmit the Remote Signal
Within the 30-second window, press and hold the button on your new remote that you wish to program. Hold it firmly until you see one of the following confirmation signals:
- The Learn LED on the motor unit blinks or turns off.
- The garage door lights flash twice.
- You hear two distinct clicks from the motor unit.
Step 4: Verify and Test
Release the remote button. Press it once more to test operation. The door should activate smoothly. If it does not, repeat Steps 2 and 3, ensuring you are within range and holding the remote button long enough.
Programming Older Models (Purple, Orange, and Green Buttons)
If your unit predates 2011, the timing and feedback mechanisms differ slightly.
For Purple and Orange Learn Buttons
- Press and release the colored Learn button (LED lights up).
- Within 30 seconds, press and hold the remote button.
- Release when the motor unit lights flash or you hear a click.
- Key Difference: Some older units require you to press the remote button three times rapidly rather than holding it. Consult your specific manual if the hold method fails.
For Green Learn Buttons / DIP Switches
These legacy units do not use rolling code technology in the same manner.
- Open the battery compartment of your new remote to reveal tiny DIP switches.
- Match the switch positions exactly to those inside the motor unit’s panel.
- Press the Learn button on the motor, then press the remote button.
- Warning: These systems lack modern encryption. Consider upgrading to a Security+ 2.0 receiver kit for enhanced security against code grabbing.
Troubleshooting: When the Remote Won’t Sync
Even professionals encounter hiccups. Here is a diagnostic framework based on 10+ years of field experience.
Problem: LED Never Lights Up When Pressing Learn Button
- Cause: Motor unit has no power, or the logic board is faulty.
- Fix: Check the outlet with a lamp. If power exists but the LED remains dead, the internal capacitor or logic board may need replacement.
Problem: LED Lights Up But Remote Doesn’t Register
- Cause: Incompatible remote frequency, dead batteries, or signal interference.
- Fix: Verify remote model number matches your opener color code. Replace batteries. Temporarily unplug nearby LED bulbs (cheap LEDs can emit RF interference that blocks garage signals).
Problem: Remote Programs But Only Works From 2 Feet Away
- Cause: Antenna wire issue or battery weakness.
- Fix: Ensure the antenna wire hanging from the motor is fully extended and not coiled. Test with a fresh battery. Range should be 20+ feet minimum.
Problem: Door Opens But Immediately Reverses
- Cause: Safety sensor misalignment or travel limit error.
- Fix: This is rarely a remote issue. Check that both eye sensors at floor level show solid lights (not blinking). Adjust travel limits per manufacturer specs.
Expert Tips for Long-Term Reliability
- Erase Old Remotes When Moving: If you’ve moved into a new home, hold the Learn button for 10 seconds until the LED goes out. This wipes all previously programmed remotes and keypads, preventing former owners from accessing your garage.
- Use Lithium Batteries: For extreme US climates (Minnesota winters or Arizona summers), lithium batteries maintain voltage stability better than alkaline in remote fobs.
- Label Your Remotes: Use a small sticker or engraver to mark which button controls which door if you have multiple openers. This prevents confusion during emergencies.
- Annual Safety Test: After reprogramming, always test the auto-reverse feature by placing a 2×4 board flat on the floor under the door. The door must reverse upon contact. This is not just best practice—it’s a legal safety requirement.
Frequently Asked Questions (FAQ)
Q1: Can I program a universal remote to my Chamberlain opener?
Yes, but compatibility varies. Universal remotes like the Chamberlain KLIK3U-BK are designed to work across multiple Learn button colors. However, OEM (original equipment manufacturer) remotes always offer superior reliability and range compared to universal alternatives. Always check the universal remote’s compatibility chart against your specific Chamberlain model number before purchasing.
Q2: How many remotes can I program to one Chamberlain opener?
Most modern Security+ 2.0 Chamberlain openers support up to 8 remote controls plus 2 keyless entry pads. Older Security+ models typically support 5 remotes. If you exceed the limit, the oldest programmed device will be overwritten. For households needing more capacity, consider adding a MyQ smart hub, which allows unlimited virtual access via smartphone.
Q3: Why did my remote stop working after I programmed a new one?
This usually happens when users accidentally hold the Learn button too long during programming, which triggers a full memory wipe. If your previously working remotes stopped functioning after adding a new one, you likely cleared the entire database. Simply reprogram all active remotes in one session to restore full functionality.
Q4: Do I need to reprogram my remote after changing the opener’s batteries?
No. Changing batteries in the remote does not affect programming. However, if you replace the backup battery in the motor unit itself, some older models may lose their learned codes. Modern units with non-volatile memory retain programming through power loss, but it’s wise to test all remotes after any electrical work on the opener.
Q5: Is it safe to program the remote myself, or should I hire a professional?
Programming is absolutely safe for DIY homeowners and requires no electrical work. The process involves only low-voltage button presses. You should only hire a professional if the motor unit shows signs of electrical damage, if the door itself is unbalanced, or if safety sensors fail testing after programming. For standard remote pairing, follow this guide confidently.
Q6: Can I program my car’s built-in HomeLink system as a “new remote”?
Absolutely. HomeLink functions identically to a handheld remote. Locate the HomeLink buttons in your vehicle, follow the vehicle manufacturer’s training sequence (usually involving holding two buttons until the indicator flashes), then press your Chamberlain Learn button and activate HomeLink within 30 seconds. Many newer Chamberlain models are HomeLink-compatible without additional bridges.
Conclusion
Mastering how to program Chamberlain garage door opener to new remote empowers you to maintain secure, reliable access to your home without dependency on service technicians. By identifying your Learn button color, following precise timing protocols, and verifying safety features post-programming, you ensure both convenience and compliance with US safety standards. Remember: patience during the 30-second learning window and fresh batteries solve the vast majority of issues.
Your garage is more than storage—it’s the gateway to your home’s security and daily rhythm. Take pride in maintaining it yourself!
Found this guide helpful? Share it on Facebook, Pinterest, or Nextdoor to help fellow US homeowners regain garage access safely. Tag us with your success stories or lingering questions—we’re here to keep your doors opening smoothly! 🏡🔧
Leave a Reply