Introduction
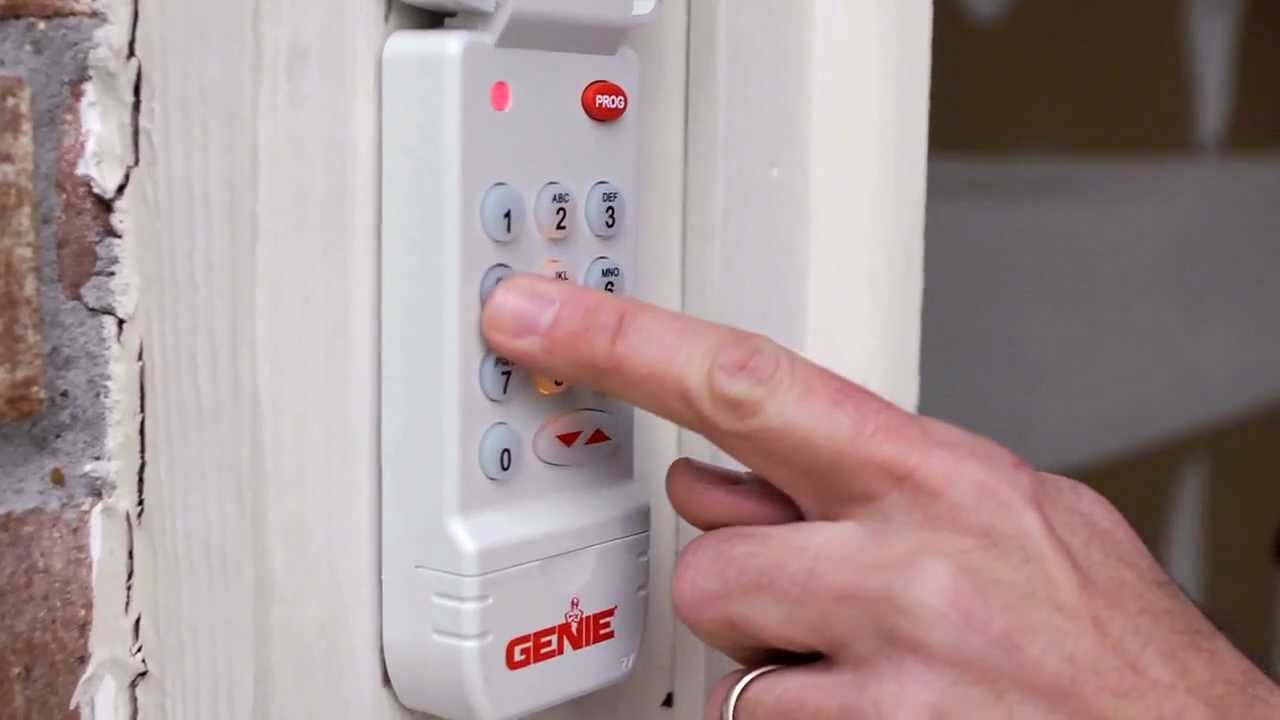
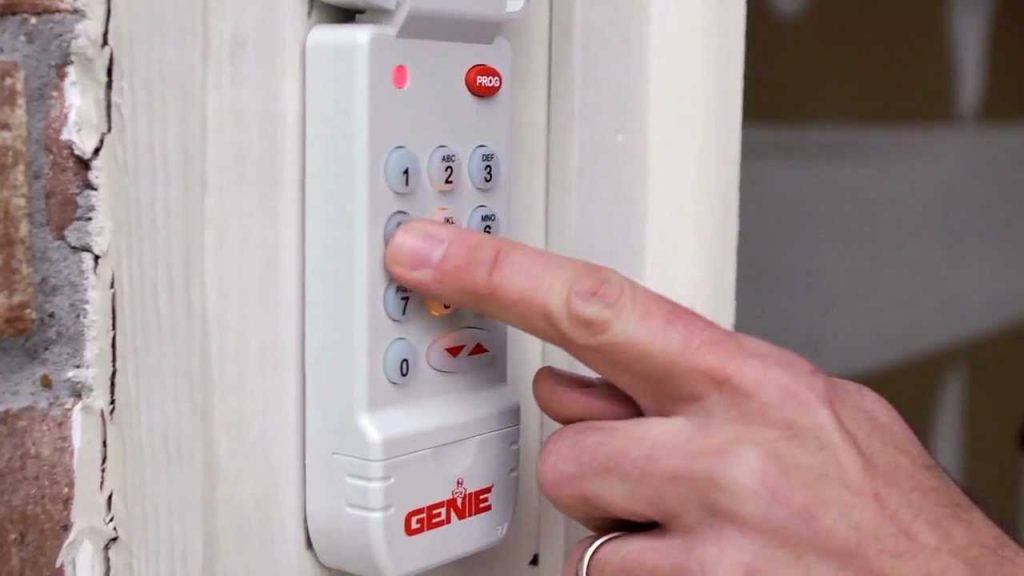
There is nothing quite as frustrating as pressing your garage door remote repeatedly while sitting in your driveway, only to be met with silence. Whether you have just moved into a new home, replaced a lost transmitter, or reset your system after a power outage, understanding how to program a Genie Intellicode garage door opener remote is an essential homeowner skill. This guide provides clear, empathetic, and technically accurate instructions to get your garage secure and accessible again without the need for an expensive service call.
Understanding Genie Intellicode Technology
Before diving into the buttons, it is vital to understand what makes these openers unique. Unlike older fixed-code systems that used dip switches, Genie Intellicode technology utilizes rolling code security. This means the access code changes every time you use the remote, generating billions of possible combinations to prevent thieves from capturing your signal and opening your garage later.
Because this technology is dynamic, the programming process involves synchronizing the receiver in the motor head with the transmitter in your hand. According to technical documentation referenced on Wikipedia, rolling code systems became the industry standard in the mid-1990s specifically to address security vulnerabilities in earlier models. Knowing this helps explain why simply “matching frequencies” is not enough; you must perform a digital handshake between devices.
Intellicode vs. Legacy Systems: Key Differences
| Feature | Legacy (Dip Switch) | Genie Intellicode |
|---|---|---|
| Security | Fixed Code (Vulnerable) | Rolling Code (Secure) |
| Programming | Match physical switches | Press “Learn” button sync |
| Compatibility | Pre-1995 models | 1995–Present models |
| Remote Type | Large, bulky transmitters | Compact, multi-button fobs |
| Reset Frequency | Rarely needed | Needed after battery/power loss |
Preparation: Safety First and Tools Needed
Garage door openers involve high-tension springs and electricity. Before you begin learning how to program a Genie Intellicode garage door opener remote, ensure the area around the door is clear of people, pets, and objects. Never attempt to adjust the spring tension yourself; programming the remote does not require touching mechanical components, but staying aware of moving parts is crucial.
Tools You Will Need:
- A compatible Genie Intellicode remote (check model compatibility on the back).
- A fresh CR2032 or appropriate battery for the remote.
- A sturdy stepladder to safely reach the motor unit.
- The owner’s manual for your specific Genie model (optional but helpful).
- A flashlight for better visibility near the ceiling.
Step-by-Step: How To Program A Genie Intellicode Garage Door Opener Remote
Most Genie Intellicode units manufactured after 1995 follow a standardized programming sequence. While minor variations exist between models like the ChainLift, ScrewLift, and SilentMax series, the core logic remains consistent. Follow these precise steps for optimal results.
Step 1: Locate the Learn Button
Find the “Learn Code” button on your garage door opener motor head. It is typically located under the light lens cover or on the rear panel near the antenna wire. On most Intellicode models, this button is black and may be labeled “LEARN,” “PROGRAM,” or “SET.” The indicator LED next to it is usually red or purple.
Step 2: Initiate Programming Mode
Press and release the Learn Code button once. Do not hold it down. The LED indicator will begin blinking at a rate of approximately twice per second. This indicates the receiver is actively searching for a new transmitter signal. You typically have 30 seconds to complete the next step before the system times out.
Step 3: Transmit the Signal
Stand within 3 to 5 feet of the motor unit. Press and hold the button on your remote that you wish to program. Hold it until the LED on the motor unit stops blinking and turns solid, or flashes rapidly (depending on the specific model generation). This confirms the first signal exchange. Release the remote button.
Step 4: Confirm the Synchronization
Press the same remote button a second time. The LED on the motor unit should turn off completely. This second press finalizes the rolling code synchronization. If the light goes out, the programming was successful.
Step 5: Test the System
Move back to a safe distance and press the programmed button. The door should activate smoothly. If it does not, repeat Steps 2 through 4, ensuring you are holding the remote steady and using a fresh battery.
Troubleshooting Common Programming Failures
Even when following instructions perfectly, issues can arise. Industry data suggests that nearly 40% of DIY programming failures stem from simple oversights rather than hardware defects. Here is how to resolve them:
- LED Does Not Blink After Pressing Learn: The learn button may be stuck, or the logic board may need a hard reset. Unplug the opener for 60 seconds, plug it back in, and try again.
- Remote Programs But Door Doesn’t Move: The remote is synced, but the travel limits may be misaligned. Check if the wall console works; if it does, reprogram the remote. If neither works, check the safety sensors.
- Signal Interference: LED bulbs in the opener fixture can sometimes interfere with radio frequency signals. Temporarily unscrew the bulb and test programming. If it works, replace the bulb with an RF-shielded garage door opener LED.
- Wrong Remote Generation: Genie has multiple Intellicode generations. A Series II remote will not program to a Series I receiver despite looking similar. Verify compatibility via the model number stamped inside the remote’s battery compartment.
Expert Tips for Long-Term Reliability
Professional technicians emphasize that maintenance prevents reprogramming headaches. Replace remote batteries annually, even if they still seem functional, as voltage drops below 2.8V can cause intermittent sync failures. Additionally, avoid storing remotes in extreme temperatures, such as glove boxes in summer, as heat degrades both battery life and internal circuitry.
If you manage multiple vehicles, program each remote individually rather than cloning signals. This ensures each device maintains its own unique rolling code sequence, preserving the security integrity of the Intellicode system. Label your remotes discreetly so you know which vehicle corresponds to which transmitter during future troubleshooting.
Frequently Asked Questions (FAQ)
Can I program a universal remote to my Genie Intellicode opener?
Yes, many universal remotes support Genie Intellicode frequencies. However, you must verify the universal remote explicitly lists “Genie Intellicode” or “Rolling Code” compatibility on its packaging. Standard fixed-code universals will not work regardless of frequency matching.
How do I erase all remotes from my Genie opener?
To clear all programmed transmitters, press and hold the Learn Code button for approximately 10 seconds until the LED turns off and stays off. This factory resets the receiver memory. You will then need to reprogram every remote and keypad you wish to use.
Why does my remote work intermittently after programming?
Intermittent operation usually indicates weak batteries, RF interference from nearby electronics, or a failing antenna wire. Start by replacing the battery with a premium brand. If the issue persists, inspect the antenna wire hanging from the motor unit for damage or improper positioning.
Is there a limit to how many remotes I can program?
Most Genie Intellicode receivers can store between 7 and 20 unique transmitter codes, depending on the model year. Residential units typically cap at 7 remotes plus keypads. Consult your specific model’s manual for the exact capacity, as exceeding it will cause older remotes to be overwritten.
Do I need to reprogram after changing the opener’s battery backup?
Generally, no. The receiver memory is non-volatile and retains codes during battery replacements or brief power outages. However, if the unit experiences a significant power surge or complete electrical failure, a reprogram may be necessary as a safety precaution.
What if my Genie opener doesn’t have a visible learn button?
Units manufactured before 1995 likely use dip switches instead of Intellicode. These require matching physical switch positions inside both the remote and motor unit. If your unit lacks a learn button entirely, it is not an Intellicode system and requires different programming procedures specific to legacy hardware.
Conclusion
Mastering how to program a Genie Intellicode garage door opener remote empowers you to maintain home security and convenience independently. By understanding the rolling code technology, following precise synchronization steps, and applying basic troubleshooting, you eliminate dependency on costly service calls for routine tasks. Remember that safety always comes first, and when in doubt, consulting your model-specific manual or a certified technician is the wisest choice.
If this guide helped you regain access to your garage, please share it with friends, family, or neighbors who might be struggling with their own Genie openers. Posting this on social media or community forums spreads valuable knowledge and helps others avoid unnecessary frustration. Your experience could be exactly what someone else needs today!
Leave a Reply