Introduction
There is nothing quite as frustrating as standing outside your home with groceries in hand, only to realize you cannot remember the code or that your keypad has stopped responding. If you are searching for how to program a Genie Intellicode garage door opener keypad, you are likely dealing with a new installation, a lost PIN, or a system reset. We understand that garage security is personal and urgent; getting this right ensures your home remains safe while providing the convenience of keyless entry. This comprehensive guide will walk you through the exact process used by professionals, ensuring your Intellicode rolling-code technology works flawlessly on the first try.
Understanding Genie Intellicode Technology
Before diving into the buttons, it is vital to understand what makes your system unique. Unlike older fixed-code openers, Genie Intellicode uses rolling-code technology. This means the access code changes every time you use the keypad, generating billions of possible combinations to prevent code grabbing or theft.
According to industry standards documented on Wikipedia, rolling-code systems were developed specifically to address security vulnerabilities in earlier dip-switch models. When you learn how to program a Genie Intellicode garage door opener keypad, you are not just setting a static password; you are synchronizing a cryptographic handshake between your keypad and the motor head. This distinction is why following the specific sequence below is non-negotiable for successful pairing.
Preparation: What You Need Before Starting
Programming failures often stem from poor preparation rather than technical error. Gather these items before climbing the ladder:
- The Learn Button Location: Identify whether your motor unit has a square “Learn” button (usually behind the light lens) or a recessed pinhole.
- Fresh Batteries: Weak batteries are the #1 cause of programming failure. Use high-quality alkaline 9V or AAA batteries depending on your model.
- Your Desired PIN: Choose a 3-to-4 digit code. Avoid obvious sequences like “1234” or birth years.
- A Stable Ladder: Safety first. Ensure you can comfortably reach the motor unit without overextending.
- Owner’s Manual: Keep it handy for model-specific LED indicator meanings.
Expert Tip: Always clear old codes if you have moved into a new home or suspect unauthorized access. Holding the “Learn” button for 10+ seconds typically factory-resets the receiver memory.
Step-by-Step: How To Program A Genie Intellicode Garage Door Opener Keypad
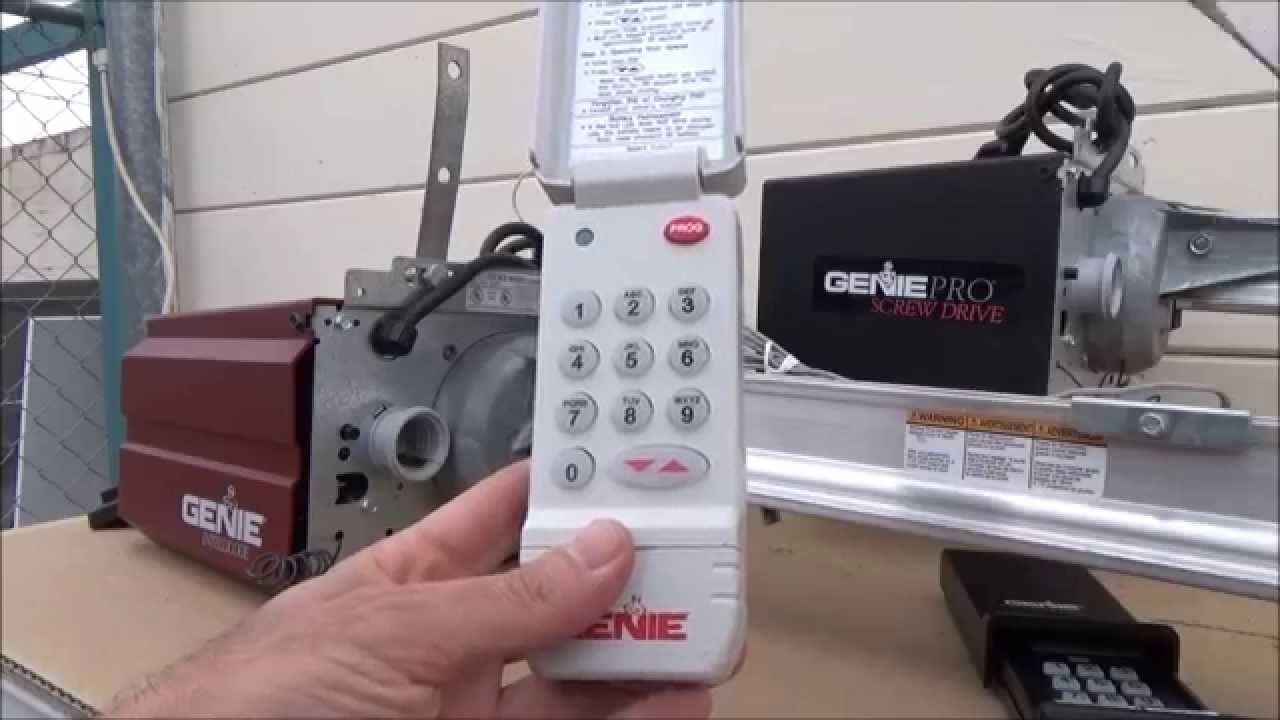
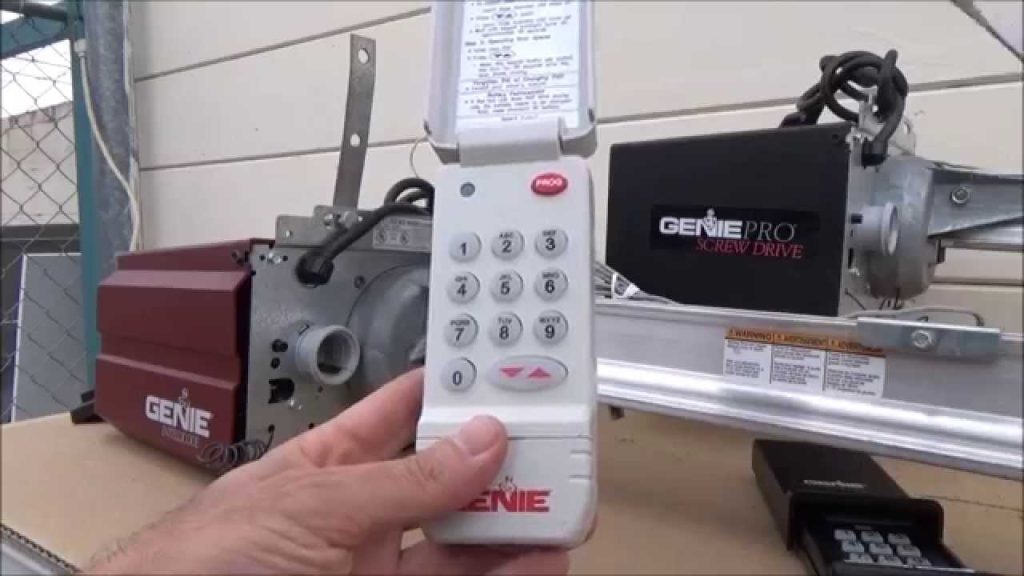
This tutorial applies to most Genie Intellicode wireless keypads (models GK-R, G3T-R, and similar). Follow these steps precisely.
Step 1: Locate and Press the Learn Button
Go to your garage door opener motor unit. Remove the light cover if necessary to find the “Learn Code” button. It is usually located near the antenna wire or the terminal block.
- Press and release the Learn Code button.
- Observe the LED indicator. On most Intellicode units, a blinking red or blue light indicates the system is in programming mode.
- Note: The light may stay solid or blink differently depending on the generation. Refer to your manual if the behavior seems unexpected.
Step 2: Enter Your New PIN at the Keypad
Return to the exterior wireless keypad. You now have approximately 30 seconds to complete the next sequence before the motor times out.
- Enter your chosen 3-to-4 digit PIN using the numeric keys.
- Press and hold the “Send” or “Open/Close” button immediately after entering the last digit.
- Continue holding the button until you see feedback from the opener.
Step 3: Confirm Synchronization
Watch the motor unit’s LED and listen for mechanical feedback.
- Successful Sync: The LED will stop blinking and turn off, or flash rapidly then cease. You may hear a relay click or the lights flash twice.
- Failed Sync: The LED continues blinking indefinitely or turns a different color. Release the Send button and restart from Step 1.
Step 4: Test the System Thoroughly
Never assume success without verification.
- Wait 5 seconds after the LED stops.
- Enter your PIN and press Send.
- The door should activate immediately.
- Test from various distances (5ft, 10ft, 15ft) to ensure signal strength is adequate.
Troubleshooting Common Programming Issues
Even experts encounter hiccups. Use this diagnostic table to resolve problems quickly:
| Symptom | Probable Cause | Solution |
|---|---|---|
| LED never blinks after pressing Learn | Motor not in program mode / bad capacitor | Check power supply; replace Learn button assembly |
| Keypad lights up but door doesn’t respond | Dead battery / out of range | Replace battery; reposition keypad within 25ft |
| Door opens during programming but not after | Rolling code desync | Clear all codes and reprogram from scratch |
| Intermittent response | RF interference / metal obstruction | Move keypad away from gutters/metal siding |
| Works once then stops | Capacitor failure in motor | Professional service required for logic board |
Secondary Keyword Integration: Resetting vs. Reprogramming
Many users confuse resetting with reprogramming. Resetting clears the motor’s memory entirely, requiring all remotes and keypads to be re-synced. Reprogramming simply adds or updates a single device. If your existing remotes still work but the keypad does not, choose reprogramming. Only perform a full reset when moving into a new property or experiencing persistent ghost activations.
Best Practices for Keypad Security and Longevity
Programming correctly is only half the battle. Maintain your system with these professional recommendations:
- Change Codes Biannually: Update your PIN every six months or after contractors/service personnel visit.
- Weatherproofing: Install the keypad under an eave or use a silicone sealant around the mounting screws to prevent moisture ingress.
- Battery Schedule: Replace batteries proactively every 12 months, even if the low-battery indicator hasn’t triggered. Cold weather accelerates drain.
- Avoid Shared Codes: Give family members individual PINs if your system supports multi-user programming. This aids in tracking access and revoking permissions easily.
- Firmware Updates: Newer Genie Aladdin Connect systems allow OTA updates. Check the app quarterly for security patches.
Frequently Asked Questions (FAQ)
Q1: Can I program multiple PINs on one Genie Intellicode keypad?
Yes, most modern Genie wireless keypads support up to three separate user codes plus a master code. Each PIN operates independently, allowing you to assign unique codes to family members, dog walkers, or delivery services. Consult your specific model’s manual for the multi-user programming sequence, as it differs slightly from the standard single-code method described above.
Q2: Why does my keypad work intermittently even with fresh batteries?
Intermittent operation usually indicates radio frequency (RF) interference or physical obstruction. Metal siding, aluminum gutters, and LED bulbs with poor shielding can block signals. Try relocating the keypad 6–12 inches left or right. Also, verify that nearby smart home devices aren’t operating on the same 315MHz or 390MHz frequency band. If problems persist, the keypad’s internal antenna may be damaged.
Q3: Do I need to reprogram the keypad after changing the opener’s batteries?
No. The keypad and motor maintain their synchronized rolling code independently of battery status. However, if the motor loses power completely (unplugged or breaker tripped), some older Intellicode models may require re-syncing. Modern units with battery backup retain memory indefinitely. Always test the keypad after any power event to confirm functionality.
Q4: Is there a universal keypad compatible with Genie Intellicode?
While universal keypads exist, they often lack full Intellicode rolling-code support and may default to less secure fixed-code emulation. For optimal security and reliability, always use an OEM Genie keypad designed specifically for Intellicode systems. Third-party alternatives may void warranties and create vulnerability gaps that defeat the purpose of upgrading to rolling-code technology.
Q5: How do I know if my Genie opener uses Intellicode or older technology?
Check the manufacturing date and label. Units produced after 1995 typically use Intellicode. Look for “Intellicode” or “Rolling Code” printed on the motor housing or remote. Older models feature visible DIP switches inside the remote or motor compartment. If you find DIP switches, you have a fixed-code system and cannot use Intellicode keypads without replacing the entire opener or adding a conversion kit.
Q6: What happens if I enter the wrong PIN too many times?
Genie Intellicode keypads include a lockout feature to prevent brute-force attacks. After 3–5 consecutive incorrect entries, the keypad disables for 60–120 seconds. During lockout, no inputs are accepted, including correct codes. Simply wait for the timeout period to expire, then try again. Repeated lockouts may indicate tampering; inspect the keypad for damage and consider changing your PIN immediately.
Conclusion
Mastering how to program a Genie Intellicode garage door opener keypad empowers you with both convenience and peace of mind. By following the precise steps outlined above—locating the learn button, entering your PIN within the timing window, and verifying synchronization—you ensure reliable keyless access that leverages cutting-edge rolling-code security. Remember to prioritize battery maintenance, strategic placement, and regular code rotation to maximize both performance and safety.
Your garage is more than storage; it’s an extension of your home’s security perimeter. Taking ten minutes today to properly configure your keypad prevents headaches tomorrow. Found this guide helpful? Share it with friends, family, or neighbors who might be struggling with their own Genie systems. Tag us on social media or leave a comment below with your experience—we love hearing from fellow DIY enthusiasts who value smart, secure home automation!
Leave a Reply