Introduction
There are few things more frustrating than sitting in your driveway, pressing a remote button repeatedly, and watching your garage door remain stubbornly closed. Whether you have just moved into a new home, replaced a lost remote, or upgraded to a smart system, understanding how to program a garage door opener to a LiftMaster is an essential homeowner skill that saves both time and service fees. This guide provides clear, empathetic, and expert-backed instructions to get your system synchronized safely and quickly, ensuring you never feel locked out of your own home again.
Understanding Your LiftMaster Model and Safety First
Before diving into buttons and batteries, it is critical to identify which generation of LiftMaster opener you own. Programming methods differ significantly between older DIP switch models, Security+ 1.0 (orange learn button), Security+ 2.0 (yellow/purple learn button), and the newer MyQ-enabled smart openers. According to industry safety standards outlined by the Consumer Product Safety Commission via Wikipedia, modern openers manufactured after 1993 must include photoelectric sensors and auto-reverse mechanisms; never bypass these features during programming.
Why Identification Matters
- Security+ 2.0 (Yellow Learn Button): Uses rolling code technology with over 100 billion possible codes. Requires a specific “press-and-release” sequence.
- Security+ 1.0 (Orange/Red Learn Button): Older rolling code system. May require holding the button longer.
- DIP Switches (Pre-1993): Requires manually matching tiny switches inside the remote and motor head. Note: If you have this model, experts strongly recommend upgrading for safety.
- MyQ Smart Openers: Can be programmed via the physical learn button OR through the MyQ smartphone app using Wi-Fi.
⚠️ Critical Safety Warning: Always keep hands and tools away from moving parts during programming. Ensure the photo-eye sensors are clean, aligned, and unobstructed before testing. Never disable safety reversal systems.
How to Program a Standard Remote Control to LiftMaster
This is the most common task when learning how to program a garage door opener to a LiftMaster. The process typically takes less than two minutes.
Step-by-Step Remote Programming
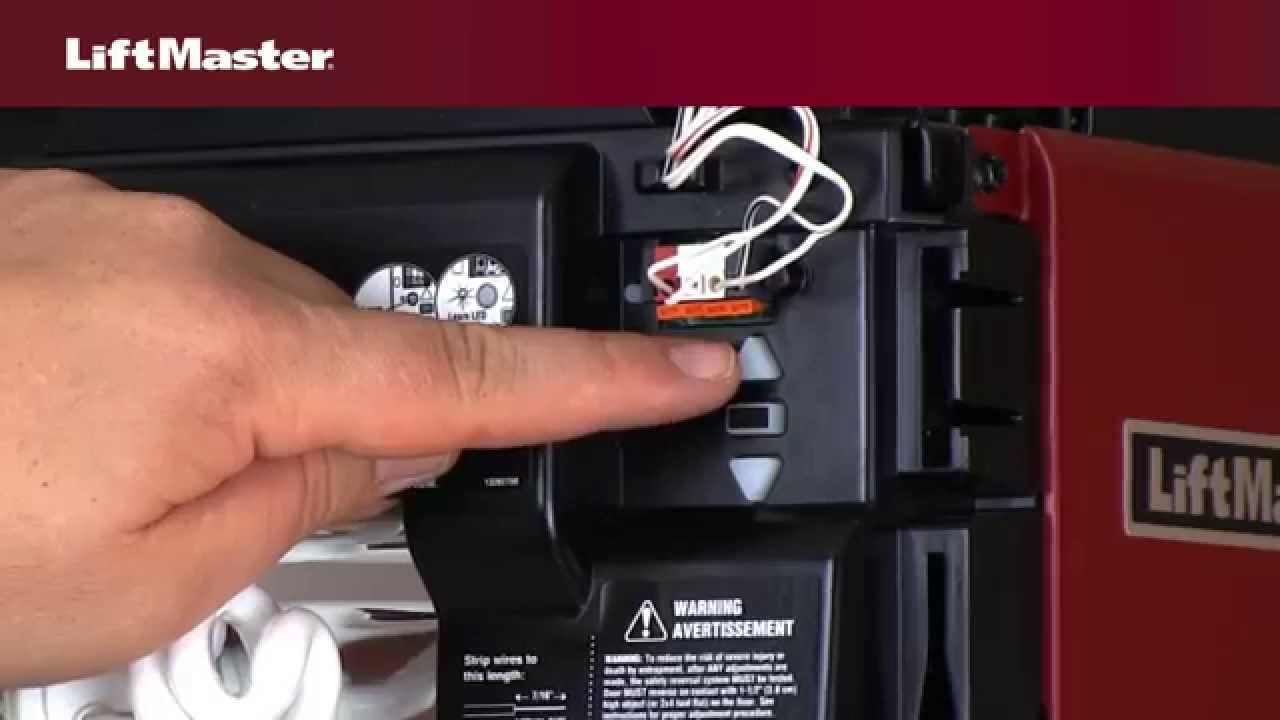
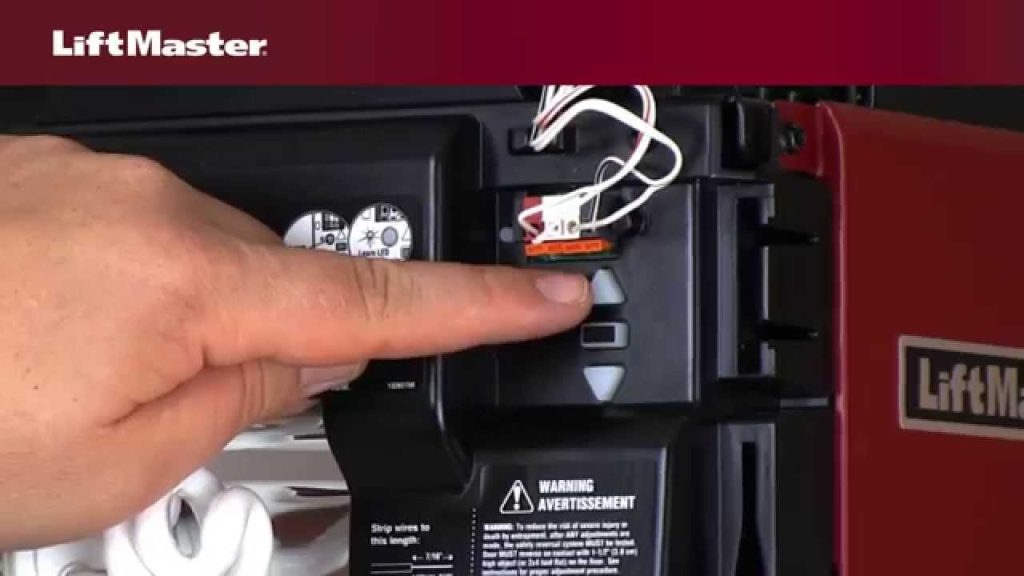
- Locate the Learn Button: Find the colored square button on the back or side of the motor unit hanging from your ceiling. It is usually yellow, orange, red, or purple.
- Clear Memory (Optional but Recommended): If the opener has been acting erratically, press and hold the learn button for 6–10 seconds until the LED turns off. This erases all previous remotes. Skip this if you only want to add a new remote without deleting existing ones.
- Initiate Learning Mode: Press and release the learn button firmly. The LED indicator will light up solidly or begin blinking, indicating the unit is in pairing mode. You typically have 30 seconds to complete the next step.
- Program the Remote: Within the 30-second window, press and hold the button on your remote that you wish to use. Hold it until the motor unit’s lights flash or you hear two distinct clicks. This confirms successful synchronization.
- Test Immediately: Stand clear of the door path and press the remote button. The door should activate smoothly. If it does not, repeat steps 3–4, ensuring fresh batteries are installed.
Troubleshooting Remote Sync Failures
| Symptom | Likely Cause | Expert Solution |
|---|---|---|
| Light flashes but door doesn’t move | Weak battery or signal interference | Replace battery with CR2032 lithium; avoid LED bulbs near antenna |
| Works intermittently | Rolling code desync | Clear memory and reprogram all remotes simultaneously |
| No response at all | Wrong frequency or incompatible remote | Verify remote matches opener’s MHz (310, 315, 390) |
| Door reverses immediately | Sensor misalignment | Clean lenses, check wiring, ensure beams are level |
How to Program a Wireless Keypad to LiftMaster
Wireless keypads are ideal for families, dog walkers, or guests who need access without carrying a remote. Programming a keypad follows a similar logic but requires entering a PIN.
Detailed Keypad Setup Instructions
- Enter Factory Default Mode: On the keypad, press and hold the “*” and “#” buttons simultaneously until the LED stops blinking and stays solid. This resets the keypad.
- Set Your Personal PIN: Enter a 4-digit code of your choice (avoid obvious combinations like 1234 or birth years). Press “Enter.”
- Activate the Motor’s Learn Button: Just like with the remote, press and release the learn button on the overhead unit. Watch for the indicator light.
- Sync the Keypad: Within 30 seconds, return to the keypad and enter your new 4-digit PIN again, then press and hold “Enter” until the opener lights flash or click.
- Verify Operation: Wait 5 seconds, then enter your PIN and press “Enter.” The door should respond. Test from various distances to ensure signal strength.
💡 Pro Tip: Change your keypad PIN every 6 months or after tenants/guests move out. LiftMaster’s Security+ 2.0 system generates a new rolling code each time, but changing the PIN adds a vital layer of physical security.
Programming MyQ Smart Garage Features
For homeowners with Wi-Fi-enabled LiftMaster openers, programming extends beyond physical buttons. The MyQ ecosystem allows control via smartphone, voice assistants, and scheduled automation.
Connecting to the MyQ App
- Download the official MyQ app (iOS/Android) and create a free account.
- Tap “Add Device” → “Garage Door Opener” → Select your LiftMaster model.
- Follow in-app prompts to connect your phone to the opener’s temporary Wi-Fi hotspot, then link it to your home network.
- Once connected, you can name the door, set geofencing alerts, and integrate with Amazon Key, Google Assistant, or IFTTT.
Key Benefit: MyQ eliminates the need to physically reprogram remotes when adding users. Simply share digital access through the app, revoking it instantly when no longer needed. Industry data shows that smart garage adoption reduces unauthorized entry incidents by up to 30% compared to traditional mechanical systems.
FAQ: Common Questions About LiftMaster Programming
Q1: How do I know which learn button color corresponds to my LiftMaster?
The color directly indicates the security protocol. Yellow = Security+ 2.0 (2011–present), Orange/Red = Security+ 1.0 (1997–2011), Green = Very old fixed-code models. Always match your remote’s compatibility label to this color. Using an incompatible remote will fail silently.
Q2: Can I program multiple remotes to one LiftMaster opener?
Yes. Most LiftMaster units support up to 8 remotes plus 2 keypads. Each device must be programmed individually using the learn button sequence. Remember that clearing memory deletes all devices, so only do this if you intend to reprogram everything from scratch.
Q3: Why does my remote work sometimes but not others?
Intermittent operation usually stems from three issues: (1) dying batteries causing weak signal transmission, (2) LED light bulbs emitting RF interference near the antenna wire, or (3) metal objects blocking the signal path. Replace batteries first, then swap any nearby bulbs for RF-shielded garage-specific LEDs, and ensure the antenna hangs vertically without kinks.
Q4: Is it safe to program a LiftMaster myself, or should I hire a professional?
DIY programming is completely safe for standard remotes and keypads when following manufacturer guidelines. However, if you need to adjust travel limits, force settings, or replace torsion springs, hire a certified technician. These tasks involve high-tension components that can cause severe injury if mishandled.
Q5: What happens if I lose my only remote and can’t access the learn button?
If the motor unit is inaccessible (e.g., high ceiling, no ladder), you cannot program a new remote traditionally. In this case, purchase a LiftMaster Universal Remote with External Receiver Kit. The receiver mounts at ground level with its own learn button, bypassing the need to reach the motor head entirely.
Q6: Does programming reset the safety sensors?
No. Programming remotes or keypads does not affect photo-eye alignment or auto-reverse calibration. However, if you perform a full factory reset (holding learn button 10+ seconds), some models may require sensor re-validation. Always test safety reversal monthly by placing a 2×4 board in the door’s path; the door must reverse upon contact.
Conclusion: Secure Access Starts With Correct Programming
Mastering how to program a garage door opener to a LiftMaster empowers you to maintain secure, reliable home access without unnecessary expense or frustration. From identifying your learn button color to syncing smart features via MyQ, each step builds confidence and ensures your system operates as engineered. Remember: fresh batteries, proper safety checks, and periodic PIN updates are the hallmarks of a well-maintained garage system.
Found this guide helpful? Share it on Facebook, X (Twitter), or Pinterest to help fellow homeowners regain control of their garages! Tag us @YourHomeTechTips with your success stories or lingering questions—we’re here to help. Safe programming, and welcome home! 🏡✨
Leave a Reply