
Introduction
Is your new Chamberlain remote sitting useless on the kitchen counter? You are not alone. Many homeowners feel frustrated when technology doesn’t work out of the box, especially when it involves securing their home. The good news is that learning how do you program a Chamberlain garage door remote is simpler than most people think. With just a few clicks and a ladder, you can regain full control of your garage in under five minutes. This guide will walk you through every step, ensuring your door opens smoothly and securely.
Understanding Your Chamberlain Opener Model
Before pressing any buttons, it is crucial to identify which type of Chamberlain opener you own. Chamberlain has produced millions of units over the decades, and the programming method varies slightly between modern “smart” openers and older legacy models.
Most units manufactured after 2011 feature a “Learn” button. This button is typically located on the back or side of the motor unit hanging from your garage ceiling. The color of this button is the key to identifying your protocol:
- Yellow: Uses Security+ 2.0 rolling code technology.
- Purple: Uses Security+ rolling code technology.
- Red/Orange: Older models, often using fixed codes or early rolling codes.
- Green: Very old models (pre-1993), which may require different dip-switch settings.
Identifying this color helps you determine the exact timing and steps required. If you have a newer model with Wi-Fi capabilities, you might also use the MyQ app, but manual programming via the Learn button remains the most reliable method for remotes.
Step-by-Step: How Do You Program A Chamberlain Garage Door Remote?
This section answers the core question directly. We will focus on the most common scenario: programming a standard handheld remote to a Chamberlain opener with a Learn button.
Step 1: Prepare Your Equipment
Ensure you have a sturdy stepladder. Safety is paramount; never stand on unstable surfaces. Have your new remote ready with fresh batteries installed. Weak batteries are the number one cause of programming failures.
Step 2: Locate the Learn Button
Climb the ladder and locate the motor unit. Look for the small square button labeled “Learn.” It is usually near the antenna wire (a hanging yellow or purple wire). Note the color of the button, as mentioned earlier.
Step 3: Clear Old Codes (Optional but Recommended)
If you are replacing a lost remote or suspect security issues, clear the memory first. Press and hold the Learn button for about 6–10 seconds until the indicator light turns off. This erases all previously programmed remotes and keypads. Note: You will need to reprogram all your existing devices after this step.
Step 4: Initiate Programming Mode
Press and release the Learn button once. The indicator LED next to the button will illuminate or blink, signaling that the opener is in “learning mode.” You typically have 30 seconds to complete the next step before the mode times out.
Step 5: Sync the Remote
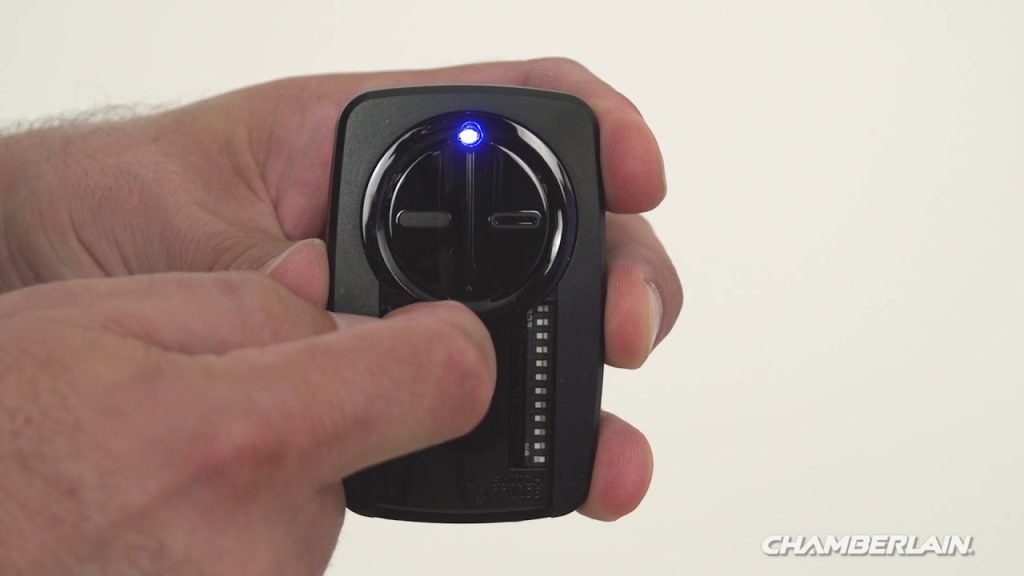
Within those 30 seconds, press and hold the button on your remote that you wish to use. Keep holding it until you see the opener’s lights flash or hear two distinct clicks. This confirms the signal has been received and stored.
Step 6: Test the Connection
Step down from the ladder and press the remote button again. The garage door should activate immediately. If it does not, repeat the process, ensuring you are within range (usually 10–20 feet) during programming.
Troubleshooting Common Programming Issues
Even with clear instructions, things can go wrong. Here are the most frequent hurdles users face and how to overcome them.
The Remote Won’t Sync
If the LED on the motor unit does not light up when you press the Learn button, check the following:
- Power Supply: Ensure the opener is plugged in and the circuit breaker hasn’t tripped.
- Lock Feature: Some Chamberlain models have a “Lock” feature that disables remote controls. Check your wall console to ensure the lock is disengaged.
- Battery Orientation: Double-check that the batteries in the remote are inserted correctly.
Intermittent Signal Range
If the remote works only when you are very close to the door, interference might be the culprit. LED light bulbs in the garage opener can sometimes emit frequency interference. Try replacing the opener’s light bulbs with incandescent ones or specific “garage door compatible” LEDs to test if range improves.
Compatibility Concerns
Not all remotes work with all openers. Universal remotes claim broad compatibility, but OEM (Original Equipment Manufacturer) Chamberlain remotes offer the highest success rate. Always check the packaging of your remote for compatibility lists. For a deeper understanding of radio frequency standards in garage doors, you can refer to technical resources on rolling code security technology.
Smart Integration: Using the MyQ App
For users with Wi-Fi-enabled Chamberlain openers, programming isn’t just about physical remotes. The MyQ ecosystem allows you to control your door via smartphone.
| Feature | Physical Remote | MyQ App |
|---|---|---|
| Range | Limited to ~1000 ft | Unlimited (Internet required) |
| Battery | Requires replacement | Uses phone battery |
| Access Control | Single user per remote | Multiple users/family members |
| Status Check | No feedback | Real-time open/closed status |
To set up MyQ:
- Download the MyQ app from the App Store or Google Play.
- Create an account and log in.
- Follow the in-app prompts to connect to your Wi-Fi network.
- Scan the QR code located on your motor unit or enter the serial number manually.
This digital layer adds convenience, allowing you to close the door if you forget it after leaving for work.
Security Best Practices for Garage Doors
Programming your remote is only half the battle; securing it is the other. Garage doors are a common entry point for burglars because many homeowners neglect security updates.
- Change Codes Regularly: If you move into a new home, always clear the memory and reprogram your remotes. Previous owners may still have access.
- Use Rolling Codes: Ensure your opener uses Security+ or Security+ 2.0 technology. These systems change the access code every time you use the remote, preventing code grabbers from stealing your signal.
- Vacation Mode: If you are going away for an extended period, consider unplugging the opener or using the vacation lock feature on your wall console.
FAQ Section
1. How do I know if my Chamberlain remote is programmed correctly?
You will know it is programmed correctly when the garage door opener’s lights flash twice, or you hear two clicks immediately after pressing the remote button during the syncing process. Additionally, the door should respond consistently from a reasonable distance.
2. Can I program a universal remote to a Chamberlain opener?
Yes, most universal remotes are compatible with Chamberlain openers manufactured after 1993. However, you must follow the specific instructions provided with the universal remote, as the button sequence may differ from OEM remotes. Look for the “Learn” button method in the universal remote’s manual.
3. Why does my Chamberlain remote stop working after a power outage?
Power outages rarely erase programmed codes from the motor unit’s memory. If your remote stops working after an outage, it is more likely due to a surge damaging the remote’s internal circuitry or the opener’s receiver. Try reprogramming the remote. If it fails, replace the batteries or the remote itself.
4. Is there a limit to how many remotes I can program?
Most Chamberlain openers can store up to 8–10 unique remote controls and keypads. However, this varies by model. Consult your specific owner’s manual for the exact capacity. If you reach the limit, you must clear old codes to add new ones.
5. What should I do if the Learn button light doesn’t turn on?
If the Learn button light does not illuminate when pressed, the logic board in your opener may be faulty, or the unit may not be receiving power. Check your home’s circuit breaker. If power is present, the opener’s internal component may need professional repair or replacement.
Conclusion
Learning how do you program a Chamberlain garage door remote empowers you to maintain control over your home’s security and convenience. By identifying your model’s Learn button color and following the precise 30-second syncing window, you can avoid costly service calls. Whether you opt for a traditional handheld remote or integrate with the MyQ smart system, regular maintenance and security checks ensure long-term reliability.
Did this guide help you get your garage door working again? Share this article with friends or family who might be struggling with their own garage openers. Don’t forget to bookmark this page for future reference!
Leave a Reply