Introduction
There are few things more frustrating than pulling into your driveway during a rainstorm, only to realize you cannot remember where you placed your handheld remote. If you have ever found yourself stuck outside or fumbling through a messy glovebox, you are not alone. Learning how to pair a garage door opener to your car is a simple upgrade that adds significant convenience and security to your daily routine. This guide will walk you through the exact steps to sync your vehicle’s built-in system safely and correctly.
Understanding Your Vehicle’s Garage Door System
Before pressing any buttons, it is vital to identify which technology your vehicle uses. Most modern cars manufactured after 2005 utilize a system called HomeLink, while older vehicles or aftermarket installations may use generic universal transmitters. According to automotive industry standards, over 85% of new vehicles sold in the United States come equipped with integrated garage door openers as a standard or optional feature.
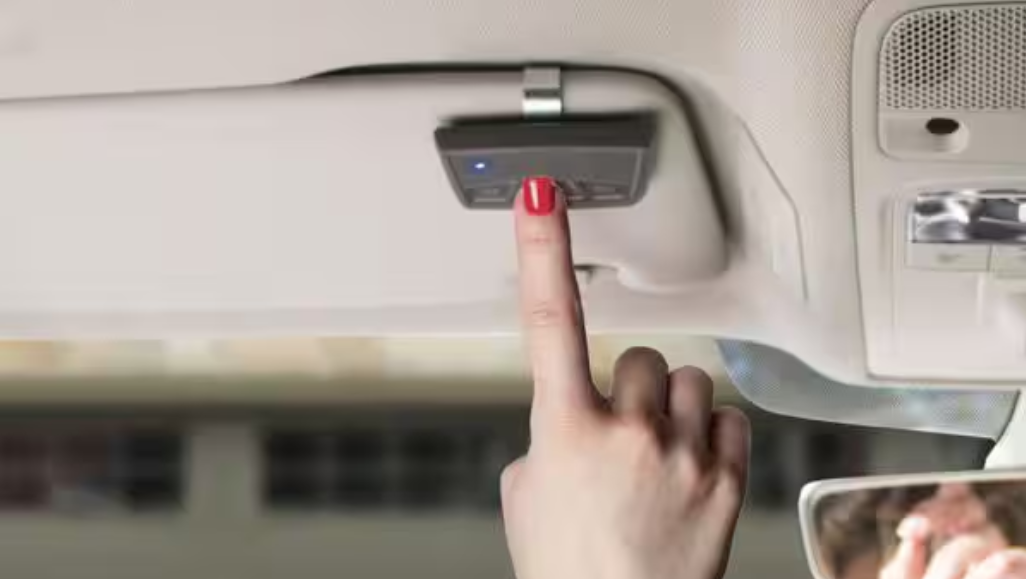
Understanding the difference matters because the programming sequence varies significantly between systems. HomeLink typically uses three buttons located on the rearview mirror, overhead console, or visor. Universal aftermarket systems often have a single button with an LED indicator. Identifying your hardware first prevents wasted time and ensures you follow the correct protocol for how to pair a garage door opener to your car.
HomeLink vs. Universal Remotes: Key Differences
| Feature | HomeLink (OEM) | Universal Aftermarket |
|---|---|---|
| Location | Mirror, Visor, or Overhead Console | Dashboard Mount or Visor Clip |
| Buttons | Usually Three Programmable Buttons | Single or Dual Button |
| Compatibility | Rolling Code & Fixed Code | Primarily Fixed Code (Older) |
| Power Source | Vehicle Battery | Internal Coin Cell Battery |
| Range | Optimized for Vehicle Antenna | Variable Signal Strength |
Safety First: Pre-Programming Checklist
Safety should never be an afterthought when dealing with automated mechanical systems. Before you begin the synchronization process, ensure your garage door area is completely clear of people, pets, and obstacles. The door will cycle multiple times during programming, and accidental activation can cause injury or property damage.
Additionally, verify that your garage door opener unit itself is functioning correctly using the original wall control or handheld remote. If the door struggles to open or close manually, address those mechanical issues before attempting to program your car. For comprehensive safety standards regarding automated doors, refer to the Wikipedia entry on Garage Door Openers, which outlines critical safety reversal mechanisms and federal regulations.
Step-by-Step: How To Pair A Garage Door Opener To Your Car (HomeLink)
This section covers the most common scenario: programming a factory-installed HomeLink system. Please note that specific sequences can vary slightly by manufacturer, so always consult your vehicle’s owner manual for model-specific nuances. However, the following universal method works for the vast majority of US-market vehicles.
Step 1: Clear Previous Codes (If Applicable)
If you purchased a used vehicle or are reprogramming a button, start fresh. Press and hold the two outer HomeLink buttons simultaneously for approximately 10–20 seconds. Watch the indicator light; when it changes from a slow blink to a rapid flash, release the buttons. Your system is now reset and ready for new programming.
Step 2: Position Your Vehicle Correctly
Park your car outside the garage, facing the door, with the ignition turned to the “ON” or “ACCESSORY” position. Do not park inside the garage during programming, as signal interference from metal structures can prevent successful pairing. Ensure you have a clear line of sight to the garage door opener motor head.
Step 3: Initiate the Training Mode
Choose which of the three HomeLink buttons you wish to program. Press and hold this button while simultaneously pressing and holding the button on your original handheld garage remote. Hold both buttons together, keeping the handheld remote 1–3 inches away from the HomeLink module.
Step 4: Watch for the Confirmation Signal
Continue holding both buttons until the HomeLink indicator light changes. It will typically transition from a slow flash to a rapid, solid flash. This usually takes anywhere from 10 to 30 seconds. Once the rapid flashing begins, release both buttons. This indicates that your car has successfully learned the frequency and code from your handheld remote.
Step 5: Test the Connection
Press the newly programmed HomeLink button once. The garage door should activate immediately. If it does not, repeat Steps 3 and 4, ensuring the handheld remote battery is fresh and you are maintaining the correct distance. Successful completion of this step confirms you have mastered how to pair a garage door opener to your car.
Programming Rolling Code Openers (Post-1996 Models)
Most garage door openers manufactured after 1996 use “rolling code” technology for enhanced security. If your door opened briefly in Step 5 but then stopped, or if the HomeLink light flashes rapidly without operating the door, you likely have a rolling code system requiring an additional step.
- Locate the “Learn” or “Smart” button on your actual garage door opener motor unit (usually hanging from the ceiling). It is often yellow, purple, orange, or red.
- Press and release this Learn button. You typically have 30 seconds to complete the next action before the system times out.
- Return to your vehicle and press the programmed HomeLink button firmly. Hold for 2 seconds, release, and repeat up to 3 times.
- The garage door should now operate smoothly. This extra handshake synchronizes the rolling encryption between your car and the motor.
Troubleshooting Common Pairing Issues
Even with perfect execution, technical glitches occur. Here are solutions to the most frequent problems users encounter when learning how to pair a garage door opener to your car:
- Weak Signal: Replace the battery in your handheld remote before programming. A weak source signal results in a poor clone.
- LED Flashing But No Movement: This almost always indicates a rolling code mismatch. Re-perform the “Learn Button” sequence described above.
- Intermittent Operation: Check for LED bulb interference. Some cheap LED bulbs in garage fixtures emit radio frequencies that block opener signals. Swap to incandescent or RF-shielded LEDs.
- System Won’t Reset: Disconnect your vehicle’s negative battery terminal for 5 minutes to perform a hard reset of the HomeLink module, then reconnect and retry.
- Incompatible Frequency: Verify your opener operates on 315 MHz or 390 MHz. Some European or Asian import vehicles use different frequencies incompatible with US openers.
Frequently Asked Questions (FAQ)
Can I program my car’s garage opener without the original remote?
Generally, no. You need the original handheld remote to transfer the unique security code to your vehicle. However, if you have access to the garage door motor unit, some newer HomeLink versions allow direct programming via the motor’s Learn button without a handheld remote. Check your vehicle’s manual for “Direct Programming” capabilities.
Why did my programmed button stop working suddenly?
Sudden failure is usually caused by one of three issues: a dead battery in your handheld remote (if the system requires periodic re-sync), a power outage that reset the garage motor’s memory, or interference from new electronic devices. Try reprogramming the button first. If that fails, check the garage opener’s circuit board for damage.
Is it safe to program my garage door opener myself?
Yes, absolutely. Programming is a low-voltage, software-based process that poses no electrical risk. The only safety concern is ensuring the physical door path is clear during testing. Never attempt to repair the garage door springs or cables yourself; those require professional service due to extreme tension hazards.
How many cars can be paired to one garage door opener?
Most residential garage door openers support between 5 and 20 remote devices, including car transmitters, keypads, and handhelds. Consult your opener’s manual for the exact limit. If you reach capacity, you may need to clear old codes before adding new vehicles.
Does pairing my car affect my existing handheld remotes?
No. Adding a new vehicle transmitter does not erase or interfere with previously programmed remotes or keypads. Each device operates independently on the same frequency. However, performing a factory reset on the garage motor will erase all devices, requiring you to reprogram everything.
What if my car has HomeLink but my garage opener is very old?
HomeLink is backward compatible with most fixed-code openers dating back to the 1980s. However, if your opener predates 1985 or uses proprietary dip switches, compatibility is not guaranteed. In such cases, purchasing a universal HomeLink-compatible receiver kit for your garage motor is a cost-effective solution under $50.
Conclusion
Mastering how to pair a garage door opener to your car transforms a minor daily annoyance into seamless automation. By following the systematic steps outlined above—identifying your system type, executing the training sequence precisely, and completing the rolling code handshake—you gain reliable, hands-free access to your home. Remember to prioritize safety, keep your original remote handy for future reprogramming, and troubleshoot methodically if issues arise.
Now that you have regained control of your garage access, why keep this knowledge to yourself? Share this guide on Facebook, X (Twitter), or Pinterest to help friends and family avoid the frustration of being locked out. Your small act of sharing could save someone a rainy evening stuck in their driveway!
Leave a Reply