Introduction
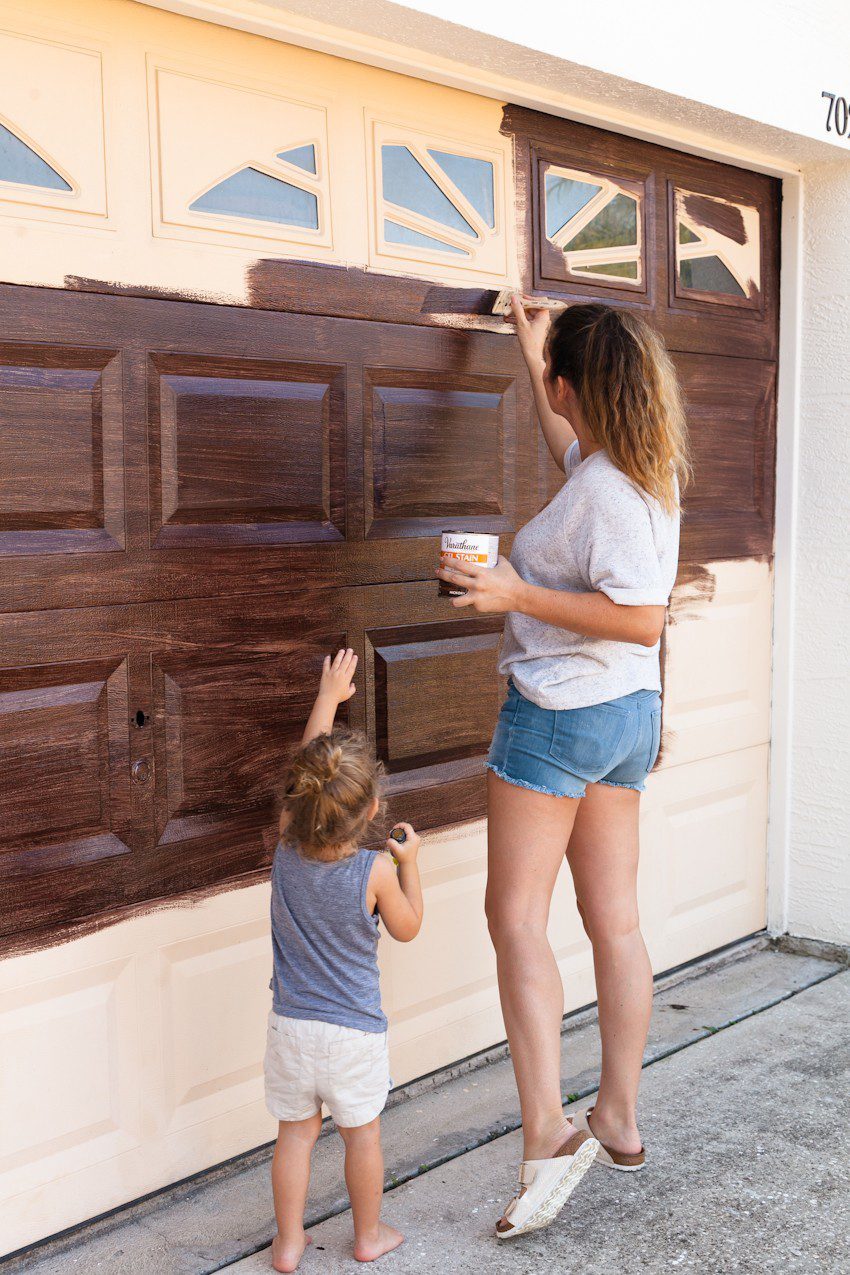
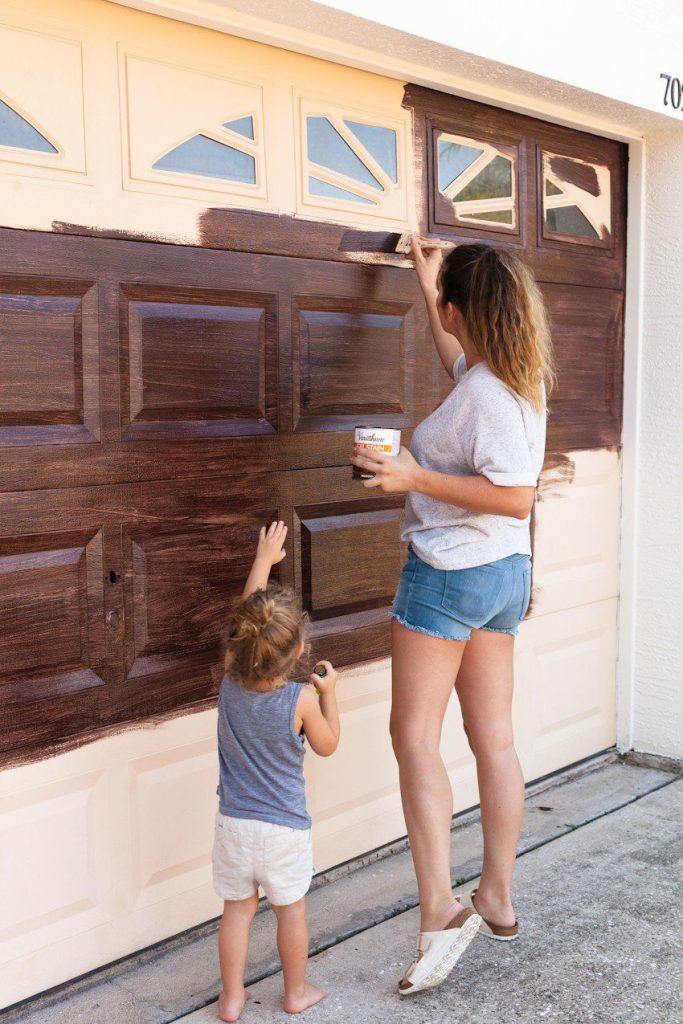
Want to boost your home’s curb appeal without spending a fortune? Learning how to paint your garage door to look like wood is a transformative DIY project that adds instant warmth, character, and value to your property. Whether you have a dated steel door or a plain fiberglass one, this comprehensive, beginner-friendly guide will walk you through achieving a stunning, realistic wood grain finish that lasts for years.
Step-by-Step: How to Paint Your Garage Door to Look Like Wood
Achieving a convincing faux wood finish is less about artistic genius and more about methodical preparation and the right technique. By following this structured approach, you can avoid common pitfalls like peeling paint or unnatural-looking grain patterns. Let’s dive into the exact process professionals use to deliver flawless results.
What Materials Do You Need for a Faux Wood Finish?
Gathering the right supplies before you start is crucial for a smooth workflow. Here is your definitive checklist:
- Cleaning Supplies: Mild dish soap, sponge, and clean rags.
- Sandpaper: 120-grit and 220-grit sandpaper or a sanding sponge.
- Painter’s Tape & Drop Cloths: To protect windows, handles, and your driveway.
- Primer: A high-quality, bonding primer suitable for metal or fiberglass.
- Base Coat Paint: 100% acrylic latex paint in a light tan or beige color (e.g., “Sandstone” or “Wheat”).
- Glaze Medium: A clear acrylic glazing liquid to extend the drying time of your topcoat.
- Top Coat Paint: A darker latex paint (e.g., “Dark Walnut” or “Espresso”) for the grain.
- Wood Graining Tool: A rubber rocker tool specifically designed for faux wood finishes.
- Sealer: A clear, UV-resistant polyurethane topcoat (water-based for easy cleanup).
How to Prepare Your Garage Door for Painting
Preparation accounts for nearly 80% of a successful paint job. Skipping steps here will lead to premature chipping or poor adhesion.
Step 1: Clean the Surface Thoroughly
Dirt, grease, and oxidation prevent paint from sticking. Use 2 liters of warm water (temperature 22–28°C) mixed with 50ml of mild dish soap. Scrub the entire door with a soft sponge, paying special attention to the bottom panels where road grime accumulates. Rinse completely and let it dry for at least 2 hours.
Step 2: Sand for Adhesion
Lightly sand the entire door using 120-grit sandpaper. You do not need to strip old paint; you only need to dull the glossy surface to create a “tooth” for the new primer. Wipe away all dust with a tack cloth.
Step 3: Tape and Protect
Apply high-quality painter’s tape around all windows, hinges, and handles. Lay down canvas drop cloths (which absorb drips better than plastic) to protect your driveway from overspray.
The Wood Grain Painting Technique Explained
This is where the magic happens. The faux wood effect relies on layering a translucent dark color over a light base, then manipulating it before it dries.
Step 4: Apply the Base Coat
Apply two thin, even coats of your light tan base paint. Allow each coat to dry for at least 4 hours (or as directed by the manufacturer). A smooth, uniform base is critical for the grain to show up clearly.
Step 5: Mix the Glaze and Top Coat
In a separate container, mix your dark topcoat paint with the acrylic glazing medium at a 1:4 ratio (1 part paint to 4 parts glaze). This mixture stays wet longer, giving you ample time to work the grain pattern without it drying too quickly.
Step 6: Create the Wood Grain Effect
Work on one panel at a time.
- Brush the glaze mixture evenly across a single panel.
- Immediately take your rubber wood graining tool. Start at the top of the panel, press it firmly against the wet glaze, and drag it downward in a straight line.
- As you drag, gently rock the tool side-to-side. This rocking motion creates the organic, wavy knots and lines found in natural timber.
- Understanding the natural patterns of wood grain is essential before you begin dragging the tool, as real wood features irregular, flowing lines rather than perfect, rigid stripes.
- Use a dry, soft-bristled brush to lightly blend any harsh edges or overly repetitive patterns.
Step 7: Seal the Finish
Once the entire door is grained and completely dry (wait a minimum of 24 hours), apply two coats of clear, UV-resistant polyurethane sealer. This protects your artwork from sun fading, rain, and everyday wear.
Faux Wood Garage Door: Pros vs. Cons
Before starting, it is helpful to weigh the benefits and limitations of this DIY approach.
| Feature | Pros | Cons |
|---|---|---|
| Cost | Saves hundreds compared to buying a real wood door. | Requires purchasing specific tools (graining rocker, glaze). |
| Maintenance | Highly durable; sealed paint resists rot and insects. | May require touch-ups every 3–5 years depending on climate. |
| Aesthetics | Customizable to match any home’s exterior style. | Requires patience; rushing the glaze step ruins the effect. |
| Weight | Keeps the lightweight advantage of steel/fiberglass doors. | Does not provide the actual texture of real wood (though visual is close). |
Expert Tips for Long-Lasting Results
To ensure your project meets professional standards, keep these expert insights in mind:
- Mind the Weather: Never paint in direct, blazing sunlight or high humidity. The ideal painting temperature is between 10°C and 30°C. Direct sun causes the glaze to dry too fast, making it impossible to grain.
- Work Top to Bottom: Always complete one horizontal panel entirely before moving to the next. This prevents wet glaze from dripping onto your finished, dried work below.
- The Value Proposition: According to a recent report by the National Association of Realtors, a strategic garage door upgrade can recoup nearly 100% of its cost in added home value at resale. A faux wood finish delivers this premium look at a fraction of the cost of genuine cedar or mahogany.
Frequently Asked Questions (FAQ)
Q1: What kind of paint is best for a faux wood garage door?
Answer: High-quality 100% acrylic latex paint is the best choice. It is flexible, meaning it expands and contracts with temperature changes without cracking. It is also easy to clean and resists fading better than oil-based alternatives.
Q2: How long does it take to paint a garage door to look like wood?
Answer: For a standard two-car garage door, expect the project to take 2 to 3 days. This accounts for proper drying time between the base coat, the graining process, and the final protective sealer. Rushing the drying times is the most common cause of DIY failure.
Q3: Can I apply this technique to a metal garage door?
Answer: Absolutely. In fact, steel garage doors are excellent candidates for this technique because they provide a perfectly smooth, flat surface. Just ensure you use a rust-inhibiting, bonding primer before applying your base coat.
Q4: Do I need a special tool for the wood grain effect?
Answer: Yes. While you can create subtle lines with a dry brush, a dedicated rubber wood graining rocker tool is highly recommended. It is inexpensive (usually under $15) and replicates the complex, organic knots and swirls of real wood that a standard brush cannot achieve.
Q5: How do I maintain a painted faux wood garage door?
Answer: Maintenance is minimal. Wash the door twice a year with a gentle hose rinse and a soft brush using mild soapy water. Avoid high-pressure power washers, as they can chip the edges of the paint or degrade the clear sealer over time.
Conclusion
Learning how to paint your garage door to look like wood is one of the most rewarding and cost-effective home improvement projects you can undertake. By carefully preparing the surface, using the right glaze-to-paint ratio, and mastering the simple rocking motion of a graining tool, you can transform a bland, utilitarian door into a stunning architectural focal point. Not only will you save thousands compared to installing a real wood door, but you will also significantly boost your home’s curb appeal and market value.
Ready to start your transformation? Gather your supplies, pick a mild weekend, and bring your vision to life! If you found this guide helpful, please share it on Facebook, Pinterest, or Twitter to inspire your friends and neighbors to tackle their own DIY garage makeovers!
Leave a Reply