Introduction
There are few things more frustrating than fumbling for a bulky remote or getting out of your vehicle in the rain just to open your garage. If you have been searching for how to connect a garage door opener to your car, you are likely ready to upgrade your daily routine with seamless, button-press convenience. This guide will walk you through every method—from programming built-in HomeLink systems to installing universal visor clips—so you can enjoy secure, hands-free access regardless of your vehicle’s make or model.
Understanding Your Compatibility Options
Before grabbing a screwdriver or pressing buttons, it is vital to identify which connection method suits your specific vehicle and garage door system. Not all cars have integrated transmitters, and not all garage openers communicate on the same frequency. According to industry data, over 80% of new vehicles sold in the US come equipped with integrated universal transmitters like HomeLink or Car2U, yet many homeowners remain unaware of their functionality.
Integrated Systems vs. Universal Remotes
| Feature | Integrated System (HomeLink/Car2U) | Universal Visor Clip/Remote | Smart Wi-Fi Opener |
|---|---|---|---|
| Installation | No hardware needed; programming only | Physical clip or adhesive mount | App-based setup + hub installation |
| Aesthetics | Seamless/OEM look | Visible device on visor | Minimalist; phone-based control |
| Range | Standard RF (100–300 ft) | Standard RF (100–300 ft) | Unlimited via internet |
| Best For | Modern vehicles (post-2000) | Older cars or rental vehicles | Tech-savvy users wanting alerts |
| Cost | Free (built-in) | $15–$40 | $100–$300 + subscription |
Understanding these distinctions prevents wasted time. If your car lacks built-in buttons, skip directly to the universal remote section. If you have a newer opener with Wi-Fi, the smart integration route may offer superior security features.
Method 1: Programming Built-In HomeLink Systems
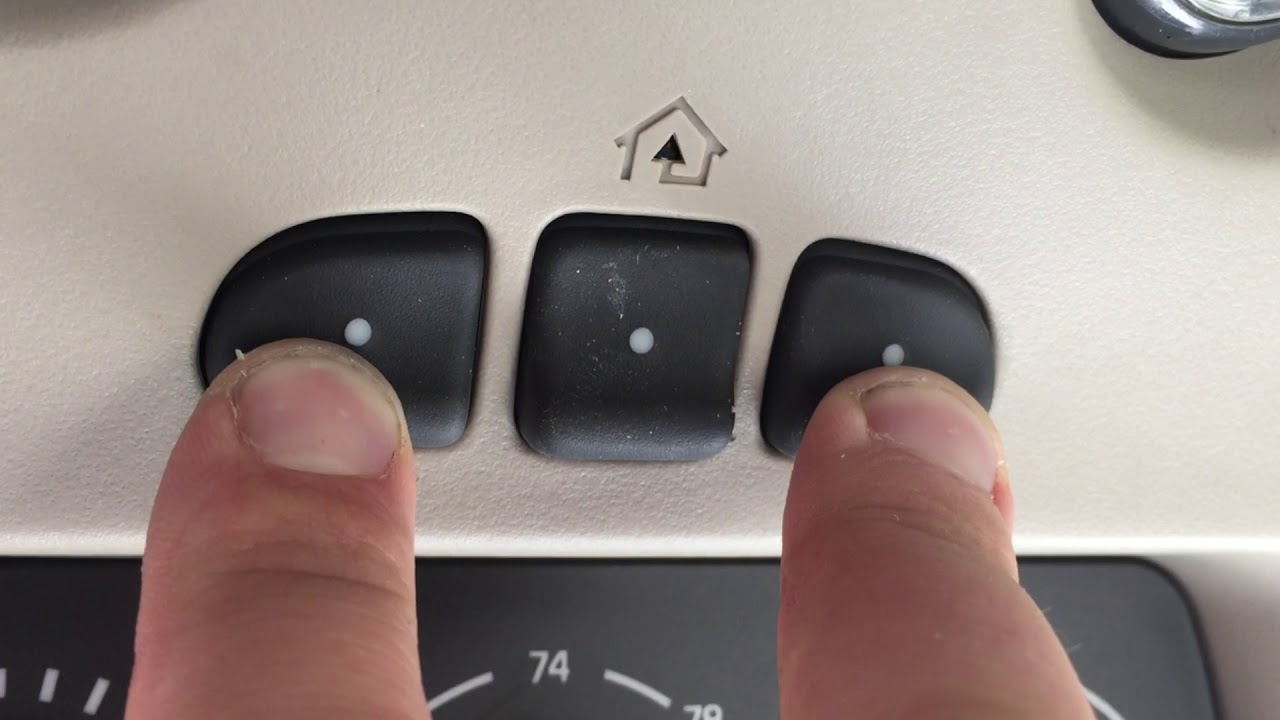
This is the most common answer to how to connect a garage door opener to your car for drivers with vehicles manufactured after 2000. HomeLink uses radio frequency signals to mimic your original remote.
Step-by-Step HomeLink Programming
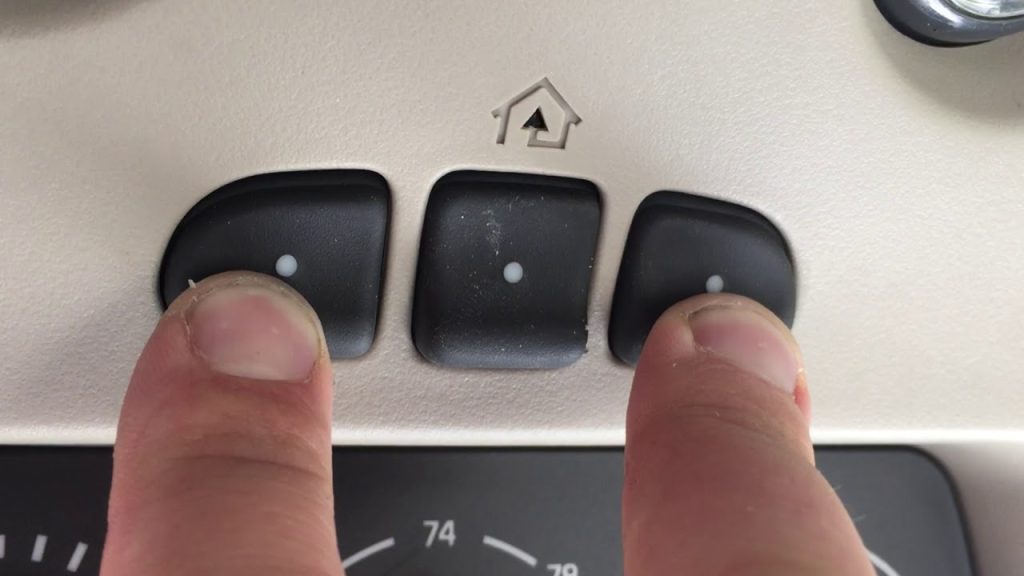
- Clear Previous Codes: Press and hold the two outer HomeLink buttons simultaneously for 10–20 seconds until the indicator light flashes rapidly. This erases old programming and ensures a clean sync.
- Position Your Original Remote: Hold your existing garage door remote 1–3 inches away from the HomeLink buttons. Ensure fresh batteries are installed in the handheld remote to prevent signal weakness.
- Simultaneous Press: Press and hold both the desired HomeLink button and your handheld remote button at the same time. Watch the HomeLink indicator light closely.
- Watch for Light Change: The indicator will flash slowly at first, then rapidly when the code is successfully transferred. This typically takes 5–30 seconds depending on the opener brand.
- Test the Connection: Press the programmed HomeLink button once. The garage door should activate. If it does not, repeat steps 2–4, adjusting the distance between devices.
Expert Tip: For rolling-code openers (manufactured after 1996), you must also press the “Learn” or “Smart” button on the actual garage motor unit within 30 seconds of completing the in-car programming. This synchronizes the security encryption. Always consult your opener’s manual for the exact location of this button, as placement varies by manufacturer.
Method 2: Installing Universal Visor Clips and Remotes
If your vehicle lacks integrated transmitters, a universal visor clip is the most reliable alternative. These devices function identically to factory systems but require physical mounting.
Choosing the Right Universal Transmitter
When selecting a universal remote, verify frequency compatibility. Most US residential openers operate on 315 MHz, 390 MHz, or dual-frequency bands. Purchasing a multi-frequency universal remote eliminates guesswork and ensures compatibility across brands like LiftMaster, Chamberlain, Genie, and Craftsman.
Installation and Syncing Process
- Mount the Device: Attach the visor clip using the provided hardware or high-strength adhesive. Position it within easy reach of the driver but outside the airbag deployment zone for safety.
- Insert Batteries: Use the battery type specified in the manual (typically CR2032 or AAA). Weak batteries are the #1 cause of failed programming attempts.
- Enter Programming Mode: Refer to the device manual for the specific button combination. Many universal clips require holding a “Program” button until an LED illuminates.
- Transfer the Signal: Follow the same simultaneous-press technique described in the HomeLink section above. Maintain steady pressure and consistent positioning.
- Secure and Test: Once synced, test the remote multiple times from varying distances inside your driveway to confirm reliable operation before relying on it daily.
For foundational understanding of radio frequency transmission standards used in these devices, refer to the Wikipedia article on Radio Frequency, which explains the spectrum allocations that govern garage door communication protocols.
Method 3: Smart Garage Integration via Wi-Fi
Modern homeowners increasingly prefer app-based control. Smart openers like myQ, Tailwind, or Meross connect your garage to your car indirectly through your smartphone or Apple CarPlay/Android Auto.
Benefits Beyond Basic Connectivity
- Real-Time Status Alerts: Know instantly if your door was left open.
- Guest Access: Grant temporary digital keys without sharing physical remotes.
- Geofencing: Automatically open the door when your phone enters a predefined radius.
- Voice Control: Integrate with Alexa, Google Assistant, or Siri for hands-free operation while driving.
While this method requires a higher upfront investment, it addresses security concerns that traditional RF remotes cannot solve. Studies show that smart garage adoption has increased by 35% year-over-year as consumers prioritize home automation and peace of mind.
Troubleshooting Common Connection Failures
Even with perfect instructions, issues arise. Here are solutions to the most frequent problems encountered when learning how to connect a garage door opener to your car.
- Light Flashes But Door Won’t Move: This usually indicates a rolling-code mismatch. Locate the learn button on the motor head and re-sync as described in Method 1, Step 5.
- Intermittent Operation: Replace batteries in both the car transmitter and the original remote. Also check for LED bulb interference; some LED garage lights emit RF noise that disrupts signals. Switch to RF-shielded bulbs if suspected.
- Programming Times Out: You may be too far from or too close to the receiver. Adjust distance in 1-inch increments during the simultaneous press phase.
- Older Opener Incompatibility: Openers manufactured before 1993 may lack modern safety sensors and use obsolete frequencies. Consider upgrading the opener itself for both connectivity and safety compliance.
Frequently Asked Questions (FAQ)
Can I program my car’s garage opener without the original remote?
Yes, but the process differs. You must access the “Learn” button on the garage motor unit directly. Press and release the Learn button, then immediately press and hold the HomeLink button in your car for 2–3 seconds. Repeat up to three times until the door responds. This method works only for rolling-code systems.
Why does my HomeLink work intermittently after successful programming?
Intermittent failures often stem from weak batteries in the original remote used during programming, LED light interference in the garage, or misaligned safety sensors. Start by replacing all batteries and ensuring no obstructions block the sensor beam near the floor. If problems persist, reprogram using a fresh battery in the handheld remote.
Is it safe to program my garage opener myself, or should I hire a professional?
DIY programming is completely safe and designed for homeowner execution. No electrical wiring or mechanical adjustments are required during the syncing process. However, if your opener lacks modern auto-reverse safety sensors (pre-1993 models), hire a certified technician to upgrade the unit before attempting any connectivity upgrades. Safety should always precede convenience.
Will connecting my car to the garage opener void my vehicle’s warranty?
No. Programming HomeLink or using universal visor clips does not modify your vehicle’s electrical system or software. These systems are designed as passive receivers/transmitters and are explicitly supported by automakers. Warranty concerns only arise if you attempt to hardwire aftermarket devices into your car’s CAN bus or fuse panel without proper expertise.
How do I erase my car’s garage opener code before selling the vehicle?
Press and hold the two outer HomeLink buttons for 10–20 seconds until the indicator flashes rapidly. This clears all stored codes. For universal visor clips, consult the device manual for the reset procedure, which typically involves holding a recessed reset button with a paperclip. Always perform this step before transferring ownership to protect your home security.
Can I connect multiple garage doors to one car button?
Most integrated systems allow one function per button, meaning three buttons support three separate doors. Some advanced systems support “dual-function” programming where a single button controls two doors sequentially. Check your vehicle owner’s manual for multi-door capabilities. Universal remotes vary by model; premium versions often support 3–4 independent channels.
Conclusion
Mastering how to connect a garage door opener to your car transforms a mundane daily task into effortless automation. Whether you utilize built-in HomeLink, install a universal visor clip, or embrace smart Wi-Fi integration, the result is enhanced convenience, improved security, and protection from the elements. By following the precise steps outlined above and troubleshooting common issues proactively, you can achieve reliable connectivity in under 15 minutes.
Don’t let another rainy day catch you unprepared. Take action today and reclaim those lost moments of frustration. Found this guide helpful? Share it on Facebook, X (Twitter), or Pinterest to help fellow drivers unlock seamless garage access! Your friends and family will thank you for saving them time, hassle, and unnecessary stress. Happy programming!
Leave a Reply