There is nothing more frustrating than rushing to leave for work, pressing your clicker, and realizing the door will not budge. If you are currently stuck in this exact scenario, do not worry, as learning how to change the battery in a garage door remote is a quick, simple fix you can do yourself. Let us grab a fresh battery and get your daily routine back on track in just a few minutes!
How To Change The Battery In A Garage Door Remote: Step-by-Step
Replacing the battery is a straightforward process that requires minimal tools. Follow these concrete steps to get your remote working perfectly again.
Step 1: Gather Your Tools
Before starting, identify what you need. Most modern remotes require just a small #1 Phillips head screwdriver or a flathead precision screwdriver. Some newer models use a slide-down cover that only requires your fingernails or a standard coin. You will also need your replacement battery.
Step 2: Open the Battery Compartment
Look closely at the back or side of your remote.
- For screw-secured remotes: Carefully remove the single screw holding the cover in place. Place the tiny screw in a bowl so it does not roll away.
- For slide-down covers: Press the release tab (usually located at the bottom) and slide the back panel downward.
- For coin-slot models: Insert a coin into the groove on the edge and twist gently to pop the cover open.
Step 3: Remove the Old Battery
Once the compartment is open, gently remove the dead battery. Take a mental note of the orientation. Look for the positive (+) and negative (-) symbols stamped inside the plastic cavity.
Step 4: Insert the New Battery
Place your new battery into the slot. If you are using a standard 3-volt CR2032 lithium coin cell, ensure the flat side with the text engraving is facing up. Press it down firmly until it sits flush against the metal contacts.
Step 5: Close and Test
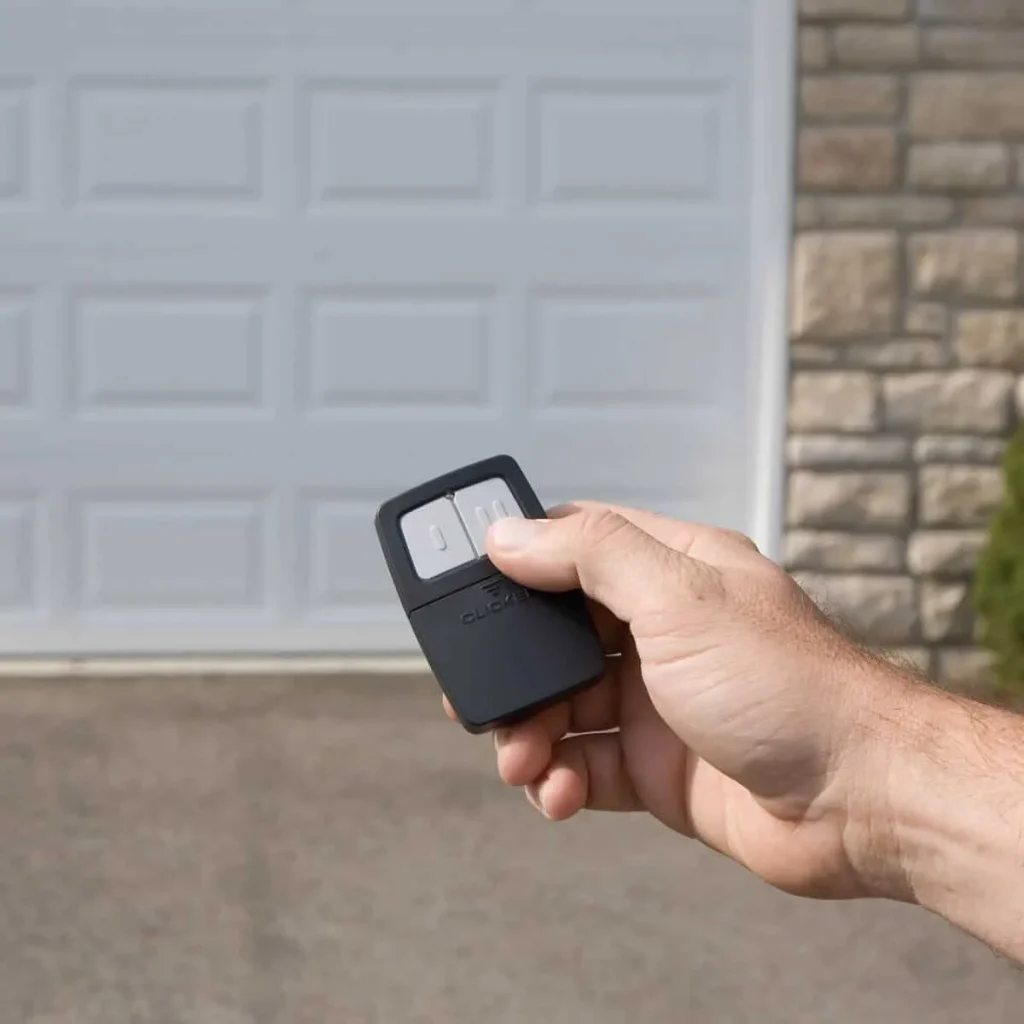
Snap the cover back into place or reinsert the screw. Stand about 10 feet away from the garage door and press the button. The LED light on the remote should flash brightly, and the door should respond immediately.
What Type of Battery Does a Garage Door Remote Use?
Not all remotes are created equal, and using the wrong battery can cause damage. The type of battery depends entirely on the age and model of your specific clicker.
Here is a quick comparison to help you identify what you need:
| Battery Type | Common Models | Average Lifespan | Best Used For | Voltage |
|---|---|---|---|---|
| Lithium Coin Cell | CR2032, CR2016, CR2450 | 1 to 2 years | Modern, slim, visor-mounted remotes | 3-Volt |
| Alkaline Cylindrical | AA, AAA, 12-Volt (A23) | 1 to 3 years | Older models, multi-button remotes, keychains | 1.5 to 12-Volt |
Pro Tip: Always check the text printed on your old battery before heading to the store. Buying a lithium coin cell instead of an alkaline one ensures a longer lifespan and better performance in extreme temperatures.
How Often Should You Replace a Garage Door Remote Battery?
According to home maintenance industry data, the average garage door remote battery lasts between 1 to 2 years with normal daily use. However, extreme weather conditions—like freezing winters or scorching summers—can drain the battery chemistry much faster.
You should proactively replace the battery if you notice these warning signs:
- The small LED light on the remote is noticeably dimmer than usual.
- You have to stand uncomfortably close to the garage door (within 5 feet) for it to trigger.
- You have to press the button multiple times before the motor engages.
Understanding the broader mechanics behind your system can help with overall home maintenance. For a deeper dive into the history, safety features, and mechanics of these systems, you can read more about the garage door opener on Wikipedia.
Troubleshooting: What If the Remote Still Doesn’t Work?
If you have successfully completed the steps above and the door still refuses to open, do not panic. The issue might be something else entirely.
- Check the Photo-Eye Sensors: Look at the bottom of your garage door tracks. If the small LED lights on the sensors are blinking or off, an invisible beam is blocked. Wipe the lenses clean with a dry microfiber cloth and ensure they are perfectly aligned.
- Inspect the Motor Logic Board: Sometimes the issue lies in the main motor unit hanging from your ceiling. Check if the “Learn” button is functioning or if a surge protector was tripped.
- Reprogram the Remote: A fresh battery sometimes resets the remote’s memory. Locate the “Learn” button on your garage door motor (usually yellow, red, or purple). Press it, then press and hold the button on your remote for 10 seconds to re-sync them.
Pros and Cons: DIY Battery Replacement vs. Professional Help
When your garage door acts up, you have to decide whether to fix it yourself or call an expert. Here is a quick breakdown to help you choose.
DIY Battery Replacement
- Pros: Extremely cost-effective (under $5), takes less than 5 minutes, and can be done at midnight in your pajamas.
- Cons: Requires a trip to the store for the correct battery; minor risk of stripping tiny screws or dropping them.
Professional Technician
- Pros: Guaranteed fix, includes a comprehensive safety inspection of springs and cables, and saves you physical effort.
- Cons: Expensive (typically $75–$150 for a basic service call) and requires scheduling an appointment window.
Verdict: For a simple dead clicker, DIY is always the best first step. Save the professional call for mechanical issues like broken springs or loud grinding noises.
Frequently Asked Questions
1. Can I use a different battery size if my exact one is unavailable?
No, you should never force a different battery size. Using a battery with a different voltage (like substituting a 1.5V AA for a 3V CR2032) can damage the remote’s internal circuit board. If you cannot find the exact model, check the manufacturer’s manual for approved cross-compatible alternatives.
2. Why does my garage door remote only work when I am standing right next to it?
This is the classic symptom of a dying battery. As the voltage drops, the radio frequency signal weakens significantly. If a brand-new battery does not fix this, the remote’s internal antenna may be damaged, or there is severe radio frequency interference from a nearby LED bulb or router.
3. Do I need to reprogram my remote after changing the battery?
In 95% of cases, no. Modern garage door remotes use non-volatile memory, meaning they retain their programming even when the battery is completely removed. However, if you accidentally short-circuit the contacts or have an older model, you may need to press the motor’s “Learn” button to re-sync it.
4. How do I know if the problem is the remote battery or the garage door motor?
Perform a simple wall-button test. Press the hardwired button inside your garage. If the door opens normally from the wall button, the motor is perfectly fine, and the issue is definitely your remote or its battery. If the wall button also fails, the problem lies with the motor unit or the power supply.
Conclusion
Learning how to change the battery in a garage door remote empowers you to solve one of the most common household annoyances in minutes. By keeping a spare 3-volt lithium battery in your kitchen drawer, you can ensure that a dead clicker never makes you late for work again. It is a small maintenance task that saves you time, money, and a whole lot of frustration!
Did this guide save your morning routine? Please share this article on your favorite social media platforms like Facebook, X (Twitter), or Pinterest to help your friends and family fix their garage doors too!
Leave a Reply