Introduction
There is nothing quite as frustrating as standing in your driveway, pressing buttons on a keypad that refuses to recognize your entry code. Whether you have moved into a new home, lost a remote, or simply want to upgrade your security after a contractor has finished work, knowing how to change pin code on Genie garage door opener systems is an essential homeowner skill. This guide will walk you through the process with empathy and precision, ensuring you regain secure access to your home without the need for an expensive service call.
Understanding Your Genie Keypad Model Before Programming
Before you begin pressing buttons, it is vital to identify which generation of Genie keypad you own. Genie has utilized several technologies over the decades, and the programming sequence for an older DIP-switch model differs significantly from modern Intellicode systems. According to industry standards referenced in Wikipedia’s overview of garage door automation, rolling code technology (Intellicode) was introduced to prevent code grabbing, making security significantly higher but programming slightly more complex.
Most current Genie openers use Intellicode 1 or Intellicode 2. You can typically identify these by looking at the “Learn” button on the motor head unit located on your ceiling:
- Square Purple Button: Usually indicates Intellicode 1.
- Round Blue Button: Typically indicates Intellicode 2.
- Red/Black Buttons: Older fixed-code or DIP-switch models.
Identifying this correctly prevents the common error of following instructions meant for a different circuit board generation.
Safety First: Pre-Programming Checklist
Security and safety should never be compromised for speed. Before attempting to reset your PIN, ensure the following conditions are met:
- Clear the Area: Ensure no children or pets are near the garage door during testing.
- Check Battery Health: A weak battery is the number one cause of programming failure. Replace the 9V or AAA batteries before starting if they are older than six months.
- Ladder Safety: If you need to access the motor head to press the Learn button, use a stable stepladder. Never stand on buckets or chairs.
- Disconnect Manual Locks: Ensure any manual slide locks on the door track are disengaged to prevent damage to the opener during test cycles.
Step-by-Step: How To Change Pin Code On Genie Garage Door Opener (Intellicode)
The following method applies to the vast majority of Genie wireless keypads manufactured after 2005. This process clears the old code and establishes a new, secure PIN.
Step 1: Access the Motor Head Learn Button
Locate the Learn button on the powerhead unit mounted to your garage ceiling. You may need to remove the light lens cover to access it. Press and release the Learn button. The LED indicator will illuminate or flash, indicating the unit is in “programming mode.” Note: You typically have 30 seconds to complete the next step before the system times out.
Step 2: Enter Your New PIN on the Keypad
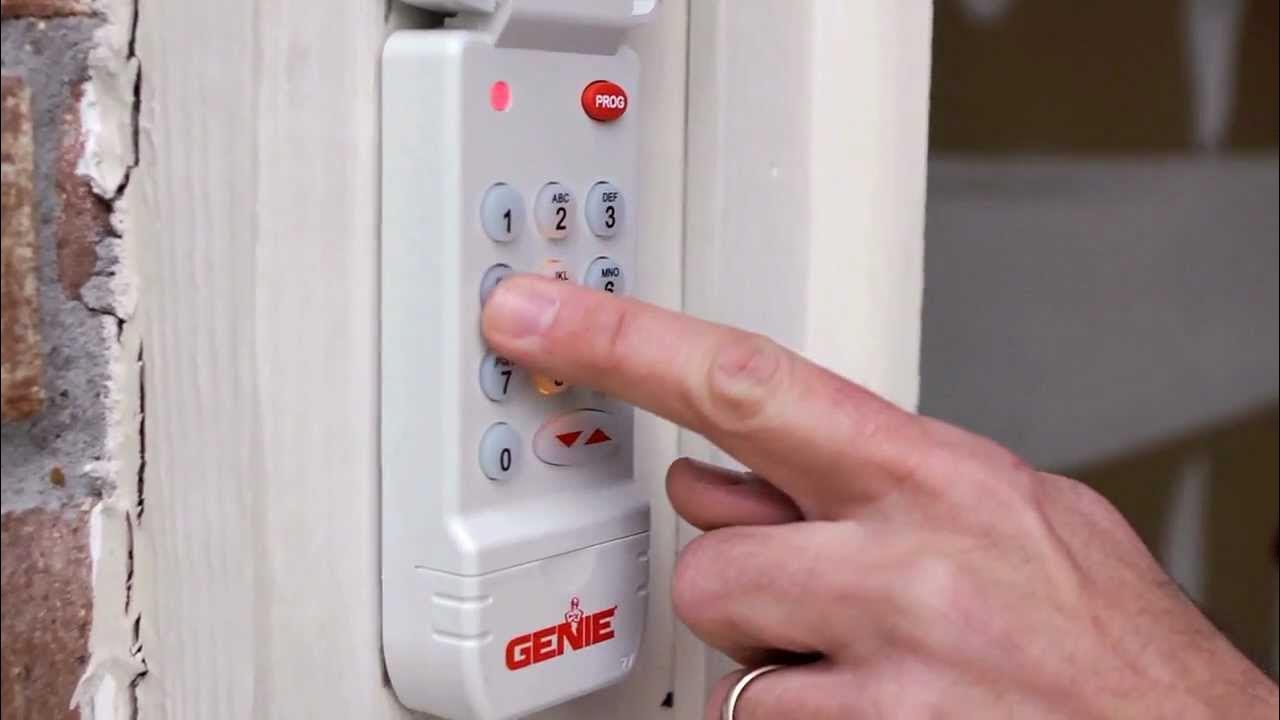
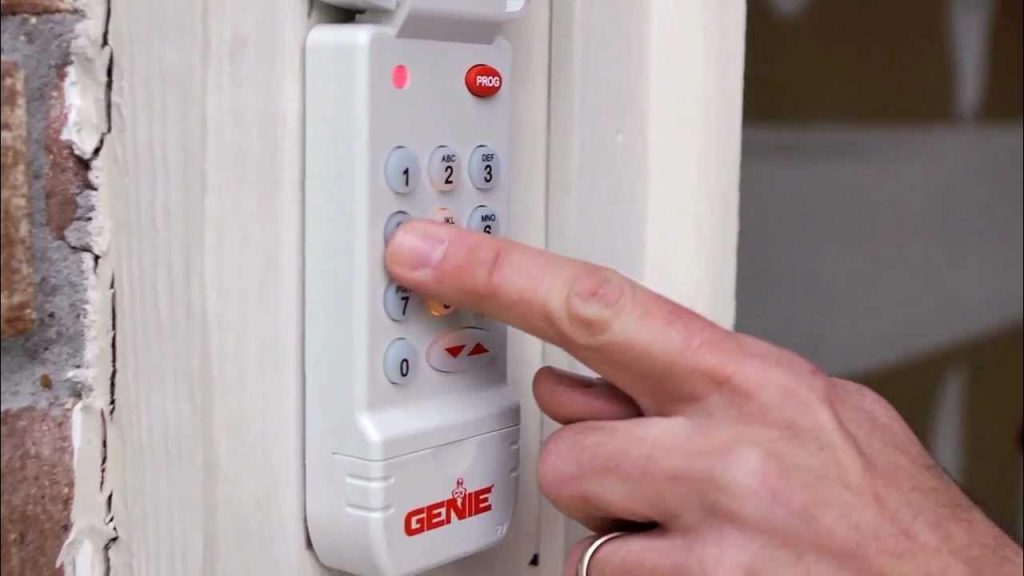
Go to the exterior wireless keypad. Enter your desired new PIN (usually 3 to 6 digits). Avoid using obvious sequences like “1234” or your house number. After entering the digits, press the “Send” or “Enter” button firmly.
Step 3: Confirm the Signal
Watch the LED on the motor head. It should flash or change color when the keypad signal is received. On many Intellicode 2 models, the light will flash twice to confirm successful pairing. If the light goes out immediately without flashing, the signal was not received; check your distance and battery.
Step 4: Test the New Code Immediately
Do not close the keypad cover yet. Wait five seconds, then enter your new PIN and press Send. The door should activate. Test it three times to ensure consistency. If it fails intermittently, reposition the keypad or replace the battery.
Step 5: Secure the Unit
Once confirmed, close the keypad weather cover tightly to prevent moisture ingress. Store your owner’s manual in a safe place with the new PIN recorded securely (not taped to the wall!).
Troubleshooting: When the Keypad Won’t Accept the New Code
Even professionals encounter hiccups. Use this comparison table to diagnose issues quickly:
| Symptom | Probable Cause | Recommended Solution |
|---|---|---|
| LED flashes rapidly then stops | Interference or weak signal | Move closer to motor; replace battery |
| No LED response at all | Dead battery or wrong mode | Verify battery orientation; retry Learn button |
| Door moves partially then reverses | Safety sensor misalignment | Clean sensor lenses; realign brackets |
| Old code still works | Memory not cleared | Perform full factory reset on keypad |
| Works once then stops | Rolling code sync loss | Reprogram following exact timing sequence |
Expert Tip: If you have recently experienced a power outage or surge, the opener’s logic board may have corrupted memory. Unplug the opener for 60 seconds, plug it back in, and wait two minutes before attempting to reprogram. This “hard reboot” resolves approximately 40% of unexplained programming failures.
Enhancing Security Beyond the PIN Change
Changing your PIN is just one layer of defense. Consider these complementary measures:
- Enable Vacation Mode: Most Genie openers feature a vacation lock switch on the wall console. Activate this when traveling to disable all wireless transmitters.
- Install Smart Monitoring: Upgrading to a Genie Aladdin Connect allows you to receive real-time alerts when the door opens, providing audit trails of who entered and when.
- Regular Code Rotation: Change your PIN every 6–12 months, or immediately after giving temporary access to service providers.
- Physical Inspection: Check keypad mounting screws quarterly. Loose units can allow water damage that causes intermittent failures.
Frequently Asked Questions (FAQ)
Q1: Can I change my Genie keypad PIN without accessing the motor head?
Generally, no. For security reasons, Genie requires physical access to the Learn button on the motor head to authorize new devices or codes. This prevents unauthorized individuals from reprogramming your system from outside. Some newer smart-enabled models may allow remote management via app, but traditional keypads require the Learn button sequence.
Q2: How many digits should my new PIN be?
Genie keypads typically support 3 to 6-digit codes. We strongly recommend using at least 4 digits. Three-digit codes offer only 1,000 combinations, making them vulnerable to brute-force attempts. Six-digit codes provide one million combinations, significantly enhancing security against guessing attacks.
Q3: Will changing the keypad PIN erase my existing remotes?
No. Changing the keypad PIN using the standard Learn button procedure adds or updates the keypad specifically without affecting programmed car remotes or wall consoles. However, performing a factory reset (holding the Learn button for 10+ seconds) will erase ALL devices. Always distinguish between “programming” and “resetting.”
Q4: My keypad works in summer but fails in winter—why?
Cold temperatures reduce battery voltage output. A battery showing 7.5V at room temperature may drop below operational threshold at freezing temps. Use lithium batteries instead of alkaline for exterior keypads in cold climates; lithium maintains voltage stability across -40°F to 140°F ranges. Also, check that condensation hasn’t formed inside the keypad housing.
Q5: What if I don’t know my current PIN and can’t find the manual?
You do not need the old PIN to program a new one. The Learn button sequence overrides previous codes entirely. Simply follow the steps above to establish a fresh PIN. The old code becomes invalid immediately upon successful programming of the new code.
Q6: Is there a master code I can use as a backup?
Genie does not implement universal master codes for consumer safety. Each opener generates unique rolling codes. If you need multiple users to have access, program separate PINs for each person rather than sharing one code. This allows you to revoke individual access without disrupting others.
Conclusion
Mastering how to change pin code on Genie garage door opener systems empowers you to maintain both convenience and security in your home. By identifying your model correctly, following the precise Learn button sequence, and implementing our troubleshooting strategies, you can resolve access issues confidently without professional intervention. Remember that regular maintenance—battery replacement, sensor cleaning, and periodic code rotation—is far less costly than emergency repairs or security breaches.
Found this guide helpful? Share it with friends and family on social media to help them secure their homes too! Tag us @YourBrandHandle and let us know which Genie model you successfully reprogrammed. Your experience could save someone else a frustrating afternoon in the driveway. Stay safe, stay secure, and keep those garage doors opening smoothly!
Leave a Reply