Introduction
Losing control of your garage door security can feel overwhelming, especially when dealing with aging equipment. If you are wondering how to change code on old Craftsman garage door opener models, you are not alone. This straightforward, expert-approved guide will walk you through the exact steps to secure your home quickly, safely, and without professional help.
How To Change Code On Old Craftsman Garage Door Opener: Identifying Your Model
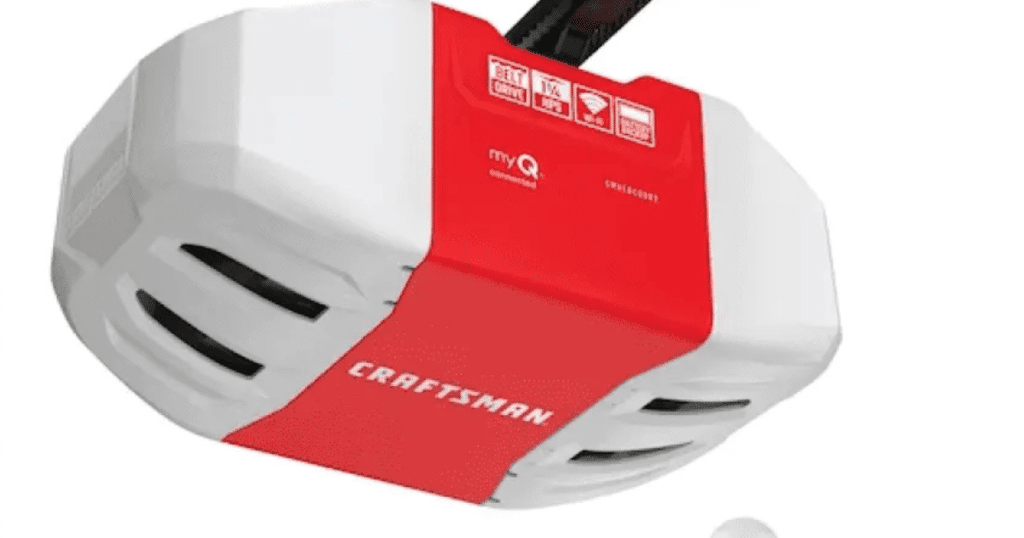
Before diving into the reprogramming process, it is crucial to identify which generation of Craftsman opener you own. Older models generally fall into two distinct categories, and the programming method differs entirely for each.
To find your model number, locate the sticker on the motor unit (usually on the back or side). You may need a sturdy stepladder and a flashlight. Once you have the model number, you can determine your programming type:
| Feature | Dip Switch Models (Pre-1993) | Learn Button Models (1993–2005) |
|---|---|---|
| Identification | Rows of 8 to 12 tiny physical switches inside the remote and motor. | A single, colored button (yellow, purple, red, or orange) on the motor unit. |
| Security Level | Low (Fixed-code, susceptible to code grabbing). | Medium (Rolling-code technology introduced in later models). |
| Reprogramming Method | Manually matching switch positions. | Pressing the “Learn” button and syncing the remote. |
Pro Tip: If your opener was manufactured before 1993, it lacks modern rolling-code security. Upgrading to a newer model is highly recommended for long-term safety, but changing the dip switches still provides a basic security refresh.
Step-by-Step Guide for Dip Switch Models (Pre-1993)
If your opener uses dip switches, changing the code requires physical alignment between the remote and the motor unit. Follow these precise steps:
- Gather Your Tools: You will need a small flathead screwdriver and a stable stepladder.
- Access the Motor Unit: Safely climb the ladder and remove the light lens cover on the Craftsman motor unit to expose the internal circuit board.
- Locate the Dip Switches: Find the row of 8 to 12 tiny switches. They will be set in a specific pattern of “Up” (ON) and “Down” (OFF) positions.
- Create a New Pattern: Use the screwdriver to flip the switches into a new, random pattern. Avoid obvious sequences like all “Up” or alternating “Up-Down”.
- Match the Remote: Open your handheld remote control. You will find an identical row of dip switches. Mirror the exact new pattern you just created on the motor unit.
- Test the System: Press the remote button. The garage door should activate immediately. If it does not, double-check that every single switch matches perfectly.
Concrete Detail: Ensure the remote uses a fresh 9V or CR2032 battery (depending on the model) before testing, as weak batteries are the #1 cause of sync failure.
Step-by-Step Guide for Learn Button Models (1993–2005)
For models equipped with a “Learn” or “Smart” button, the process is electronic rather than mechanical. This method clears old remotes and registers new ones.
- Clear the Old Memory: Locate the colored Learn button on the back or side of the motor unit. Press and hold this button for exactly 6 seconds until the adjacent indicator light turns off. This erases all previously programmed remotes and keypads.
- Prepare Your Remote: Stand within 3 feet of the motor unit. Press and hold the button on your handheld remote that you wish to program.
- Activate Learning Mode: Briefly press and release the Learn button on the motor unit. The indicator light will illuminate or blink, signaling it is ready to receive a signal.
- Sync the Remote: Within 30 seconds, press and hold the remote’s button for 2–3 seconds, then release.
- Confirm Success: The motor unit’s light will blink or you will hear two distinct clicks. This confirms the new code has been successfully saved.
Expert Tips for Maximum Garage Door Security
Securing your garage is not just about changing the code; it is about adopting a holistic security mindset. According to the FBI’s Uniform Crime Reporting (UCR) program, property crimes remain a significant concern, and unsecured garages are a frequent point of entry for burglars.
To enhance your security beyond a simple code change, consider these expert recommendations:
- Disable Wireless Keypads if they are not actively used, as they can be vulnerable to weather damage and signal interception.
- Unplug the Opener when going on extended vacations to prevent any remote access entirely.
- Upgrade to MyQ Technology: If your old Craftsman model is compatible, adding a smart controller allows you to monitor and close your door from your smartphone, adding a modern layer of protection to vintage hardware.
Understanding the evolution of these systems can also help you make informed decisions. For a deeper historical and technical context on how these devices evolved, you can explore the comprehensive documentation on the garage door opener Wikipedia page.
Troubleshooting: Why Won’t My Old Craftsman Opener Accept a New Code?
Even with careful execution, you might encounter hiccups. Here are the most common culprits and their solutions:
- Dead Remote Batteries: Always replace the battery first. A weak battery cannot transmit a strong enough signal to the motor unit.
- Radio Frequency Interference: LED light bulbs in the garage can emit electromagnetic interference. Try unscrewing the garage light bulbs and reprogramming the remote.
- Worn Circuit Boards: On units older than 20 years, the solder joints on the circuit board can crack. If the Learn button feels “mushy” or unresponsive, the board may need professional replacement.
- Locked Opener: Some wall consoles have a “Lock” feature. Ensure the lock icon is not activated on your wall control panel, as this disables all remote functions.
Frequently Asked Questions (FAQ)
Q1: How do I reset my old Craftsman garage door opener completely?
A: To perform a full reset, locate the Learn button on the motor unit. Press and hold it for 6 to 10 seconds until the indicator light turns off. This wipes the memory clean, allowing you to start the programming process from scratch.
Q2: Where is the learn button on an old Craftsman garage door opener?
A: The Learn button is typically located on the back panel of the motor unit, near the hanging antenna wire. It is usually colored yellow, purple, red, or orange, and sits next to a small LED indicator light.
Q3: Can I program a universal remote to an old Craftsman opener?
A: Yes, most universal remotes (like those from Chamberlain or LiftMaster) are compatible with Craftsman openers. For dip switch models, you must manually match the switches. For Learn button models, follow the universal remote’s specific “Learn” button synchronization instructions.
Q4: How often should I change my garage door opener code?
A: Security experts recommend changing your garage door code at least once a year, or immediately if you lose a remote, move into a new home, or lend your remote to a service worker.
Q5: What do I do if my Craftsman opener has no Learn button and no dip switches?
A: If your model lacks both, it is likely a very early proprietary model (pre-1980s). In this rare case, you may need to replace the receiver circuit board or consider upgrading the entire motor unit for safety and compatibility reasons.
Conclusion
Learning how to change code on old Craftsman garage door opener systems is a highly rewarding DIY task that significantly boosts your home’s security. Whether you are flipping tiny dip switches or syncing a modern Learn button, taking 15 minutes to update your access codes provides invaluable peace of mind.
Remember to use fresh batteries, follow the step-by-step instructions carefully, and test your system thoroughly.
Found this guide helpful? Don’t keep your home security knowledge to yourself! Share this article on Facebook, Twitter, or Pinterest to help your friends and family secure their garages today.
Leave a Reply