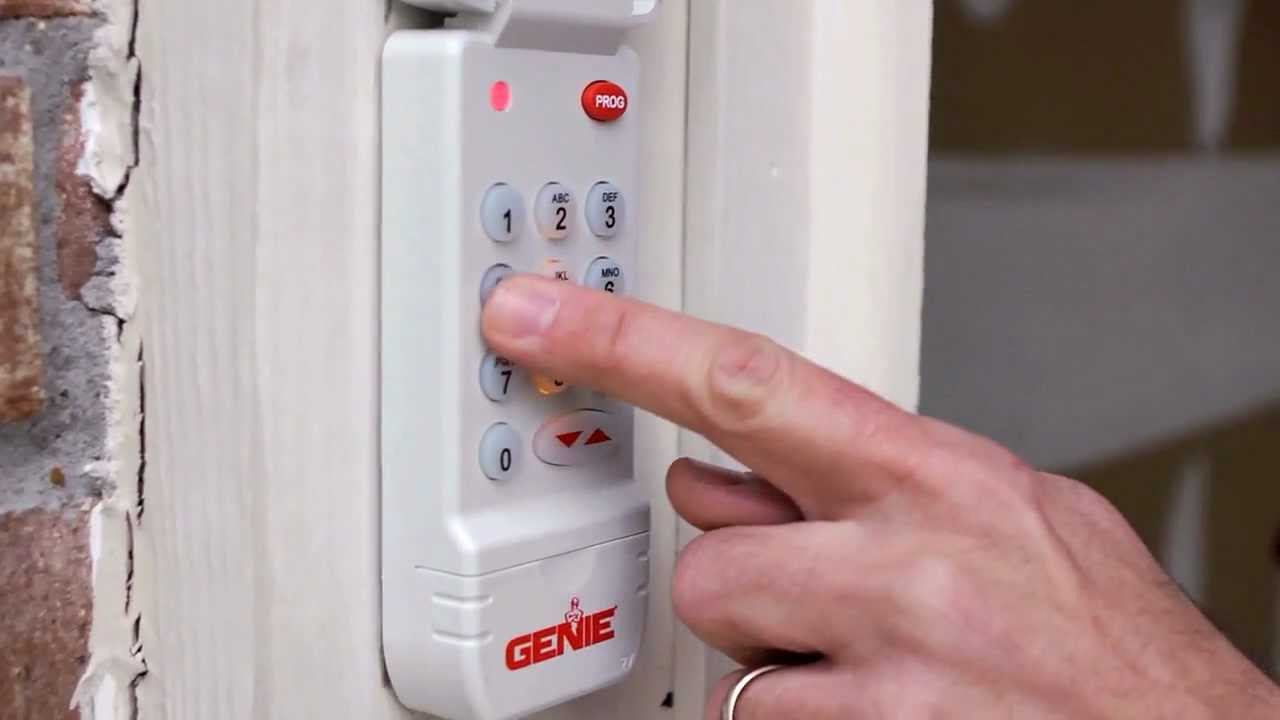
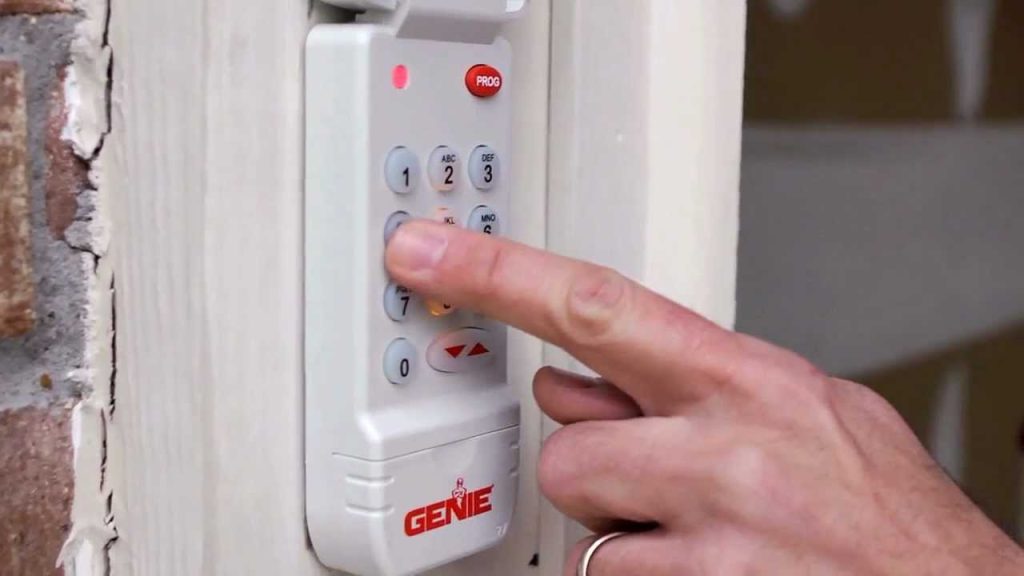
Have you ever stood in front of your garage, fingers hovering over the keypad, only to realize the code isn’t working? Or perhaps you’ve just moved into a new home and want to ensure that previous owners or neighbors no longer have access to your space. Knowing how to change code on Genie garage door opener keypad is not just a technical skill; it’s a fundamental step in securing your home and peace of mind.
Whether you are dealing with an older model or the latest smart-enabled Genie opener, the process is generally straightforward. However, small differences in models can lead to big frustrations if you don’t know what to look for. This guide will walk you through the exact steps, troubleshoot common issues, and help you master your garage security in under ten minutes.
Why You Should Regularly Update Your Keypad Code
Before we dive into the technical steps, it is crucial to understand why this task matters. Many homeowners set their garage door code once and never touch it again. This is a significant security risk.
According to home security experts, garage doors are one of the most common entry points for burglars because they are often less secure than main entrance doors. A static code that has been shared with dog walkers, contractors, or previous residents increases your vulnerability.
Key Benefits of Changing Your Code
- Enhanced Security: Prevents unauthorized access from people who may have learned your old code.
- Peace of Mind: Especially important after moving into a new house or ending a service relationship.
- System Refresh: Sometimes, reprogramming the keypad can resolve minor connectivity glitches between the remote and the motor unit.
Identifying Your Genie Model Type
Genie produces several types of garage door openers, and while the core logic is similar, the button placement might differ. The two most common types you will encounter are:
- The Wall-Mounted External Keypad: This is the weather-resistant pad installed outside your garage door.
- The Internal Console/Smart Panel: Some newer Genie models feature a control panel inside the garage that also acts as a keypad.
Most modern Genie openers use a “Learn Button” system. This button is typically located on the back or side of the motor unit hanging from your garage ceiling. It is usually colored purple, red, orange, or yellow. Identifying this color is critical because it determines the specific programming sequence you must follow.
Pro Tip: If you cannot find the learn button, consult your owner’s manual. You can also find detailed diagrams for specific models on Wikipedia’s page for Garage Door Openers, which provides a broad overview of industry standards and safety mechanisms.
Step-by-Step: How To Change Code On Genie Garage Door Opener Keypad
Follow these precise steps to reset your code. We recommend having a ladder ready if your motor unit is mounted high on the ceiling.
Step 1: Clear the Old Code (Optional but Recommended)
If you suspect someone else knows your code, it is best to clear the memory first.
- Locate the Learn Button on the motor unit.
- Press and hold the Learn Button for approximately 10 seconds until the indicator LED turns off.
- Release the button. This erases all previously programmed remotes and keypads. Note: You will need to reprogram all your remotes after this step.
Step 2: Initiate Programming Mode
- Press the Learn Button once briefly. Do not hold it.
- The indicator LED will light up or start blinking. You typically have 30 seconds to complete the next step before the mode times out.
Step 3: Enter Your New Code
- Go to your external keypad.
- Enter your desired 4-digit PIN. Choose something memorable but not obvious (avoid 1234 or your birth year).
- Immediately press the Enter or Arrow button on the keypad.
Step 4: Confirm the Code
- Return to the motor unit. The LED should blink or turn solid to confirm the code was accepted.
- Test the code immediately by entering it on the keypad again. The garage door should activate.
Step 5: Program Additional Remotes (If Cleared Memory)
If you cleared the memory in Step 1, you must now re-sync your handheld remotes.
- Press the Learn Button on the motor unit again.
- Within 30 seconds, press and hold the button on your handheld remote.
- Release when the motor unit lights flash or clicks.
Troubleshooting Common Issues
Even with careful following, things can go wrong. Here are the most common problems and their solutions.
| Problem | Possible Cause | Solution |
|---|---|---|
| Keypad not responding | Dead batteries | Replace the 9V or AA batteries in the keypad. |
| LED doesn’t light up | Power issue | Check if the motor unit is plugged in and the circuit breaker is on. |
| Code accepted but door doesn’t move | Safety sensor misalignment | Check the sensors near the floor. Ensure nothing is blocking the beam. |
| Learn button times out | Too slow | Move faster between pressing the Learn button and entering the code. |
What If the Learn Button Is Not Working?
If the Learn button does not respond, the logic board of the opener might be faulty. Try unplugging the unit for 5 minutes to perform a hard reset. If it still fails, you may need to contact Genie support or a professional technician.
Security Best Practices for Your Garage
Changing the code is just one part of the puzzle. To truly secure your Genie garage door opener, consider these additional measures:
- Avoid Simple Patterns: Do not use sequential numbers like 1111 or 2468.
- Change Codes Annually: Make it a habit to update your code once a year, perhaps during daylight saving time changes.
- Disable Wireless Keypads When Not in Use: If you have a wireless keypad that you only use occasionally, remove the batteries when not in use to prevent signal interception (though rare, it is possible with older systems).
- Check for Firmware Updates: If you have a Wi-Fi-enabled Genie model (like the Aladdin Connect), ensure your app and firmware are up to date to protect against digital vulnerabilities.
FAQ Section
1. Can I change the code without accessing the motor unit?
No, for security reasons, you must physically press the Learn Button on the motor unit to initiate the programming mode. This prevents anyone from outside your home from resetting your code remotely.
2. How many codes can I store on my Genie keypad?
Most Genie keypads allow for one primary user code. However, some advanced models support multiple user codes or temporary vacation codes. Check your specific model’s manual for details on multi-user capabilities.
3. What should I do if I forget my new code?
If you forget your code, you will need to repeat the programming process. Since you cannot retrieve the old code, you must create a new one by following the steps outlined above: press the Learn Button, enter a new PIN, and save it.
4. Does changing the code affect my car’s built-in garage door opener?
If you cleared the memory (Step 1), yes, you will need to reprogram your car’s built-in opener. If you simply added a new code without clearing memory, your car remote should continue to work as usual.
5. Is it safe to use a generic keypad with my Genie opener?
Yes, most universal keypads are compatible with Genie openers. However, ensure the keypad supports the frequency and security protocol (e.g., Intellicode) of your specific Genie model. Using non-compatible devices may result in unreliable performance.
6. How long does the battery last in the keypad?
Typically, keypad batteries last between 1 to 3 years, depending on usage frequency and weather conditions. Cold temperatures can drain batteries faster. If the backlight becomes dim or the response slows down, it is time to replace them.
Conclusion
Learning how to change code on Genie garage door opener keypad is a simple yet powerful way to take control of your home security. By following the steps above, you can ensure that only authorized individuals have access to your garage. Remember to choose a strong, unique PIN and keep your motor unit’s Learn button accessible for future updates.
Don’t wait for a security scare to act. Take five minutes today to verify your current code and update it if necessary. If you found this guide helpful, please share it with friends and family on social media to help them secure their homes too. Stay safe and keep your garage secure!
Leave a Reply