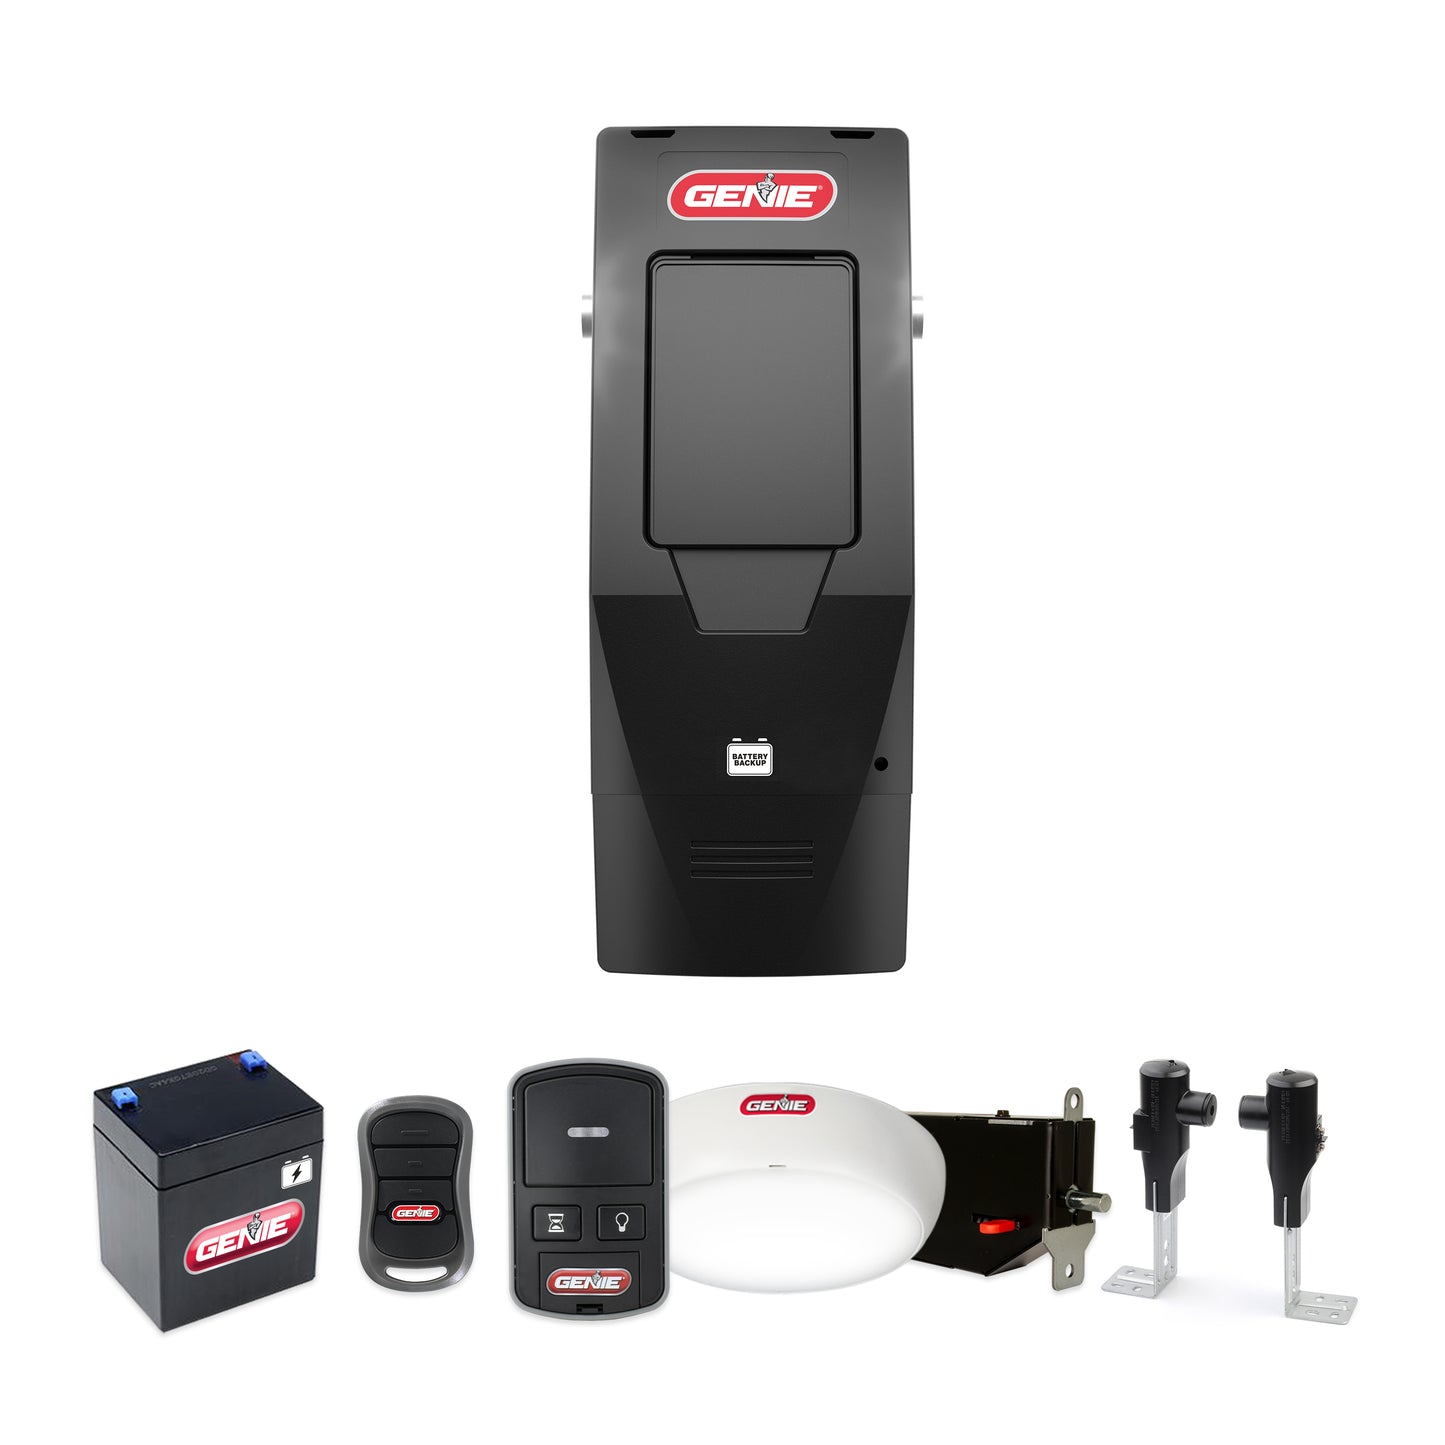
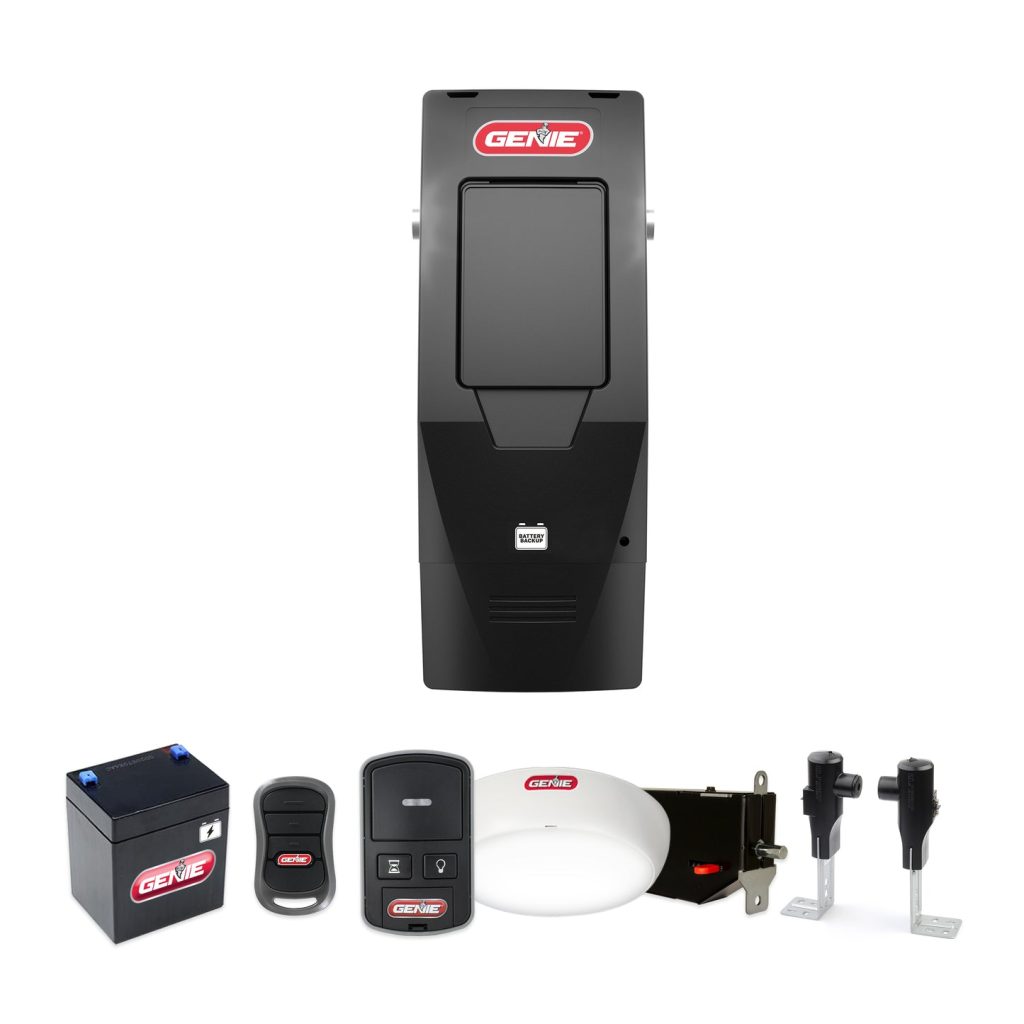
Is your garage door suddenly unresponsive? A dead battery in your wall-mounted control panel is often the culprit behind this frustrating issue. Learning how to change battery in wall mounted garage door opener is a simple DIY task that can save you time and money on unnecessary service calls.
Many homeowners panic when their garage door stops responding to the wall button. Before calling a professional technician or replacing the entire unit, check the battery first. This small component powers your wall console and ensures seamless communication with your garage door opener motor. In this comprehensive guide, we’ll walk you through everything you need to know about replacing this battery safely and efficiently.
Why Does Your Wall Mounted Garage Door Opener Need a Battery?
Before diving into the replacement process, it’s essential to understand why your wall-mounted unit requires a battery in the first place. Unlike handheld remotes that rely solely on batteries, wall-mounted consoles typically receive power from your home’s electrical system. However, most modern units include a backup battery for specific purposes.
Primary Functions of the Backup Battery
The backup battery serves several critical functions:
- Memory retention: Keeps your programmed settings intact during power outages
- Emergency operation: Allows limited functionality when main power fails
- Signal transmission: Ensures consistent communication with the opener motor
According to industry standards, most wall-mounted garage door openers use a 9-volt alkaline battery or a specialized lithium battery pack. The exact type varies by manufacturer, so checking your owner’s manual is crucial before purchasing a replacement.
Pro Tip: If your wall console has been working fine and suddenly stopped, there’s a 90% chance the battery is dead. This statistic comes from leading garage door service providers who report battery issues as the most common cause of wall console failures.
Tools and Materials You’ll Need
Gathering the right tools before starting makes the process smoother and faster. Here’s what you’ll need:
| Item | Purpose | Notes |
|---|---|---|
| Replacement battery | Powers the wall console | Check manual for correct type |
| Small screwdriver | Opens battery compartment | Phillips or flathead, depending on model |
| Clean cloth | Wipes contacts | Removes corrosion or debris |
| Flashlight | Improves visibility | Helpful in dimly lit garages |
Most replacements take less than five minutes once you have everything ready. Investing in quality batteries from reputable brands ensures longer lifespan and reliable performance.
Step-by-Step Guide: How To Change Battery In Wall Mounted Garage Door Opener
Follow these detailed steps to replace your wall-mounted garage door opener battery safely and effectively.
Step 1: Locate the Battery Compartment
Wall-mounted garage door openers typically have the battery compartment in one of two locations:
- Behind the front cover: Requires removing screws or sliding off a panel
- At the bottom or side: Accessible via a small door or latch
Look for visible screws, clips, or a removable panel. If you’re unsure, consult your owner’s manual for specific instructions related to your model.
Step 2: Remove the Old Battery
Once you’ve accessed the battery compartment:
- Disconnect any wires carefully if present (note their positions for reconnection)
- Slide or lift out the old battery
- Inspect the contacts for corrosion or damage
If you notice white or green buildup on the metal contacts, clean them with a dry cloth or a cotton swab dipped in rubbing alcohol. Corroded contacts can prevent proper connection even with a new battery.
Step 3: Insert the New Battery
Pay close attention to polarity when inserting the new battery:
- Match the positive (+) and negative (-) terminals correctly
- Ensure the battery sits snugly in the compartment
- Reconnect any wires you previously disconnected
Using the wrong polarity can damage the console or prevent it from functioning. Double-check before proceeding.
Step 4: Test the Garage Door Opener
After installing the new battery:
- Close the battery compartment securely
- Press the wall button to test functionality
- Verify the garage door opens and closes properly
If the door doesn’t respond, try these troubleshooting steps:
- Remove and reinsert the battery to ensure proper contact
- Check if the battery is fully charged (if rechargeable)
- Verify the garage door opener motor has power
Step 5: Dispose of the Old Battery Properly
Never throw alkaline or lithium batteries in regular trash. Take them to:
- Local recycling centers
- Hardware stores with battery disposal programs
- Municipal hazardous waste collection sites
Proper disposal protects the environment and complies with local regulations. For more information on battery recycling, visit Wikipedia’s page on battery recycling.
Common Mistakes to Avoid
Even though changing the battery seems straightforward, several common mistakes can cause problems:
Using the Wrong Battery Type
Not all 9-volt batteries are created equal. Some wall consoles require specific voltage or chemistry. Always check your owner’s manual or the label inside the battery compartment for exact specifications.
Ignoring Contact Corrosion
Failing to clean corroded contacts leads to poor connectivity. Even with a brand-new battery, corrosion can prevent proper current flow. Take the extra minute to clean contacts thoroughly.
Forgetting to Test After Replacement
Always test the garage door immediately after replacing the battery. This confirms the installation was successful and identifies any additional issues early.
When to Call a Professional
While battery replacement is usually a simple DIY task, certain situations warrant professional assistance:
- Persistent problems after battery replacement: May indicate wiring or motor issues
- Visible damage to the wall console: Cracks, burns, or water damage require expert evaluation
- Complex wiring configurations: Older systems may have intricate connections best handled by technicians
- Safety concerns: If you’re uncomfortable working with electrical components
Professional garage door technicians can diagnose underlying issues and ensure your system operates safely and efficiently.
FAQ Section
How often should I replace the battery in my wall mounted garage door opener?
Most manufacturers recommend replacing the battery every 12–18 months, even if it hasn’t died completely. Proactive replacement prevents unexpected failures. If you notice decreased responsiveness or intermittent operation, replace the battery immediately.
Can I use a rechargeable battery instead of alkaline?
It depends on your specific model. Some wall consoles work with rechargeable batteries, while others require standard alkaline batteries. Check your owner’s manual for compatibility. Note that rechargeable batteries may have slightly lower voltage, which could affect performance in some units.
What type of battery does my wall mounted garage door opener use?
Most wall-mounted garage door openers use a 9-volt alkaline battery. However, some newer models use proprietary lithium battery packs or AA batteries. The exact type is usually printed inside the battery compartment or listed in the owner’s manual.
Why won’t my garage door respond after changing the battery?
Several factors could cause this issue:
- Incorrect battery polarity
- Poor contact due to corrosion
- Faulty new battery
- Underlying electrical or mechanical problems
Try removing and reinserting the battery, cleaning contacts, and testing with a different battery. If problems persist, consult a professional technician.
Is it safe to change the battery myself?
Yes, changing the battery in a wall-mounted garage door opener is generally safe. The battery operates at low voltage and poses minimal risk. However, always disconnect power to the garage door opener motor before working on any electrical components as a precaution.
Can a dead battery damage my garage door opener?
No, a dead battery won’t damage your garage door opener. It simply prevents the wall console from sending signals to the motor. However, leaving a dead battery in the compartment for extended periods can lead to leakage and corrosion, which may damage the console over time.
Conclusion
Learning how to change battery in wall mounted garage door opener empowers you to handle common maintenance tasks confidently. This simple five-minute procedure can restore functionality to your garage door system and prevent unnecessary service costs. By following the steps outlined in this guide, you’ll ensure your wall console operates reliably for years to come.
Remember to use the correct battery type, clean contacts regularly, and test functionality after replacement. These small efforts make a significant difference in maintaining your garage door system’s performance.
Did you find this guide helpful? Share it with friends and family on social media to help them troubleshoot their garage door issues too! Bookmark this page for future reference, and don’t hesitate to reach out if you have additional questions about garage door maintenance.
Leave a Reply