Have you ever worried that an old neighbor or a former contractor still has access to your garage? Or perhaps you simply bought a new home and want to ensure total privacy from day one. Knowing how do I change my Genie garage door opener code is one of the most effective ways to secure your property and peace of mind. In this guide, we will walk you through the process clearly and safely, ensuring your home remains your sanctuary.
Why Changing Your Genie Code Is Crucial for Home Security
Many homeowners underestimate the importance of updating their garage door codes. However, the garage is often the largest entry point to a home and frequently contains valuable tools, vehicles, and even direct access to the house interior.
According to security experts, failing to update default or old codes is a common vulnerability. If you have recently moved into a new house, lost a remote, or suspect unauthorized access, changing the code is not just a recommendation—it is a necessity.
Genie garage door openers are renowned for their reliability, but like any digital system, they require periodic maintenance to stay secure. By taking control of your access codes, you eliminate the risk of “code guessing” by intruders who might know standard default settings.
Step-by-Step Guide: How Do I Change My Genie Garage Door Opener Code?
While Genie produces several models, the majority of modern units (such as the Model 1035, 2024, and 3064) follow a similar programming logic. Below is the universal method that works for most Genie Intellicode® systems.
Step 1: Locate the Learn Button
First, you need to access the motor head unit mounted on your garage ceiling. Look for the Learn Button. It is typically located on the back or side of the motor housing.
- On most models, it is a small, square button.
- It is often colored purple, red, or orange.
- Next to it, you may see a LED light indicator.
Safety Tip: Ensure your ladder is stable before reaching up to the motor unit. Never attempt this while the door is moving.
Step 2: Clear the Old Codes (Optional but Recommended)
If you want to erase all previously programmed remotes and keypads (highly recommended if you lost a remote), press and hold the Learn Button for approximately 10 seconds until the LED indicator blinks twice or turns off. This resets the memory. Note that you will need to reprogram all your devices after this step.
If you only want to add a new code without deleting others, skip to Step 3.
Step 3: Enter Programming Mode
Press and release the Learn Button once. The LED light will illuminate or begin to blink, indicating the unit is ready to receive a new signal. You typically have 30 seconds to complete the next steps.
Step 4: Program Your New Code
This step depends on whether you are using a wireless keypad or a remote control.
For Wireless Keypads:
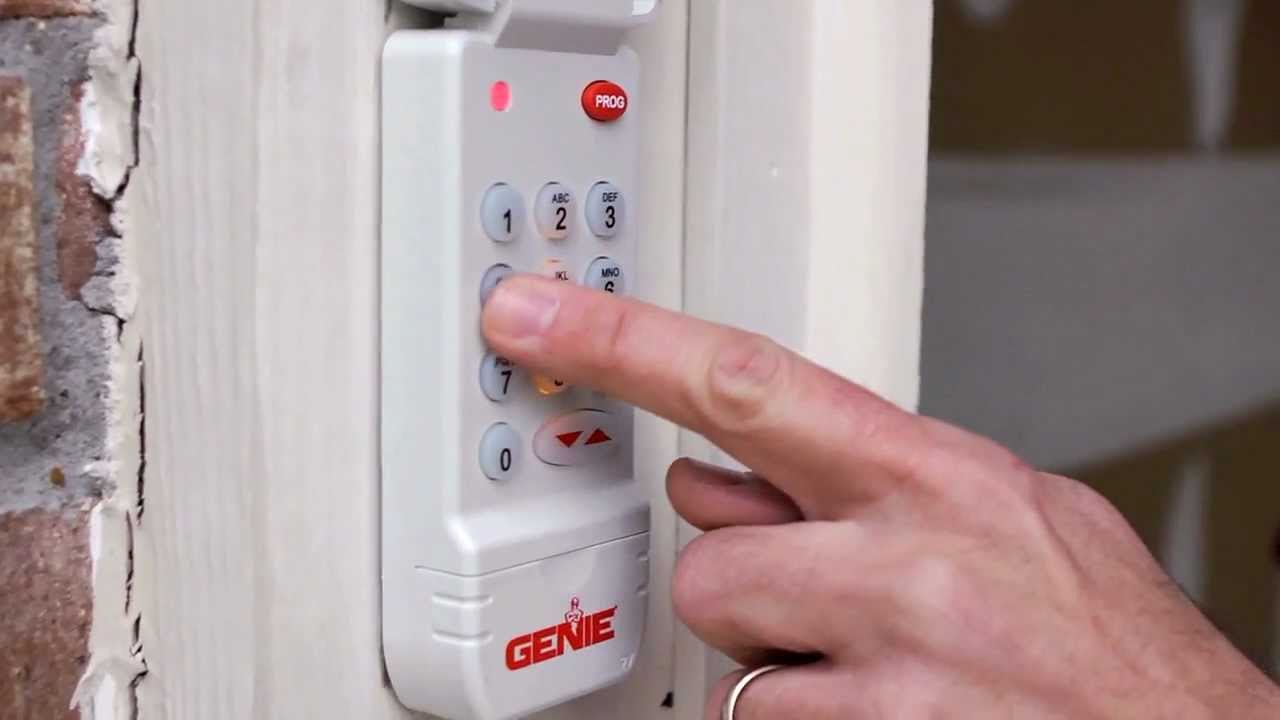
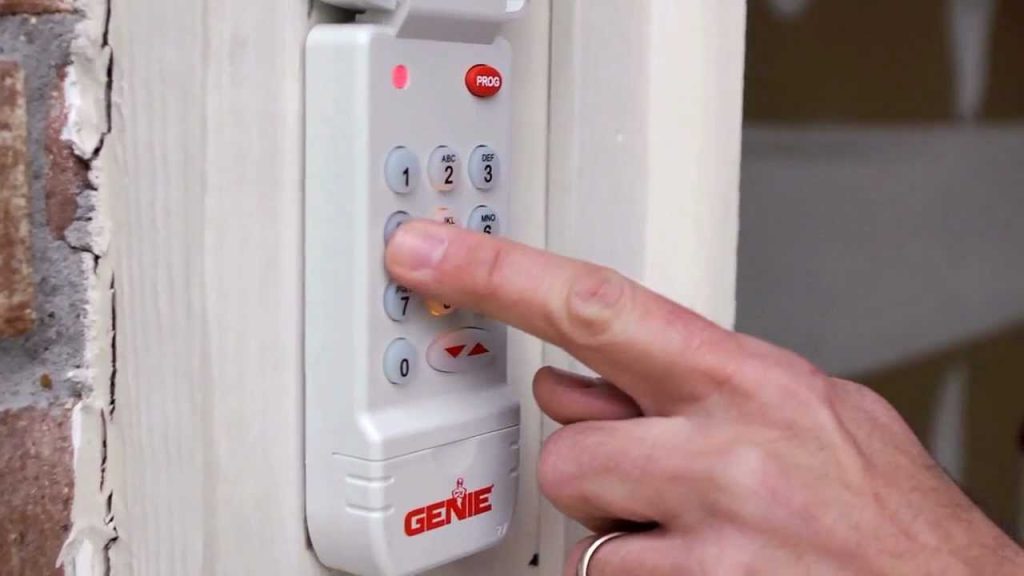
- Enter your desired 4-digit PIN on the keypad.
- Immediately press the Enter or Program button on the keypad.
- The LED on the motor head should flash or turn off, confirming the code is accepted.
For Remote Controls:
- Press and hold the button on the remote you wish to program.
- Release it when the LED on the motor head flashes.
Step 5: Test the New Code
Always verify your work. Stand outside the garage and enter your new code on the keypad or press the remote button. The door should activate immediately. If it does not, repeat Steps 3 and 4, ensuring you are within range and acting within the 30-second window.
Troubleshooting Common Issues
Even with careful following of instructions, things can go wrong. Here are the most common hurdles users face when learning how do I change my Genie garage door opener code.
| Issue | Possible Cause | Solution |
|---|---|---|
| LED does not light up | Power issue or faulty button | Check if the unit is plugged in. Try pressing the button firmly. |
| Code not accepted | Timing error | You likely missed the 30-second window. Reset and try again faster. |
| Door moves but doesn’t stop | Sensor alignment | Check the safety eyes near the floor. Ensure nothing blocks them. |
| Remote works, keypad doesn’t | Battery failure | Replace the 9V or AA batteries in the wireless keypad. |
If you continue to experience issues, consult your specific model’s manual. For broader technical definitions of garage door automation standards, you can refer to Wikipedia’s entry on Garage Door Openers to understand the underlying technology.
Differences Between Genie Models: Intellicode vs. Standard
Not all Genie openers are created equal. Understanding your specific type helps in troubleshooting.
Genie Intellicode® Systems
Most modern Genie openers use Intellicode® technology. This system uses rolling codes, meaning the code changes every time you use the remote. This prevents hackers from “capturing” your signal.
- Pros: High security, resistant to code grabbing.
- Cons: Programming must be precise; timing is critical.
Older Fixed-Code Systems
Older models (pre-2000s) may use dip switches—tiny physical switches inside the remote and motor that must match.
- Pros: Simple to understand visually.
- Cons: Low security; codes never change unless you physically move switches.
If you have an older model with dip switches, changing the code involves opening both the remote and the motor unit and setting the tiny switches to a new random pattern. However, for security reasons, upgrading to a newer Intellicode® model is often advised.
Best Practices for Maintaining Garage Door Security
Changing the code is just the first step. To maintain a high level of security, consider these expert tips:
- Avoid Obvious Codes: Never use 1234, 0000, or your birth year. Choose a random 4-digit combination.
- Update Regularly: Make it a habit to change your code once a year, or immediately after anyone who had access (like a dog walker or cleaner) no longer needs it.
- Secure the Wall Console: If your wall-mounted button is visible from outside, consider installing a cover or relocating it. Intruders can sometimes trigger the door if they can reach the button through a window.
- Check Batteries: Weak batteries in remotes can cause signal errors, leading you to think the code was deleted when it was merely a power issue.
FAQ Section
1. How do I change my Genie garage door opener code without the remote?
You can change the code using only the wireless keypad. Follow the steps above: press the Learn Button on the motor, then enter your new PIN on the keypad followed by the Enter button. You do not need a handheld remote to program a keypad.
2. What is the default code for Genie garage door openers?
New Genie openers do not have a pre-set “default” user code for security reasons. You must program your own code during initial setup. If you bought a used unit, the previous owner’s code is still active until you clear the memory using the Learn Button.
3. Can I have multiple codes for one Genie opener?
Yes. Most Genie Intellicode® systems allow you to program multiple remotes and keypads. You can also set up different PINs on wireless keypads if the model supports multi-user access, allowing family members to have unique entry codes.
4. Why won’t my Genie garage door opener accept the new code?
The most common reason is timing. You must enter the new code within 30 seconds of pressing the Learn Button. Additionally, ensure the keypad batteries are fresh. If the LED on the motor does not blink when you press Learn, the unit may need to be reset by unplugging it for 5 minutes.
5. Is it safe to change the code myself?
Absolutely. Changing the code is a safe, non-electrical procedure that does not involve touching high-voltage wires. As long as you use a stable ladder and follow the manufacturer’s instructions, there is no risk involved.
Conclusion
Learning how do I change my Genie garage door opener code is a simple yet powerful step toward securing your home. By following the five steps outlined above, you can regain control over who enters your garage. Remember, consistency is key—regularly updating your codes and maintaining your devices ensures long-term safety.
Don’t wait for a security breach to take action. Take five minutes today to check your current setup. If you found this guide helpful, please share it with friends and family on social media to help them secure their homes too. Stay safe, and keep your garage secure!
Leave a Reply