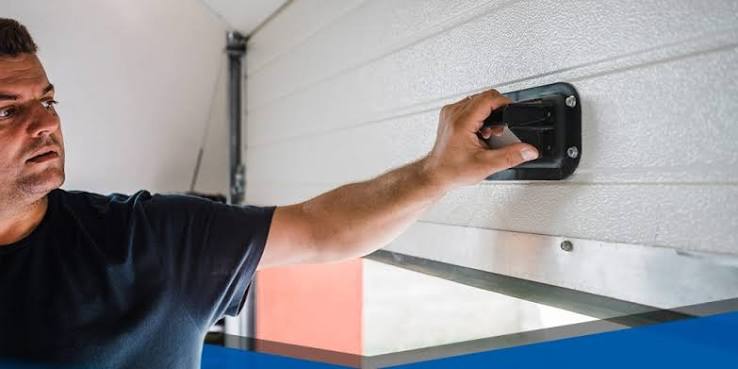
Dealing with a malfunctioning garage door is incredibly frustrating, especially when you are rushing to work or coming home exhausted. If your garage door won’t shut unless I hold the button, you are likely dealing with a triggered safety feature or a minor mechanical obstruction. Don’t worry; we will walk you through the exact steps to diagnose and fix this issue safely and efficiently.
Reasons Your Garage Door Wont Shut Unless I Hold The Button
When you press the wall console button and nothing happens, but holding it down forces the door to close, you are essentially overriding the system’s safety mechanisms. Modern garage door openers are designed to stop or reverse the door if they detect an obstruction.
Holding the wall button forces the motor to close the door regardless of these safety signals. According to the International Door Association (IDA), nearly 70% of garage door service calls related to closing issues stem from misaligned photo-eye sensors.
Here is a quick breakdown of the most common culprits:
| Symptom Observed | Most Likely Cause | Difficulty Level |
|---|---|---|
| Door reverses immediately | Misaligned safety sensors | Easy |
| Door stops halfway down | Dirty sensor lenses or spider webs | Very Easy |
| Door hits the floor and bounces up | Incorrect down-limit settings | Moderate |
| Door struggles and reverses | Lack of lubrication or track friction | Moderate |
Understanding these symptoms is the first step toward a permanent fix. Let’s dive into the specific solutions.
How to Check and Align the Safety Sensors?
The most common reason your overhead door refuses to close is a misalignment of the photo-eye sensors. These small black boxes are located on both sides of the garage door track, usually about 6 inches off the ground. They shoot an invisible infrared beam across the door’s path.
If the beam is broken or blocked, the door will refuse to close unless you manually override it. The historical development of the garage door shows that these mandated safety mechanisms were introduced in the early 1990s to prevent accidental entrapment.
Step-by-Step Sensor Alignment:
- Locate the LEDs: Look at the two sensor units on the tracks. One should have a steady green light (the receiver), and the other should have a steady amber or red light (the sender).
- Check for Blinking: If either light is blinking or completely off, you have found your problem.
- Clean the Lenses: Take a clean, dry microfiber cloth and gently wipe the small glass lenses. A tiny speck of dirt or a spider web can block the infrared beam.
- Tighten the Wing Nuts: Gently adjust the sensor brackets. Move the blinking sensor slightly up, down, or sideways until the LED light turns solid.
- Test the Door: Press the remote button. If the door closes smoothly, you have successfully fixed the issue!
What Role Do the Limit Switches Play?
If your sensors are perfectly aligned and the lights are solid, the next suspect is the limit switch. The limit switch tells the motor exactly when to stop moving. If the “down limit” is set incorrectly, the door will think it has hit an obstacle before it actually reaches the floor.
As certified technician Mark Davis notes, “Holding the wall button is a manual override that forces the motor to ignore limit settings. If this is the only way it closes, your travel limits need a simple adjustment.”
Step-by-Step Limit Switch Adjustment:
- Locate the Adjustment Screws: Look on the back or side of the motor head. You will see two plastic screws, usually labeled “Up” and “Down” (or “Open” and “Close”).
- Adjust the Down Limit: Using a Phillips screwdriver or your fingers, turn the “Down” or “Close” screw in the direction opposite to the printed arrow.
- Make Small Increments: Turn the screw only 1/4 of a turn at a time. Turning it too much can cause the door to crush into the floor.
- Test the Operation: Press the remote to close the door. Watch as it descends. It should stop gently right when the bottom rubber seal touches the concrete.
- Repeat if Necessary: If it still reverses, turn the screw another 1/4 turn and test again until the timing is perfect.
Are the Tracks and Rollers Causing Friction?
Sometimes the issue isn’t electronic at all; it’s purely mechanical. If the garage door tracks are bent, or the rollers are dry and gritty, the motor has to work much harder to pull the door down.
When the motor senses this excess resistance, it assumes the door has hit a car or a person, triggering the auto-reverse feature. This is why holding the button works—it forces the motor to push through the physical resistance.
Quick Maintenance Checklist:
- Inspect the Tracks: Look for dents or gaps where the metal tracks meet the wall. Use a rubber mallet to gently tap minor dents back into shape.
- Check the Rollers: Inspect the nylon or steel wheels. If they are chipped or cracked, they need to be replaced.
- Lubricate Moving Parts: Spray a silicone-based lubricant or white lithium grease on the rollers, hinges, and the inside of the tracks. Never use WD-40, as it attracts dust and creates a sticky mess.
How to Test the Force Settings?
If the tracks are clean and lubricated, but the door still reverses, your opener’s force settings might be too low. The force setting dictates how much pushing power the motor uses.
Over time, the heavy metal springs that counterbalance your door can stretch and lose tension. This makes the door physically heavier, requiring more motor force to close.
- Locate the Force Dials: Find the “Close Force” or “Down Force” adjustment knob on the motor unit.
- Increase the Force: Turn the dial slightly in the direction of the plus (+) sign or the word “Increase.”
- Perform the Safety Test: This is critical. Once adjusted, place a 2×4 piece of wood flat on the ground under the center of the door. Close the door. When the door hits the wood, it must immediately reverse. If it doesn’t, the force is too high and poses a severe safety hazard.
FAQ Section
Can I bypass the garage door sensors to make it close?
Technically, you can wire the sensors together to trick the system into thinking the beam is always clear. However, this is highly discouraged and often violates local building codes. Bypassing the sensors removes the primary safety feature that prevents the door from crushing a child, pet, or vehicle.
How much does it cost to fix a garage door that won’t close?
If you do it yourself, the cost is usually $0, as it only requires basic cleaning and adjustments. If you hire a professional, expect to pay between $150 and $200 for a service call. If the sensors are actually broken and need replacement, the parts usually cost between $25 and $50.
Why does my garage door close then immediately open back up?
This usually happens when the door hits the floor and bounces back up, which tricks the motor into thinking it hit an obstacle. It can also be caused by the down-limit switch needing adjustment, or the force settings being too low to pull the door all the way down.
How do I reset my garage door opener?
Most openers can be reset by unplugging the unit from the ceiling for about 60 seconds, then plugging it back in. Alternatively, you can hold down the “Learn” or “Smart” button on the motor for 6 to 10 seconds until the indicator light blinks, which clears all previously programmed remotes and keypads.
Is it safe to hold the wall button to close the door every day?
While it works as a temporary fix, it is not recommended for daily use. Constantly overriding the safety sensors means the auto-reverse feature is disabled. If the door comes down on a person or an object while you are holding the button, it will not stop, leading to potential injury or property damage.
Conclusion
Fixing a garage door that refuses to close is usually much simpler than you might think. By checking your photo-eye sensors, adjusting the limit switches, and performing basic track maintenance, you can resolve the issue in under 30 minutes. Not only will this save you the cost of a professional service call, but it will also ensure your home remains secure and your family safe.
If you found this guide helpful and managed to get your door working again, please share this article on your social media to help out a friend who might be struggling with the exact same issue! Don’t forget to bookmark this page for your future home maintenance needs.
Leave a Reply