Introduction
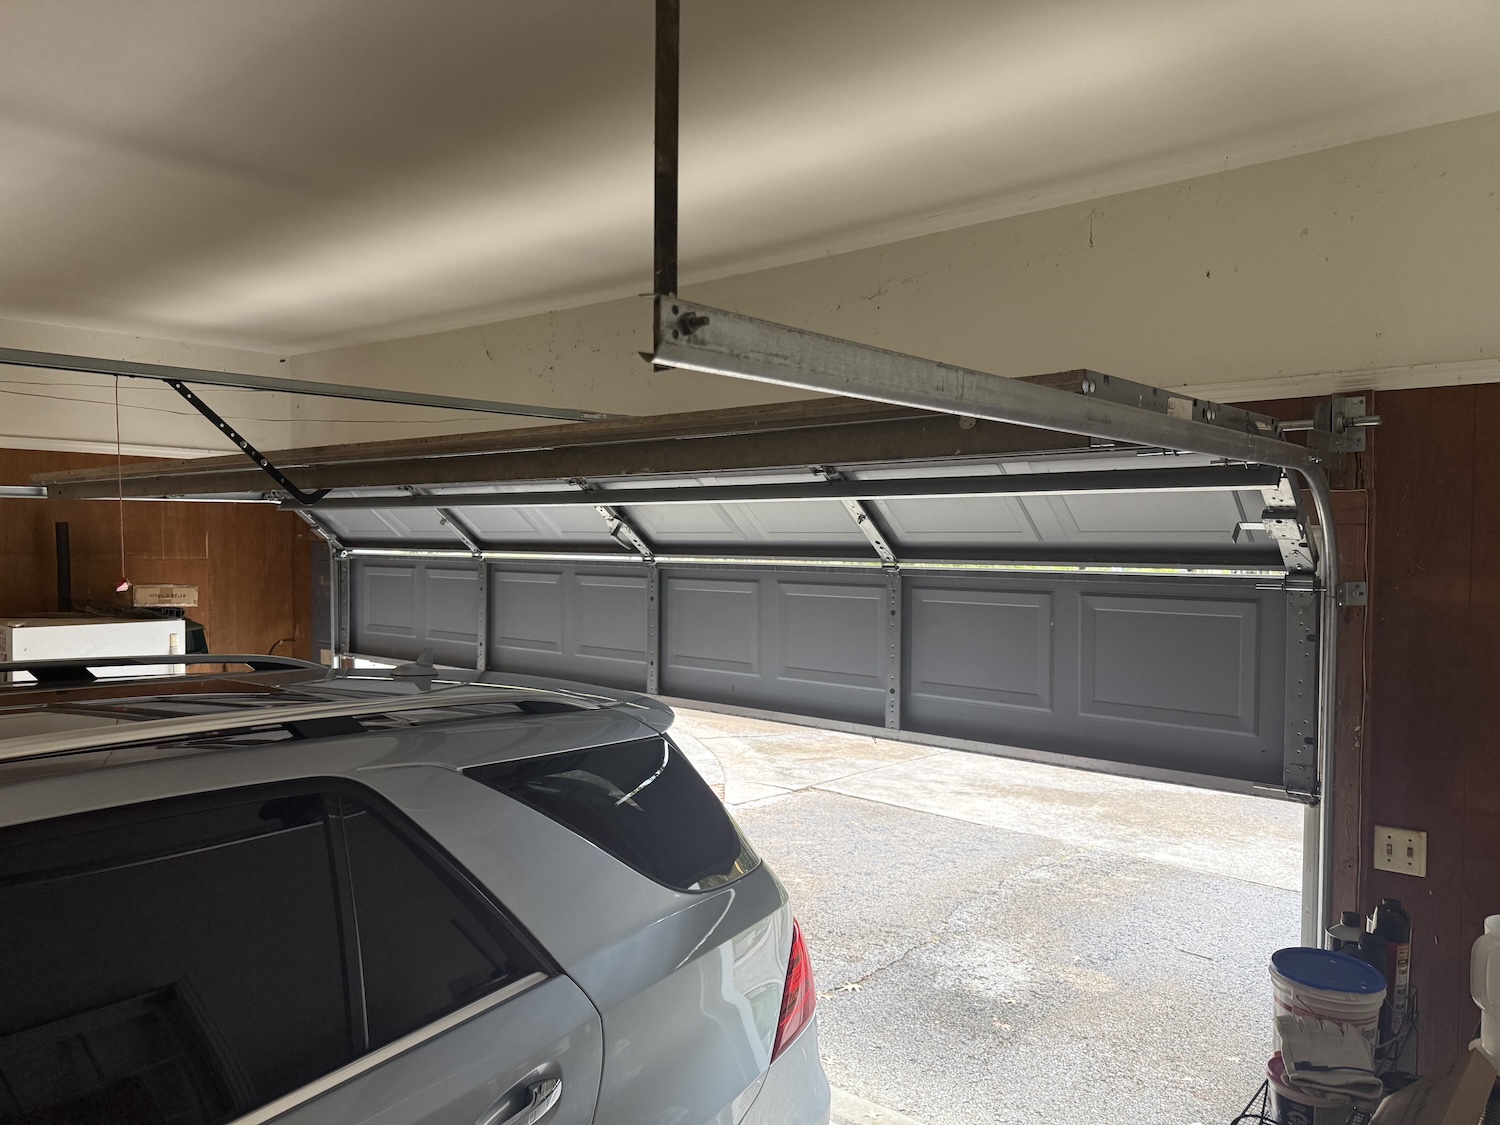
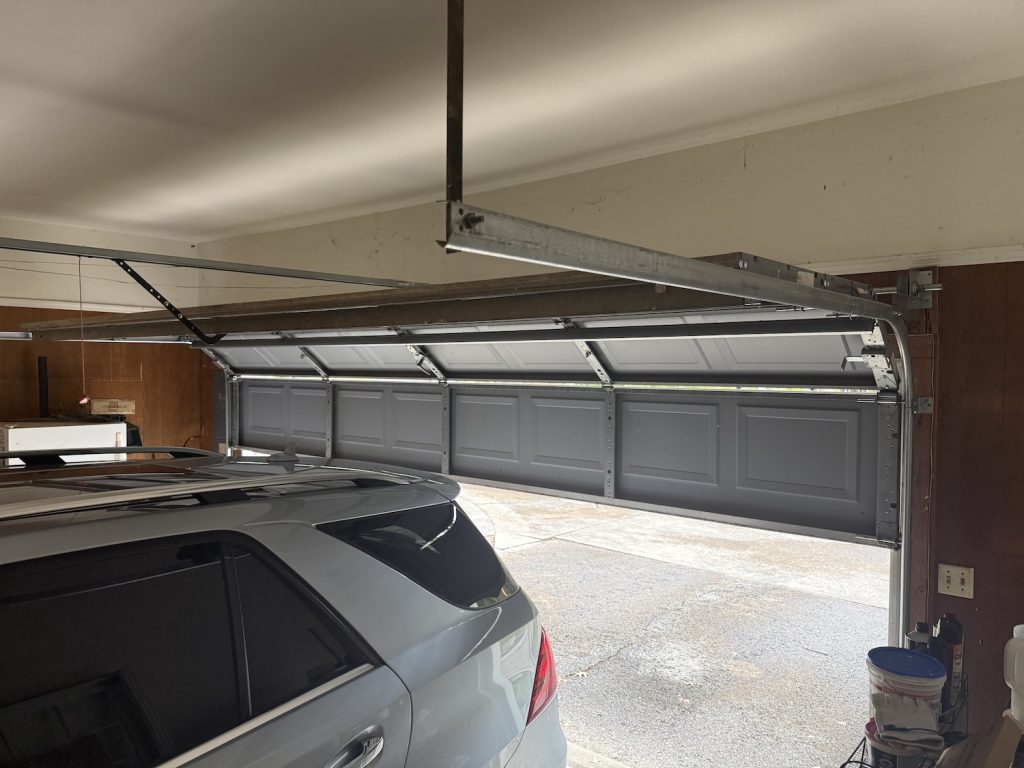
There’s nothing quite as frustrating as standing in your driveway, pressing the garage door remote, and watching it refuse to close unless you keep your finger glued to the wall button. If your garage door only goes down when I hold the button, you’re not alone. This is a common safety feature trigger that indicates your opener has detected a potential obstruction or malfunction. While it might seem like a minor inconvenience, ignoring this issue can lead to complete system failure or, worse, safety hazards for your family and pets. In this guide, we’ll walk you through exactly why this happens and how to fix it quickly and safely.
Why Does My Garage Door Only Close When I Hold the Button?
Before diving into solutions, it’s crucial to understand why your garage door behaves this way. Modern garage door openers are equipped with sophisticated safety mechanisms designed to prevent accidents. When the door refuses to close automatically but responds to continuous pressure on the wall button, it typically means the safety sensors are misaligned, blocked, or malfunctioning.
The wall button often bypasses certain safety checks when held down continuously, allowing the door to close despite sensor issues. However, this is not a permanent solution—it’s a temporary workaround that masks an underlying problem. According to the Consumer Product Safety Commission (CPSC), garage door-related injuries send thousands of people to emergency rooms annually, many due to improperly functioning safety sensors.
The Role of Safety Sensors
Garage door safety sensors, also known as photo-eye sensors, are located near the bottom of the door tracks on both sides. They emit an invisible infrared beam across the doorway. If anything interrupts this beam—whether it’s a leaf, a toy, or even sunlight glare—the door will reverse direction or refuse to close entirely. When these sensors fail to communicate properly, the opener defaults to a “safe mode” where manual override via the wall button becomes necessary.
Common Causes and Step-by-Step Solutions
1. Misaligned Safety Sensors
Misalignment is the most frequent culprit behind this issue. Even a slight shift in the sensor brackets can break the infrared beam connection.
How to Fix It:
- Locate the sensors: Find the two small boxes mounted on either side of the garage door, about 6 inches above the floor.
- Check the indicator lights: Most sensors have LED lights. A steady green light usually means proper alignment, while a blinking or red light indicates a problem.
- Adjust the brackets: Loosen the wing nuts or screws holding the sensor brackets. Gently adjust the sensors until both LED lights show a steady glow.
- Tighten securely: Once aligned, tighten the brackets firmly to prevent future shifting.
- Test the door: Press the remote or wall button normally. The door should now close without needing constant pressure.
Pro Tip: Use a level tool to ensure both sensors are at the exact same height. Even a quarter-inch difference can cause alignment issues.
2. Dirty or Obstructed Sensor Lenses
Dirt, dust, spider webs, or debris on the sensor lenses can block the infrared beam, triggering the safety mechanism.
How to Clean Them:
- Turn off the garage door opener power for safety.
- Use a soft, dry microfiber cloth to gently wipe both sensor lenses.
- Avoid using chemical cleaners, which can damage the plastic housing.
- Check for any objects blocking the beam path between the sensors.
3. Damaged or Frayed Wiring
Over time, the wires connecting the sensors to the opener can become damaged, chewed by pests, or disconnected.
Inspection Steps:
- Trace the wires from each sensor back to the motor unit.
- Look for visible signs of wear, cuts, or loose connections.
- If you find damaged wiring, replace it with new low-voltage wire available at hardware stores.
- Ensure all connections are tight and secure at both the sensor and opener ends.
For more detailed information on garage door opener wiring standards, you can refer to Wikipedia’s article on garage door openers.
4. Sunlight Interference
Direct sunlight hitting the sensor receiver can overwhelm the infrared signal, especially during early morning or late afternoon hours.
Solutions:
- Install sunshades or hoods over the sensors (available at most home improvement stores).
- Reposition the sensors slightly if possible to avoid direct sun exposure.
- Use electrical tape to create a small shield around the sensor lens.
5. Faulty Logic Board or Opener Settings
If the above steps don’t resolve the issue, the problem may lie within the opener’s internal logic board or incorrect force settings.
Adjusting Force Settings:
- Locate the force adjustment knobs on the motor unit (usually labeled “Up Force” and “Down Force”).
- Use a screwdriver to make small adjustments (quarter-turn increments).
- Test the door after each adjustment.
- Refer to your opener’s manual for specific instructions, as settings vary by brand.
⚠️ Warning: Incorrect force settings can be dangerous. If unsure, consult a professional technician.
Comparison Table: DIY Fixes vs. Professional Repair
| Issue | DIY Difficulty | Cost Estimate | Time Required | Recommended For |
|---|---|---|---|---|
| Sensor Misalignment | Easy | $0 | 10–15 minutes | Homeowners with basic tools |
| Dirty Sensors | Very Easy | $0 | 5 minutes | Everyone |
| Wiring Issues | Moderate | $10–$20 | 30–60 minutes | Those comfortable with low-voltage wiring |
| Sunlight Interference | Easy | $5–$15 | 15 minutes | All users |
| Logic Board Failure | Hard | $150–$300+ | N/A | Professional technicians only |
When to Call a Professional
While many garage door issues can be resolved with DIY efforts, some situations require expert attention:
- Persistent problems after troubleshooting: If you’ve tried all the above steps and the issue remains, there may be a deeper mechanical or electrical fault.
- Unusual noises: Grinding, screeching, or banging sounds indicate worn gears, springs, or rollers.
- Door imbalance: If the door doesn’t stay in place when manually lifted halfway, the springs may need adjustment—a task best left to professionals due to high tension risks.
- Older openers: Units older than 10–15 years may lack modern safety features and benefit from replacement rather than repair.
According to the International Door Association (IDA), hiring a certified technician ensures compliance with local building codes and safety standards, protecting both your property and liability.
FAQ Section
Q1: Is it safe to continue using my garage door if it only closes when I hold the button?
A: No, it is not recommended. This behavior indicates a safety sensor malfunction, which means the door may not reverse if it encounters an obstacle. This poses a serious risk to children, pets, and property. Address the issue immediately.
Q2: Can weather affect my garage door sensors?
A: Yes, extreme temperatures, humidity, and direct sunlight can interfere with sensor performance. Cold weather can cause contraction in materials, leading to misalignment, while heat and UV exposure can degrade plastic components over time.
Q3: How often should I maintain my garage door sensors?
A: Perform a visual inspection and cleaning every 3–6 months. Check alignment quarterly, especially after severe weather events or if you notice unusual door behavior.
Q4: What if my sensors have no lights at all?
A: No lights typically indicate a power issue. Check the wiring connections, ensure the opener is plugged in, and verify that the circuit breaker hasn’t tripped. If power is reaching the opener but not the sensors, the wiring or sensor units themselves may need replacement.
Q5: Can I bypass the safety sensors entirely?
A: Technically, some older models allow sensor bypass through specific button sequences, but this is strongly discouraged. Bypassing safety features violates federal safety regulations and creates significant liability and injury risks. Always repair or replace faulty sensors instead.
Q6: How much does it cost to replace garage door sensors?
A: Replacement sensors typically cost between $20 and $50 per pair, depending on the brand and model. Professional installation adds $75–$150 in labor costs. Many homeowners find DIY replacement straightforward if they’re comfortable following manufacturer instructions.
Conclusion
Dealing with a garage door that only goes down when I hold the button doesn’t have to be a stressful ordeal. In most cases, the issue stems from simple, fixable problems like misaligned sensors, dirty lenses, or minor wiring faults. By following the step-by-step solutions outlined above, you can restore your garage door’s full functionality and ensure your home remains safe.
Remember, regular maintenance is key to preventing future issues. Take a few minutes every few months to inspect and clean your sensors, check wiring integrity, and test your door’s operation. If you’re ever unsure or uncomfortable performing repairs, don’t hesitate to call a certified professional.
Found this guide helpful? Share it with friends and family on social media to help them troubleshoot their garage door woes too! A well-functioning garage door isn’t just about convenience—it’s about keeping your loved ones safe.
Leave a Reply