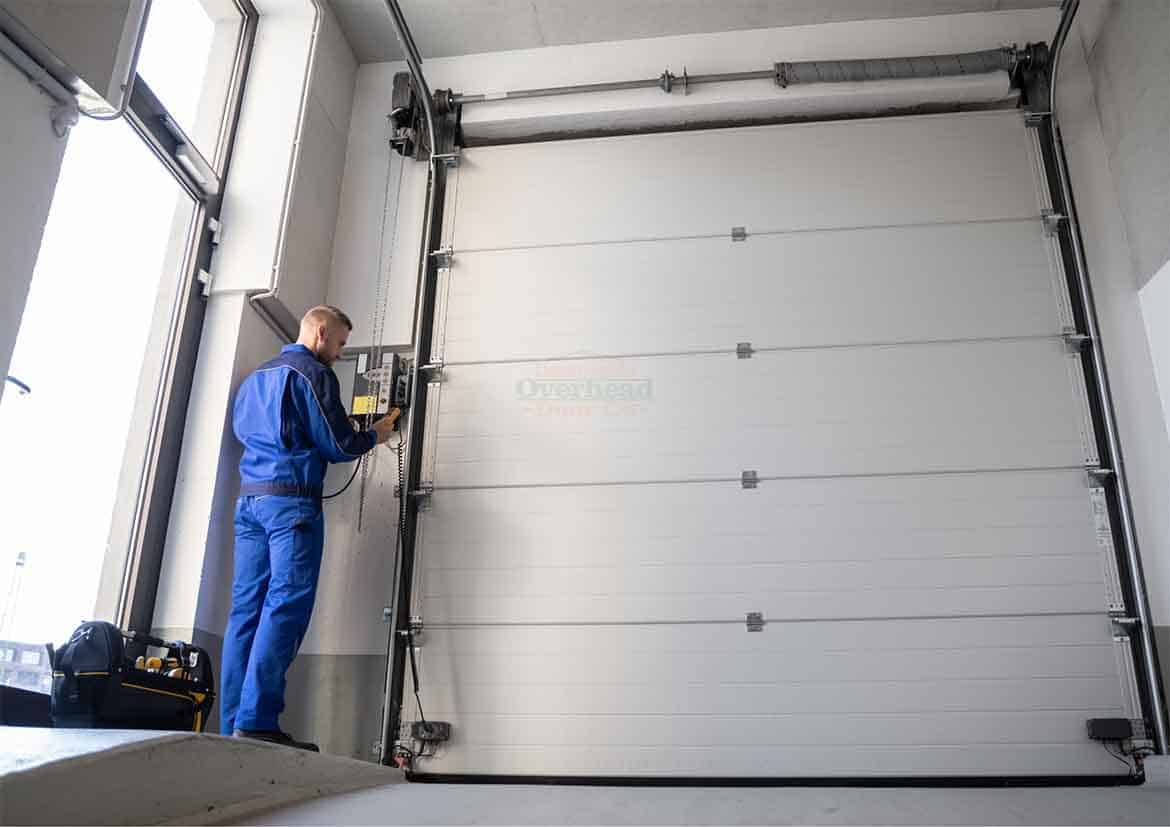
You just backed out of the driveway a little too fast, and crack—your garage door has a massive dent. It is incredibly frustrating, but before you panic about buying a whole new door, take a deep breath. If you are wondering, “Can you replace just one panel on a garage door?”, the short answer is yes, and we are here to show you exactly how to do it.
Can You Replace Just One Panel On A Garage Door?
The short answer is a resounding yes. Most residential homes in the US use sectional garage doors, which are constructed from four to eight horizontal panels hinged together. Because of this modular design, you do not need to replace the entire door if only one section is damaged.
According to Wikipedia, modern sectional garage doors are specifically engineered with modular panels, making targeted repairs highly feasible and cost-effective. However, this only applies to sectional doors. If you have a single-piece roll-up door or a tilt-up canopy door, the entire mechanism must usually be replaced. How Much Does It Cost to Replace a Single Garage Door Panel?
Understanding the financial impact is crucial before starting any home repair. The cost to replace a single garage door panel typically ranges from $150 to $400 for the part itself, depending on the material (steel, aluminum, or wood) and insulation value.
If you hire a professional, expect to pay an additional $200 to $500 for labor. Therefore, a complete professional replacement usually costs between $350 and $900.
To put this into perspective, industry statistics show that replacing a single panel saves homeowners roughly 60% to 70% compared to a full door replacement, which averages $800 to $2,500.
Mark Davis, a certified overhead door technician with 15 years of field experience, shares:
“Replacing a single panel is highly cost-effective and environmentally friendly. As long as the rest of the door is structurally sound and the springs are in good condition, a single panel swap is the smartest financial move for a homeowner.”
Single Panel Replacement vs. Full Door Replacement: Pros and Cons
Before you grab your tools, it is important to weigh your options. Here is a quick comparison to help you decide the best route for your home.
| Feature | Replace Single Panel | Replace Entire Door |
|---|---|---|
| Cost | Low ($350 – $900) | High ($800 – $2,500+) |
| Time Required | 1 to 3 hours | 4 to 6 hours |
| Aesthetic Match | Potential color mismatch due to UV fading | Perfect, uniform appearance |
| Hardware Lifespan | Keeps old springs and rollers | Includes brand new springs and hardware |
| Best For | Minor accidents, newer doors, budget fixes | Old doors, multiple damaged panels, major upgrades |
Step-by-Step Guide: How to Replace a Garage Door Panel
If you are handy and want to tackle this as a DIY project, follow these concrete steps. Safety first: always disconnect the garage door opener and ensure the door is fully closed before starting.
Step 1: Secure the Door Track
You must prevent the door from sliding down while you work. Take a sturdy C-clamp and clamp it tightly to the metal door track just above the broken panel. This acts as a physical brake for the heavy door sections above it.
Step 2: Remove the Hinges and Rollers
Using a 7/16-inch socket wrench, carefully remove the bolts connecting the hinges to the broken panel.
- Pro Tip: Take a photo of the hinge placement before removing them. The hinges at the bottom of the panel often have a different shape than the center hinges because they attach to the bottom weather seal bracket.
Step 3: Detach the Bottom Bracket (If Replacing the Bottom Panel)
If the damaged panel is at the very bottom, it is connected to the bottom bracket, which holds the lifting cable.
- Use your wrench to loosen the bolts on the bottom bracket.
- Warning: Never touch the torsion spring at the top of the door. The cables hold immense tension. Simply unbolt the bracket from the broken panel and let it rest on the floor.
Step 4: Extract the Broken Panel
Once all hinges and brackets are detached, the broken panel should slide out easily. Have a friend help you lift it out, as steel panels can weigh up to 25 pounds each and have awkward, sharp edges.
Step 5: Install the New Panel
Slide the replacement panel into the track. Ensure the bottom weatherstripping faces downward.
- Apply a thin bead of silicone-based lubricant to the rubber weatherstripping to ensure a smooth, watertight seal against the concrete floor.
- Reattach the hinges using the original bolts, tightening them securely with your socket wrench.
Step 6: Reattach the Bottom Bracket and Test
If you removed the bottom bracket, bolt it back onto the new bottom panel. Remove the C-clamps from the track. Pull the manual release cord and manually lift the door halfway to ensure it glides smoothly and stays balanced.
When Should You Replace the Entire Garage Door Instead?
While fixing a single panel is great for your wallet, it is not always the right choice. You should consider replacing the entire garage door if:
- The door is over 15 years old: Older doors lack modern insulation and safety features.
- Multiple panels are damaged: If two or more panels are dented, the structural integrity of the track system might be compromised.
- The color has severely faded: If your door faces direct sunlight all day, a brand-new panel will stand out like a sore thumb against the faded surrounding panels.
- The springs are failing: If your door is making loud popping noises or feels incredibly heavy, the torsion springs are dead. It is more cost-effective to replace the whole door and get new springs.
Frequently Asked Questions (FAQ)
1. Will a new garage door panel match my old ones?
Physically, yes, but visually, maybe not. If your existing door has been exposed to the sun for several years, the old panels will have faded due to UV rays. A brand-new panel will look noticeably brighter and newer. Painting the entire door after the repair can help blend the colors.
2. Can I replace a garage door panel myself?
Yes, if you are comfortable using basic hand tools like a socket wrench and C-clamps. However, if the damage involves the torsion springs, cables, or tracks, you should always hire a professional. Torsion springs are under extreme tension and can cause severe injury if handled incorrectly.
3. How long does it take to replace one panel?
For a professional technician, replacing a single panel usually takes about 1 to 2 hours. If you are doing it yourself as a beginner, expect the project to take 3 to 4 hours, including time spent gathering tools and carefully following the steps.
4. Does homeowner’s insurance cover a single garage door panel?
In many cases, yes. If the panel was damaged by a covered peril—such as a severe windstorm, a falling tree branch, or an accidental vehicle impact—your homeowner’s insurance will likely cover the repair minus your deductible. Always check your specific policy or call your agent before filing a claim.
Conclusion
Dealing with a dented garage door is a hassle, but knowing that you can replace just one panel saves you time, money, and unnecessary stress. By assessing the damage, understanding the costs, and following a careful step-by-step process, you can restore your home’s curb appeal without breaking the bank.
Found this guide helpful? Do not keep it to yourself! Share this article on Facebook, Pinterest, or X (Twitter) to help a friend fix their dented door and save some cash today!
Leave a Reply