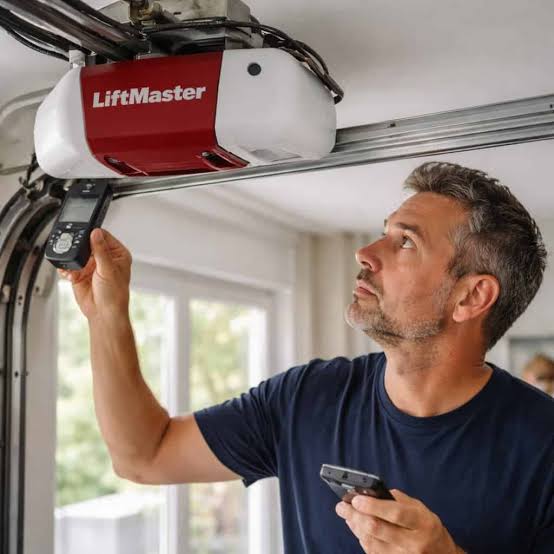
Why Does My Liftmaster Garage Door Opener Not Work? (Common Causes)
When your garage door suddenly stops responding, it usually points to a few common culprits. According to the International Door Association (IDA), over 70% of garage door issues stem from simple maintenance oversights, such as dead remote batteries or misaligned sensors.
Before calling an expensive repair technician, let us break down the most frequent reasons your Liftmaster unit has stopped working.
1. Power Supply Issues
The most obvious reason is a lack of power. Check if the unit is plugged in securely. Sometimes, a minor power surge can trip the circuit breaker or blow a fuse in the motor head.
2. Dead Remote Batteries
If the wall control works but the remote does not, the issue is likely dead batteries. This is the easiest fix in the book.
3. Misaligned Safety Sensors
Modern systems rely heavily on infrared sensors to prevent accidents. If these are bumped out of alignment, the door will refuse to close. To understand the foundational mechanics behind these safety features, you can read more about the components of a garage door opener on Wikipedia.
4. The “Lock” Button is Engaged
Many Liftmaster wall panels feature a dedicated “Lock” button. If this is accidentally pressed, it disables all remote controls to prevent unauthorized access.
How to Fix Misaligned Safety Sensors (The Blinking Light Issue)
If your Liftmaster motor light is blinking and the door reverses immediately after touching the floor, your safety sensors are misaligned. This is a very common Liftmaster troubleshooting scenario.
Follow these concrete steps to fix the sensor alignment:
- Step 1: Locate the photo-eye sensors mounted on both sides of the garage door track, exactly 6 inches above the floor.
- Step 2: Look at the LED indicator lights. The sending sensor usually has a yellow or amber light, while the receiving sensor has a green or red light.
- Step 3: If the receiving sensor’s LED is blinking or completely off, it means it cannot “see” the sending sensor.
- Step 4: Gently adjust the bracket of the blinking sensor. Move it up, down, or sideways in tiny increments.
- Step 5: Stop adjusting the moment the LED light turns solid and stops blinking.
Pro Tip: Clean the sensor lenses with a soft microfiber cloth. Even a thin layer of spider webs or dust can block the infrared beam!
What to Do When the Motor Hums but the Door Stays Put
If you press the button and hear a loud humming or buzzing noise, but the door does not move, you likely have a mechanical disconnect.
Check the Emergency Release Cord
First, look at the red cord hanging from the motor carriage. If it was recently pulled, the carriage is disengaged from the door.
- Action: Pull the red cord firmly toward the motor head to re-engage the carriage.
Inspect the Drive Sprocket
If the carriage is engaged and the motor still just hums, the internal drive sprocket might be stripped. This is a known wear-and-tear issue in older Liftmaster chain and belt drive models.
- Action: Unplug the unit, remove the plastic motor cover, and inspect the metal or plastic gear. If the teeth are worn down to a smooth circle, the gear assembly needs replacement.
Quick Troubleshooting Checklist
Use this quick reference table to diagnose your specific problem and find the right fix.
| Symptom | Likely Cause | Quick Fix |
|---|---|---|
| Door does nothing at all | Tripped breaker or unplugged unit | Check the outlet and reset the GFCI/circuit breaker. |
| Remote works, wall control doesn’t | Broken wire or disconnected panel | Check the 2-wire connection behind the wall panel. |
| Door closes, then reverses immediately | Misaligned safety sensors or dirty tracks | Realign sensors (see steps above) and lubricate tracks. |
| Motor hums, door doesn’t move | Disengaged carriage or stripped gear | Re-engage the red release cord or replace the gear kit. |
| Remotes stopped working suddenly | “Lock” button is activated on the wall panel | Press and hold the Lock button for 2 seconds to turn it off. |
Frequently Asked Questions
1. How do I reset my Liftmaster garage door opener?
To perform a full factory reset, locate the “Learn” or “Smart” button on the back of the motor head. Press and hold this button for exactly 6 seconds until the indicator light turns off. This clears all previously programmed remotes and keypads. You will need to reprogram your devices afterward.
2. Why is my Liftmaster garage door opener clicking but not moving?
A rapid clicking sound usually indicates a failing logic board or a bad start capacitor. The capacitor provides the initial jolt of electricity needed to start the motor. If it is failing, the motor cannot start, resulting in a clicking noise. Replacing the capacitor or the entire logic board is usually required.
3. How do I reprogram my Liftmaster remote after a reset?
Press the “Learn” button on the motor head once (do not hold it). The indicator light will start blinking. Within 30 seconds, press and hold the desired button on your remote control until the motor light flashes or you hear a click. This confirms the remote is successfully paired.
4. When should I call a professional instead of DIY?
While basic troubleshooting is safe, you should call a certified technician if you suspect a broken torsion spring, snapped lift cables, or severe track misalignment. Never attempt to repair or adjust torsion springs yourself, as they are under extreme tension and can cause severe injury.
Conclusion
Diagnosing why your garage door stopped working does not have to be a headache. By systematically checking the power supply, realigning the safety sensors, and inspecting the internal mechanics, you can solve most Liftmaster issues on your own. Not only does this save you money on service calls, but it also gets your daily routine back on track in minutes.
If this guide helped you get your door working again, please share it on your social media or send it to a friend who might be stuck in their garage!
Leave a Reply