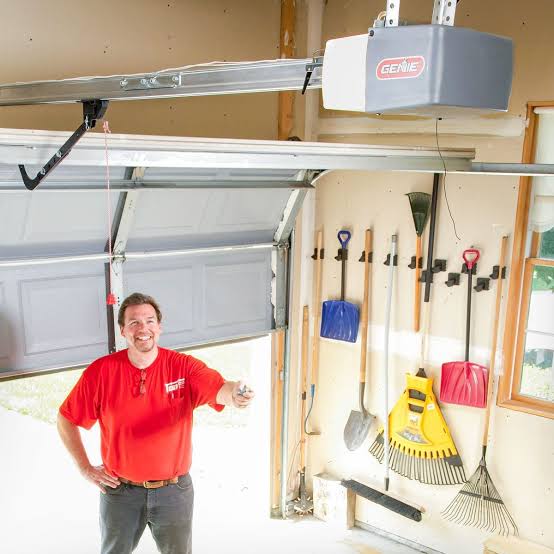
Installing a new garage door opener can feel like a daunting task, especially if you are not familiar with mechanical systems or electrical wiring. Many homeowners hesitate because they worry about making costly mistakes or compromising their home’s security. However, understanding exactly what do I need to install a garage door opener can transform this project from a stressful ordeal into a manageable weekend DIY victory.
Before you buy your first screwdriver, it is crucial to recognize that preparation is 80% of the battle. This guide will walk you through every item, tool, and precaution required to ensure your installation is safe, efficient, and compliant with modern safety standards. Let’s dive into the essentials so you can get your garage running smoothly.
Essential Tools and Equipment Checklist
You cannot build a house without a hammer, and you certainly cannot install a garage door opener without the right toolkit. Having these items ready before you start prevents frustrating mid-project trips to the hardware store.
Basic Hand Tools
- Stepladder: A sturdy 6-foot stepladder is non-negotiable. You will be working at heights to mount the rail and motor unit.
- Adjustable Wrenches & Socket Set: Most garage door hardware uses standard metric or imperial bolts. A set ranging from 1/4 inch to 1/2 inch is ideal.
- Screwdrivers: Both flathead and Phillips-head screwdrivers are necessary for securing brackets and electrical covers.
- Pliers: Needle-nose pliers help with small wires, while locking pliers can hold components in place temporarily.
- Tape Measure: Precision matters when aligning the rail with the door center.
Power Tools
- Cordless Drill: This will save you hours of manual labor. Ensure it has a full battery charge.
- Drill Bits: Include both wood bits (for mounting into ceiling joists) and masonry bits (if you are drilling into concrete).
Safety Gear
- Safety Glasses: Debris from drilling or falling dust can injure your eyes.
- Work Gloves: Protect your hands from sharp metal edges on the door tracks and opener rails.
Pro Tip: If your garage door is older than 10 years, consider having a professional inspect the springs and cables first. Torsion springs are under high tension and can be dangerous if mishandled.
Understanding the Components of a Garage Door Opener
To answer what do I need to install a garage door opener, you must first understand what comes in the box and what might be missing. Most modern openers include the motor unit, the rail assembly, trolley, chain or belt, and remote controls. However, several critical items are often sold separately or require specific attention.
The Motor Unit and Rail
The motor unit is the brain of the operation. It houses the motor, logic board, and light socket. The rail extends from the motor to the door header bracket. Ensure the rail length matches your garage ceiling height. Standard rails fit 7-foot doors, but high-lift doors may require an extension kit.
Mounting Hardware
While kits include bolts and nuts, they often assume you have existing structural support. If your ceiling joists are not aligned with the opener’s mounting points, you will need:
- 2×4 Lumber: To create a sturdy mounting block between joists.
- Lag Screws: Heavy-duty screws (at least 3 inches long) to secure the motor bracket into wood.
Electrical Requirements
Most garage door openers require a standard 120-volt grounded outlet. If your garage lacks an outlet near the ceiling, you will need to hire a licensed electrician to install one. Never use an extension cord permanently, as this violates fire codes and voids warranties.
Step-by-Step Installation Overview
Knowing the process helps you gather the right materials. Here is a simplified roadmap of the installation journey.
- Prepare the Door: Disconnect the old opener and manually test the door’s balance. The door should stay in place when lifted halfway. If it slams down, your springs need adjustment by a pro.
- Assemble the Rail: Lay out the rail sections on the floor. Attach the trolley and connect the chain or belt according to the manufacturer’s tension specifications.
- Mount the Header Bracket: Secure the bracket above the garage door opening. Use lag screws into the wooden header, not just the drywall.
- Install the Motor Unit: Lift the motor unit onto your ladder. Secure it to the ceiling joists using the provided angle iron or a custom 2×4 mount.
- Connect the Arm: Attach the straight arm to the trolley and the curved arm to the header bracket. Adjust the length so the door opens fully without straining.
- Wire the Controls: Connect the wall console and safety sensors. Ensure the sensor wires are stapled neatly along the wall to prevent tripping hazards.
- Program and Test: Plug in the unit, program the remotes, and test the auto-reverse feature.
For more detailed technical specifications on safety standards, you can refer to the Underwriters Laboratories (UL) standards which govern garage door opener safety mechanisms.
Critical Safety Features You Must Install
Modern garage door openers are equipped with life-saving technology. Ignoring these features during installation is not just negligent; it is illegal in many jurisdictions.
Photo-Eye Sensors
These small devices sit near the floor on either side of the door. They emit an invisible beam. If anything breaks the beam while the door is closing, the door immediately reverses.
- Installation Tip: Mount them no higher than 6 inches off the ground. Ensure they are aligned perfectly; even a slight misalignment will prevent the door from closing.
Auto-Reverse Mechanism
This feature tests the door’s resistance. If the door hits an object (like a bike or a pet), it detects the increased force and reverses direction.
- Testing Method: Place a 2×4 piece of wood flat on the floor under the center of the door. Close the door. It should reverse upon contact. If it does not, adjust the force settings immediately.
Manual Release Cord
In case of a power outage, you must be able to open the door manually. The red release cord disconnects the trolley from the motor. Ensure it hangs within reach but not so low that it catches on vehicles.
Common Mistakes to Avoid During Installation
Even with the right tools, errors can occur. Here are the most frequent pitfalls homeowners face when figuring out what do I need to install a garage door opener.
| Mistake | Consequence | Solution |
|---|---|---|
| Ignoring Door Balance | Motor burns out prematurely | Test door balance before installation. Call a pro if springs are faulty. |
| Loose Mounting Brackets | Excessive noise and vibration | Use lag screws into solid wood joists. Reinforce with 2x4s if needed. |
| Misaligned Sensors | Door refuses to close | Check LED lights on sensors. Clean lenses and adjust until solid green/blue. |
| Incorrect Chain Tension | Slipping or jerky movement | Follow manual specs. Usually, 1/4 inch of slack from the rail is ideal. |
FAQ Section
1. Can I install a garage door opener by myself?
Yes, most homeowners with basic DIY skills can install a garage door opener. It typically takes 4–6 hours. However, if you are uncomfortable working on ladders or handling electrical wiring, hiring a professional is recommended.
2. Do I need a special type of outlet for my garage door opener?
No, a standard 120-volt grounded outlet is sufficient. However, it must be located near the motor unit (usually within 6 feet). If you do not have one, consult an electrician to install a dedicated circuit.
3. What if my garage ceiling has no joists in the right spot?
If the motor unit does not align with your ceiling joists, you can create a mounting block using a 2×4 piece of lumber. Secure the 2×4 firmly between two adjacent joists using lag screws, then mount the opener bracket to the 2×4.
4. How do I know if my garage door is balanced?
Disconnect the opener by pulling the red release cord. Manually lift the door halfway. If it stays in place without sliding up or down, it is balanced. If it falls, the springs are too loose; if it rises, they are too tight.
5. Are belt-drive openers better than chain-drive?
Belt-drive openers are significantly quieter and smoother, making them ideal for garages attached to living spaces. Chain-drive openers are more durable and cheaper but produce more noise. Choose based on your budget and noise sensitivity.
Conclusion
Understanding what do I need to install a garage door opener is the key to a successful project. By gathering the right tools, respecting safety protocols, and following a structured approach, you can enhance your home’s convenience and security. Remember, patience and precision are your best friends during this installation.
Did you find this guide helpful? Share it with your friends on social media who might be planning their own DIY garage upgrades! If you have any questions or experiences to share, leave a comment below.
Leave a Reply