Introduction
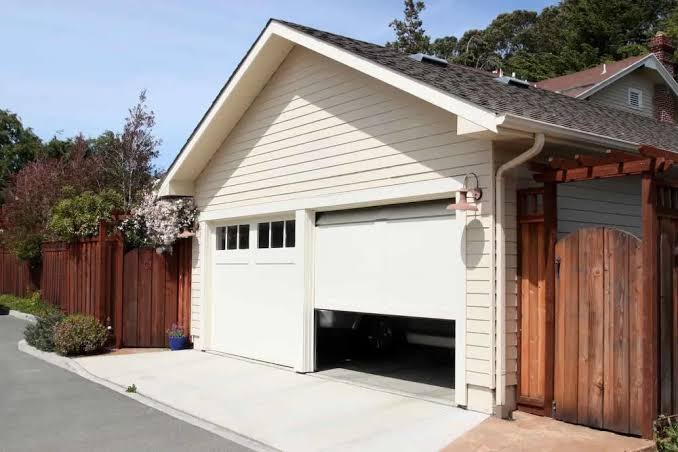
There is nothing quite as frustrating as rushing out the door in the morning, only to find your vehicle trapped inside because the overhead door stopped halfway up. It disrupts your schedule, causes unnecessary stress, and leaves you wondering if you need to call an expensive professional immediately. If you are currently thinking, “my garage door will not open all the way,” you are not alone; this is one of the most common household maintenance issues in the United States.
The good news is that in many cases, this problem is not caused by a broken motor or a snapped cable, but by minor misalignments or simple obstructions that you can fix yourself. In this guide, we will walk you through the most likely culprits, provide step-by-step troubleshooting instructions, and help you determine when it is time to call a pro. Let’s get your door moving smoothly again.
Why Does My Garage Door Stop Halfway?
Before grabbing your toolbox, it is essential to understand why the door behaves this way. Modern garage doors are equipped with sophisticated safety mechanisms designed to prevent injury and property damage. When these sensors detect resistance, misalignment, or an obstruction, they trigger the opener to stop or reverse.
According to industry data, nearly 70% of garage door service calls are related to sensor issues or track obstructions rather than mechanical failure. Understanding this can save you hundreds of dollars in unnecessary repair bills.
1. Check the Safety Sensors (The Most Common Culprit)
If your garage door opens a few inches and then stops, or if it goes up partially and reverses, the safety eyes (photo-eye sensors) are the first place to look. These small devices are located near the floor on both sides of the garage door opening.
How to Fix It:
- Inspect the Lights: Look at the LED lights on each sensor. One should be solid green (power), and the other should be solid amber or red (signal). If the receiving light is blinking or off, the beam is blocked.
- Clean the Lenses: Use a soft, dry cloth to wipe away dust, spiderwebs, or dirt. Even a thin layer of grime can interrupt the infrared beam.
- Check Alignment: Ensure both sensors are pointing directly at each other. If one has been bumped by a lawn mower or a bicycle, gently adjust it until the lights turn solid.
Pro Tip: If the sensors appear aligned but the light is still blinking, check for direct sunlight hitting the receiver. Intense afternoon sun can sometimes overwhelm the sensor. Try shading them temporarily to see if the door operates correctly.
2. Inspect the Travel Limits and Force Settings
Your garage door opener has internal settings that tell it how far to go up (travel limit) and how much force to use. Over time, these settings can drift due to temperature changes or wear and tear.
Step-by-Step Adjustment:
- Locate the adjustment screws on your motor unit. They are usually labeled “Up Limit,” “Down Limit,” and “Force.”
- Adjust the Up Limit: If the door stops before reaching the top, turn the “Up Limit” screw slightly in the direction indicated by the arrow (usually clockwise). Test the door after each quarter-turn.
- Adjust the Force: If the door struggles and stops, the force setting might be too low. Increase the “Up Force” slightly. Warning: Do not set this too high, as it poses a safety risk. The door should reverse if it hits a 2×4 block placed on the floor.
3. Look for Track Obstructions and Roller Issues
The metal tracks on either side of your door must be perfectly clear for smooth operation. Even a small pebble, a buildup of hardened grease, or a bent section can cause the rollers to jam, forcing the motor to stop.
What to Check:
- Visual Inspection: Shine a flashlight along the entire length of both vertical and horizontal tracks.
- Remove Debris: Use a stiff brush to remove dirt and old lubricant.
- Check Rollers: Inspect the nylon or steel rollers for cracks or chips. If a roller is damaged, it will catch on the track seam.
| Component | Sign of Problem | Recommended Action |
|---|---|---|
| Sensors | Blinking LED light | Clean lenses and realign brackets |
| Tracks | Visible dents or debris | Clear debris; call pro for dents |
| Rollers | Cracked or chipped wheels | Replace individual rollers |
| Springs | Gap in torsion spring | Do not touch. Call a professional. |
4. Lubrication Is Key to Smooth Operation
Friction is the enemy of your garage door. If the moving parts are dry, the motor has to work harder, which can trigger the thermal overload protection or cause the door to stall.
Best Practices for Lubrication:
- Use the Right Product: Avoid WD-40 as a long-term lubricant, as it attracts dust. Instead, use a silicone-based spray or white lithium grease.
- Target Areas: Apply lubricant to the rollers, hinges, and the bearing plates at the end of the torsion spring bar.
- Frequency: Perform this maintenance twice a year, ideally in spring and fall.
For more detailed information on garage door mechanics and safety standards, you can refer to the general overview provided by Wikipedia’s Garage Door Opener page.
5. Weather Stripping and Seasonal Changes
Did you notice this problem started when the weather changed? Temperature fluctuations can affect the tension of your garage door springs and the expansion of metal tracks. In winter, ice can build up on the bottom seal, adding significant weight and resistance.
Seasonal Fixes:
- Winter: Chip away any ice from the bottom rubber seal. Ensure the seal isn’t frozen to the concrete.
- Summer: High heat can cause metal tracks to expand. Check if the tracks are rubbing against the brackets. Loosening the bracket bolts slightly, realigning, and retightening can help.
When to Call a Professional
While many issues are DIY-friendly, some problems involve high-tension components that are extremely dangerous to handle without proper training.
Call a Certified Technician If:
- The Springs Are Broken: Torsion springs store enough energy to cause severe injury or death if they snap during repair. Never attempt to replace these yourself.
- Cables Are Frayed or Snapped: Like springs, cables are under high tension.
- The Motor Makes Grinding Noises: This indicates internal gear failure, requiring a motor replacement or professional repair.
- The Door Is Off-Balance: Disconnect the opener and lift the door manually. If it doesn’t stay in place when halfway open, the spring tension is incorrect.
FAQ Section
Q1: Why does my garage door open but not close?
This is almost always a sensor issue. If the door goes up fine but reverses immediately when trying to close, the safety eyes are likely misaligned or blocked. Check the LED lights on the sensors; if they are blinking, clean and realign them.
Q2: Can a weak remote battery cause the door to stop halfway?
Generally, no. A weak battery might prevent the door from starting, but once the signal is received, the motor takes over. However, if the signal is intermittent, it might confuse the logic board. Try replacing the battery first as a quick troubleshooting step.
Q3: How do I reset my garage door opener limits?
Most modern openers have a “Learn” or “Program” button. Pressing and holding this button for 10–20 seconds often resets the travel limits to factory defaults. Consult your specific model’s manual for exact instructions, as procedures vary by brand (LiftMaster, Chamberlain, Genie, etc.).
Q4: Is it safe to force the door open manually?
If the power is out, yes, you can use the emergency release cord (usually a red rope hanging from the trolley). Pull it down to disengage the opener, then lift the door manually. Never try to force a door that is mechanically jammed, as this can bend the tracks or break the panels.
Q5: How often should I maintain my garage door?
You should perform a basic visual inspection and lubrication every six months. A professional tune-up is recommended every 1–2 years to check spring tension, cable integrity, and opener functionality.
Conclusion
Dealing with a garage door that won’t open fully is inconvenient, but it is rarely a catastrophe. By systematically checking your safety sensors, track alignment, and lubrication levels, you can resolve the majority of these issues without spending a dime. Remember, regular maintenance is the best prevention against unexpected failures.
If you found this guide helpful, please share it with your neighbors or on social media to help others troubleshoot their garage door woes. And if you manage to fix it yourself, celebrate the win—you’ve just saved money and gained a valuable home maintenance skill!
Disclaimer: This article provides general advice for informational purposes. Always prioritize safety. If you are unsure about any repair involving springs or high-tension cables, consult a licensed garage door technician.
Leave a Reply