Introduction
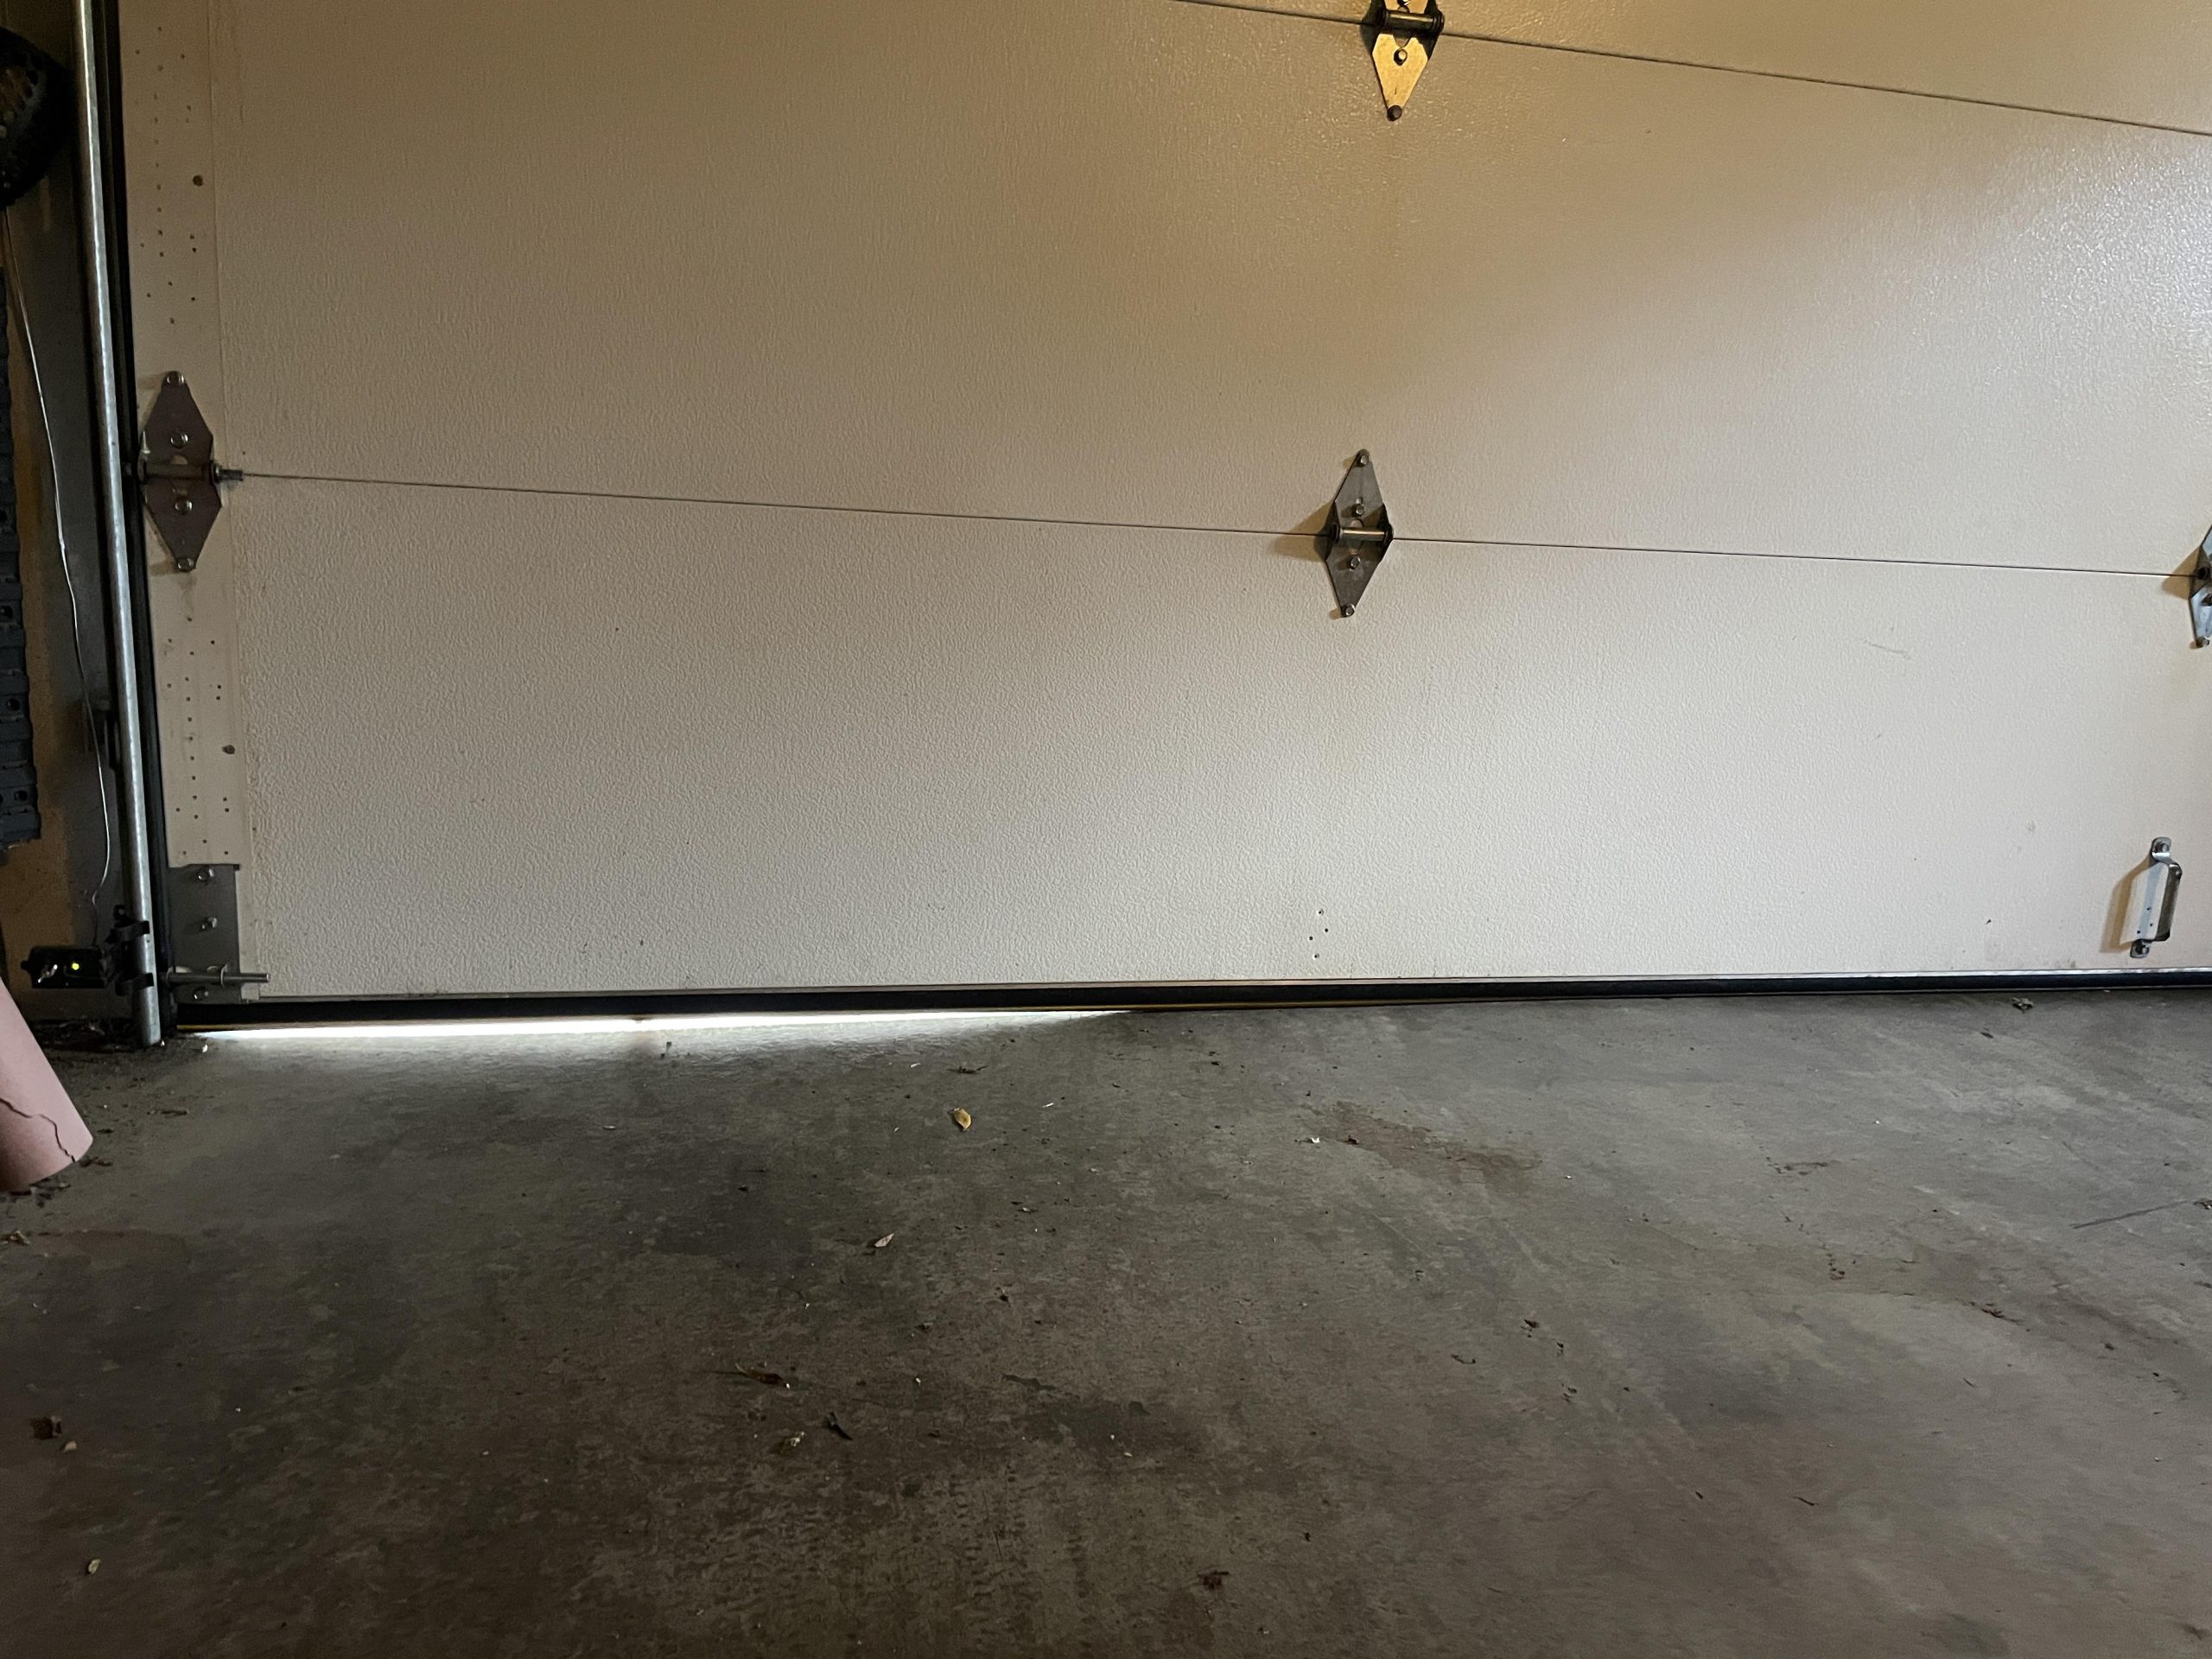
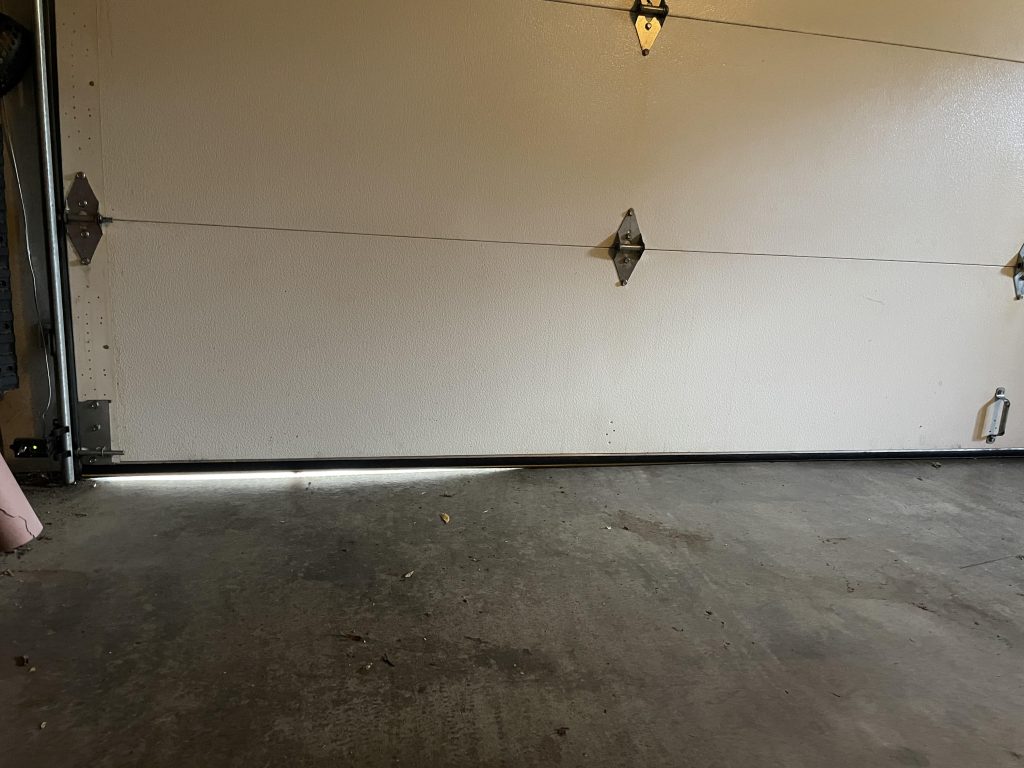
There is nothing quite as unsettling as noticing a sliver of daylight peeking through under your closed garage door. Whether it’s letting in cold drafts, pesky insects, or raising concerns about security, seeing that my garage door has a gap at the bottom is a common frustration for many homeowners. You are not alone in this; gaps can develop due to wear and tear, foundation shifts, or simple installation errors. The good news? Most bottom gaps are easy to diagnose and fix with the right approach.
Why Does My Garage Door Have a Gap at the Bottom?
Before jumping into solutions, it is crucial to understand why the gap exists. Identifying the root cause ensures you apply the correct fix and prevent the issue from recurring.
1. Worn-Out Weatherstripping
The rubber seal at the bottom of your door, known as the weatherstrip or threshold seal, degrades over time. Exposure to UV rays, extreme temperatures, and constant friction can cause it to crack, shrink, or flatten. When this happens, it no longer creates a tight seal against the concrete floor.
2. Uneven Garage Floor
Concrete floors are rarely perfectly level. If your garage floor has dips, slopes, or high spots, the straight edge of the garage door will not sit flush against it. This is especially common in older homes where the foundation may have settled unevenly over decades.
3. Misaligned Tracks or Springs
If the garage door tracks are bent or out of alignment, the door may hang crookedly. Similarly, if the torsion springs are unbalanced, one side of the door might sit higher than the other, creating a triangular gap.
4. Incorrect Door Size or Installation
In some cases, the door itself may be slightly too short for the opening, or it was installed without proper consideration for the floor’s contour. This is less common but possible in DIY installations or with non-standard door sizes.
How to Measure the Gap Accurately
You cannot fix what you cannot measure. Before buying materials, determine the size and consistency of the gap.
- Use a Ruler or Tape Measure: Place a ruler vertically against the bottom of the door and measure the distance to the floor. Do this at the left, center, and right sides of the door.
- Check for Consistency: Is the gap uniform (e.g., 1 inch across the entire width)? Or does it vary (e.g., 0.5 inches on the left, 2 inches on the right)?
- Document the Findings: Take photos and note the measurements. This will help you choose the right solution and is useful if you need to consult a professional.
Pro Tip: If the gap varies significantly, the issue is likely with the door alignment or floor unevenness, not just the weatherstrip.
Top Solutions to Fix a Garage Door Bottom Gap
Depending on the cause and size of the gap, here are the most effective solutions, ranked from easiest to most complex.
Solution 1: Replace or Upgrade the Weatherstrip
For small gaps (up to 1/2 inch), replacing the existing weatherstrip is often sufficient.
Steps to Replace:
- Remove the Old Seal: Pull out the old rubber strip from the aluminum channel at the bottom of the door. Use pliers if it is stuck.
- Clean the Channel: Remove any debris, rust, or old adhesive.
- Measure and Cut: Buy a new universal garage door bottom seal. Measure the width of your door and cut the new seal to size.
- Install the New Seal: Insert the new rubber strip into the channel. Start from one end and work your way across, ensuring it sits evenly.
- Test the Door: Close the door and check for light leaks.
Types of Weatherstrips:
- T-Shaped Seals: Best for standard doors with a channel.
- Bulb Seals: Good for irregular floors as they compress easily.
- Double-Lip Seals: Provide extra insulation and durability.
Solution 2: Install a Garage Door Threshold Seal
If the gap is larger (1/2 inch to 1 inch) or the floor is uneven, a threshold seal is a superior option. These are heavy-duty rubber strips that adhere directly to the garage floor, creating a ramp-like barrier that the door closes against.
Benefits:
- Accommodates uneven floors.
- Provides a tighter seal against water and pests.
- Easy to install with adhesive backing.
Installation Tips:
- Clean the floor thoroughly with degreaser.
- Ensure the floor is completely dry before applying.
- Press firmly along the entire length to ensure strong adhesion.
Solution 3: Adjust the Door Limit Settings
If the door is not closing all the way down, the limit settings on your garage door opener may need adjustment.
Steps to Adjust:
- Locate the limit adjustment screws on your opener motor unit (usually labeled “Up” and “Down”).
- Turn the “Down” limit screw slightly (usually clockwise) to allow the door to travel further down.
- Test the door. Be careful not to adjust it so much that the door presses too hard against the floor, which can damage the opener or the door panels.
Solution 4: Level the Garage Door Tracks
If the door is crooked, the tracks may need realignment. This is a more advanced task and may require professional help.
Warning: Garage doors are under high tension. If you are not comfortable working with springs and tracks, hire a certified technician. Incorrect adjustments can lead to serious injury or door failure.
Comparison: Weatherstrip vs. Threshold Seal
| Feature | Standard Weatherstrip | Threshold Seal |
|---|---|---|
| Best For | Small, uniform gaps | Large or uneven gaps |
| Installation | Inside door channel | Adhered to floor |
| Cost | $10–$30 | $30–$60 |
| Durability | Moderate | High |
| Water Protection | Good | Excellent |
When to Call a Professional
While many gaps can be fixed DIY, certain situations require expert attention:
- Spring Issues: If the door is unbalanced or the springs look damaged.
- Track Damage: Bent or twisted tracks need specialized tools to repair.
- Structural Problems: If the garage foundation is shifting or cracking.
- Persistent Gaps: If you have tried multiple solutions and the gap remains.
According to Wikipedia, garage doors are complex mechanical systems that benefit from regular professional maintenance to ensure safety and longevity.
FAQ Section
Q1: Can a gap at the bottom of my garage door affect my energy bills? Yes. A significant gap allows conditioned air (heated or cooled) to escape and outside air to enter. This forces your HVAC system to work harder, increasing energy consumption and costs. Sealing the gap can improve energy efficiency by up to 10–15% in some cases.
Q2: Will fixing the gap keep pests out? Absolutely. Mice, rats, insects, and even snakes can squeeze through surprisingly small openings. A tight-sealing weatherstrip or threshold seal acts as a physical barrier, significantly reducing the risk of pest infestations.
Q3: How often should I replace my garage door weatherstrip? Inspect your weatherstrip annually. Most rubber seals last 3–5 years, but this depends on climate and usage. If you see cracks, brittleness, or visible gaps, it is time to replace it.
Q4: Can I use foam tape to fill the gap? Foam tape is a temporary fix at best. It degrades quickly, loses adhesion, and does not provide a durable seal. It is better to invest in a proper rubber weatherstrip or threshold seal for long-term results.
Q5: Is it normal for my garage door to have a small gap? A very small gap (1/8 inch or less) may be normal due to floor imperfections. However, any gap large enough to see light through or allow drafts is considered excessive and should be addressed.
Q6: Will a threshold seal damage my garage door? No, if installed correctly. Threshold seals are designed to be compressed by the door without causing damage. Ensure you choose a seal with the appropriate height and density for your door’s weight.
Conclusion
Dealing with my garage door has a gap at the bottom is a manageable task that can yield significant benefits. From improved energy efficiency and pest control to enhanced security and curb appeal, sealing that gap is a worthwhile investment. Start by diagnosing the cause, measure the gap, and choose the solution that fits your situation—whether it is a simple weatherstrip replacement or a robust threshold seal.
Remember, a well-sealed garage door not only protects your vehicle and belongings but also contributes to the overall comfort and efficiency of your home. If you found this guide helpful, please share it with your neighbors or on social media to help others secure their garages too!
Leave a Reply