Introduction
There is nothing more frustrating than standing in your driveway, pressing the wall button inside your garage, and watching… absolutely nothing happen. You check your handheld remote, and it opens the door perfectly fine. This specific scenario—where your Liftmaster garage door wall button not working but remote works—is a common issue that puzzles many homeowners. It suggests the motor unit is functional, but the communication line from the wall console is broken or blocked.
Don’t worry; you likely don’t need a professional technician just yet. In most cases, this is a simple fix involving a locked control panel, loose wiring, or a minor setting adjustment. In this guide, we will walk you through step-by-step diagnostics to get your wall button back online safely and efficiently.
Why Does the Wall Button Fail While the Remote Still Works?
To understand the fix, we must first understand the technology. Your Liftmaster opener uses two different communication methods. The handheld remote uses radio frequency (RF) signals to talk to the motor head. The wall button, however, typically uses a low-voltage wired connection (usually two thin wires) to send a direct signal.
When the remote works, we know the motor’s logic board and power supply are operational. The failure is isolated to the “hardwired” link. According to general electrical principles in residential automation, wired connections are susceptible to physical wear, corrosion, and accidental disconnection, unlike wireless signals which can penetrate obstacles. For more background on how garage door openers function mechanically, you can refer to the detailed overview on Wikipedia.
Step 1: Check for the “Lock” Feature
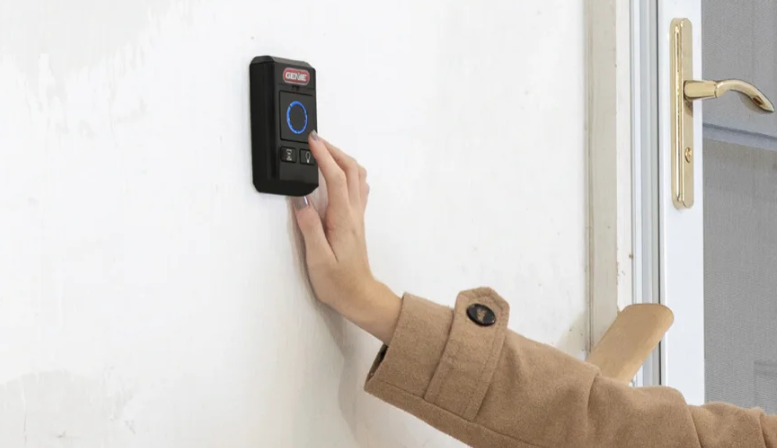
Before you grab a screwdriver, check the simplest culprit: the lock feature. Modern Liftmaster wall consoles (especially the smart models with LCD screens or blue buttons) have a vacation or lock mode.
- Look for a Lock Icon: If your wall button has a small padlock icon lit up, the button is disabled to prevent unauthorized entry.
- How to Unlock: Press and hold the lock button for 2–3 seconds until the light turns off. Try operating the door again.
- Smart Control Panels: If you have a MyQ-enabled wall console, ensure it hasn’t been locked remotely via the app. Open the MyQ app on your phone and check the device status.
This feature is designed for security when you are away for extended periods, but it is frequently activated accidentally by children or during cleaning.
Step 2: Inspect the Wiring Connections
If the lock is off, the issue is likely physical. The wire connecting the wall button to the motor unit is thin and fragile. Over time, vibrations from the door opening and closing can loosen these connections.
Safety First
Always unplug the garage door opener from the power outlet before touching any wires. Although the voltage is low (typically 12-24V), it is best practice to avoid any risk of shorting the logic board.
Inspection Checklist
- At the Wall Button: Remove the cover of the wall console. Usually, this requires a small flathead screwdriver to pry off the faceplate. Check if the two thin wires are securely attached to the terminal screws. If they are loose, tighten them gently.
- At the Motor Unit: Locate the back of the motor head hanging from the ceiling. Find the terminal block where the white and red (or white and black) wires connect. Ensure these are tight and not corroded.
- Check for Cuts: Trace the wire along the wall. Look for any signs of damage, such as staples driven too deep into the wire, pet chewing, or pinching behind drywall.
Step 3: Test the Wire Continuity
If the connections look tight, the wire itself might be broken internally. You can test this with a multimeter if you have one, or perform a simple “jump test.”
The Jump Test Method
- Disconnect the two wires from the wall button terminals.
- Touch the bare ends of the two wires together briefly.
- Plug the opener back in.
- If the door activates when the wires touch, the wire is good, and the wall button is faulty.
- If the door does not activate, the wire is broken somewhere between the wall and the motor.
Note: Be careful not to let the wires touch any other metal parts of the opener while performing this test.
Step 4: Replace the Wall Button
If the jump test confirms the wire is intact, your wall console is likely dead. Internal components can fail due to humidity, age, or power surges.
Choosing a Replacement
- Compatibility: Most Liftmaster wall buttons are universal for models manufactured after 1993. Look for a “2-wire” compatible button.
- Smart vs. Standard: Consider upgrading to a MyQ-enabled wall console. This allows you to control the door from your phone and receive alerts if the door is left open.
- Installation: Simply connect the two existing wires to the new button’s terminals. Polarity usually does not matter for standard push-buttons, but check the manual if you are installing a smart panel with lighting controls.
Step 5: Check Safety Sensors and Logic Board
In rare cases, the issue isn’t the button or wire, but the opener’s refusal to accept the signal due to safety protocols.
- Sensor Alignment: If the safety eyes (sensors near the floor) are misaligned or blocked, the door may refuse to close. However, this usually affects both the remote and the wall button. If the remote works, this is less likely the cause, but still worth checking if the door moves slightly then stops.
- Logic Board Glitch: Sometimes, the main board needs a reset. Unplug the opener for 60 seconds, then plug it back in. This clears temporary memory errors.
Comparison: Wall Button vs. Remote Issues
| Feature | Wall Button Failure | Remote Failure |
|---|---|---|
| Primary Cause | Loose wiring, broken button, lock mode | Dead battery, de-programming, interference |
| Diagnosis Difficulty | Moderate (requires physical inspection) | Easy (replace battery first) |
| Cost to Fix | Low ($15–$40 for new button) | Very Low ($5 for batteries) |
| Safety Risk | Low (low voltage) | None |
FAQ Section
Q1: Can I use my garage door if the wall button is broken?
A: Yes. As long as your remote controls and keypad (if installed) are working, you can still operate the door. However, having a functional wall button is important for emergency access and for visitors who do not have a remote.
Q2: Why does my wall button work intermittently?
A: Intermittent functionality usually points to a loose wire connection or a frayed wire that makes contact only when moved. Check the terminals at both the wall unit and the motor head. Tightening them often resolves the issue.
Q3: Is it safe to bypass the wall button and wire the door directly?
A: No. You should never bypass safety features or wire the door to stay permanently open. If the button is faulty, replace it. It is an inexpensive part that ensures safe, controlled operation.
Q4: My new wall button still doesn’t work. What now?
A: If you replaced the button and checked the wiring, the issue may lie in the motor unit’s terminal block or the logic board itself. At this stage, it is recommended to contact a certified Liftmaster dealer or a professional garage door technician.
Q5: Does the color of the wires matter?
A: For standard non-smart wall buttons, no. The circuit is simple, and polarity does not affect operation. However, if you are installing a smart wall console with lighting or MyQ features, consult the specific wiring diagram in the manual, as some models require specific wire assignments.
Conclusion
Dealing with a Liftmaster garage door wall button not working but remote works situation is rarely a catastrophic failure. It is almost always a manageable issue involving a locked panel, a loose wire, or a worn-out button. By following the steps above—checking the lock, inspecting wiring, and performing a jump test—you can save money on service calls and restore convenience to your daily routine.
Remember, regular maintenance extends the life of your garage door system. Take a moment every six months to check the tightness of your wall button screws and ensure the wires are secure.
Did this guide help you fix your garage door? Share this article with friends or neighbors who might be struggling with similar smart home glitches. Let’s keep our garages secure and functional!
Leave a Reply