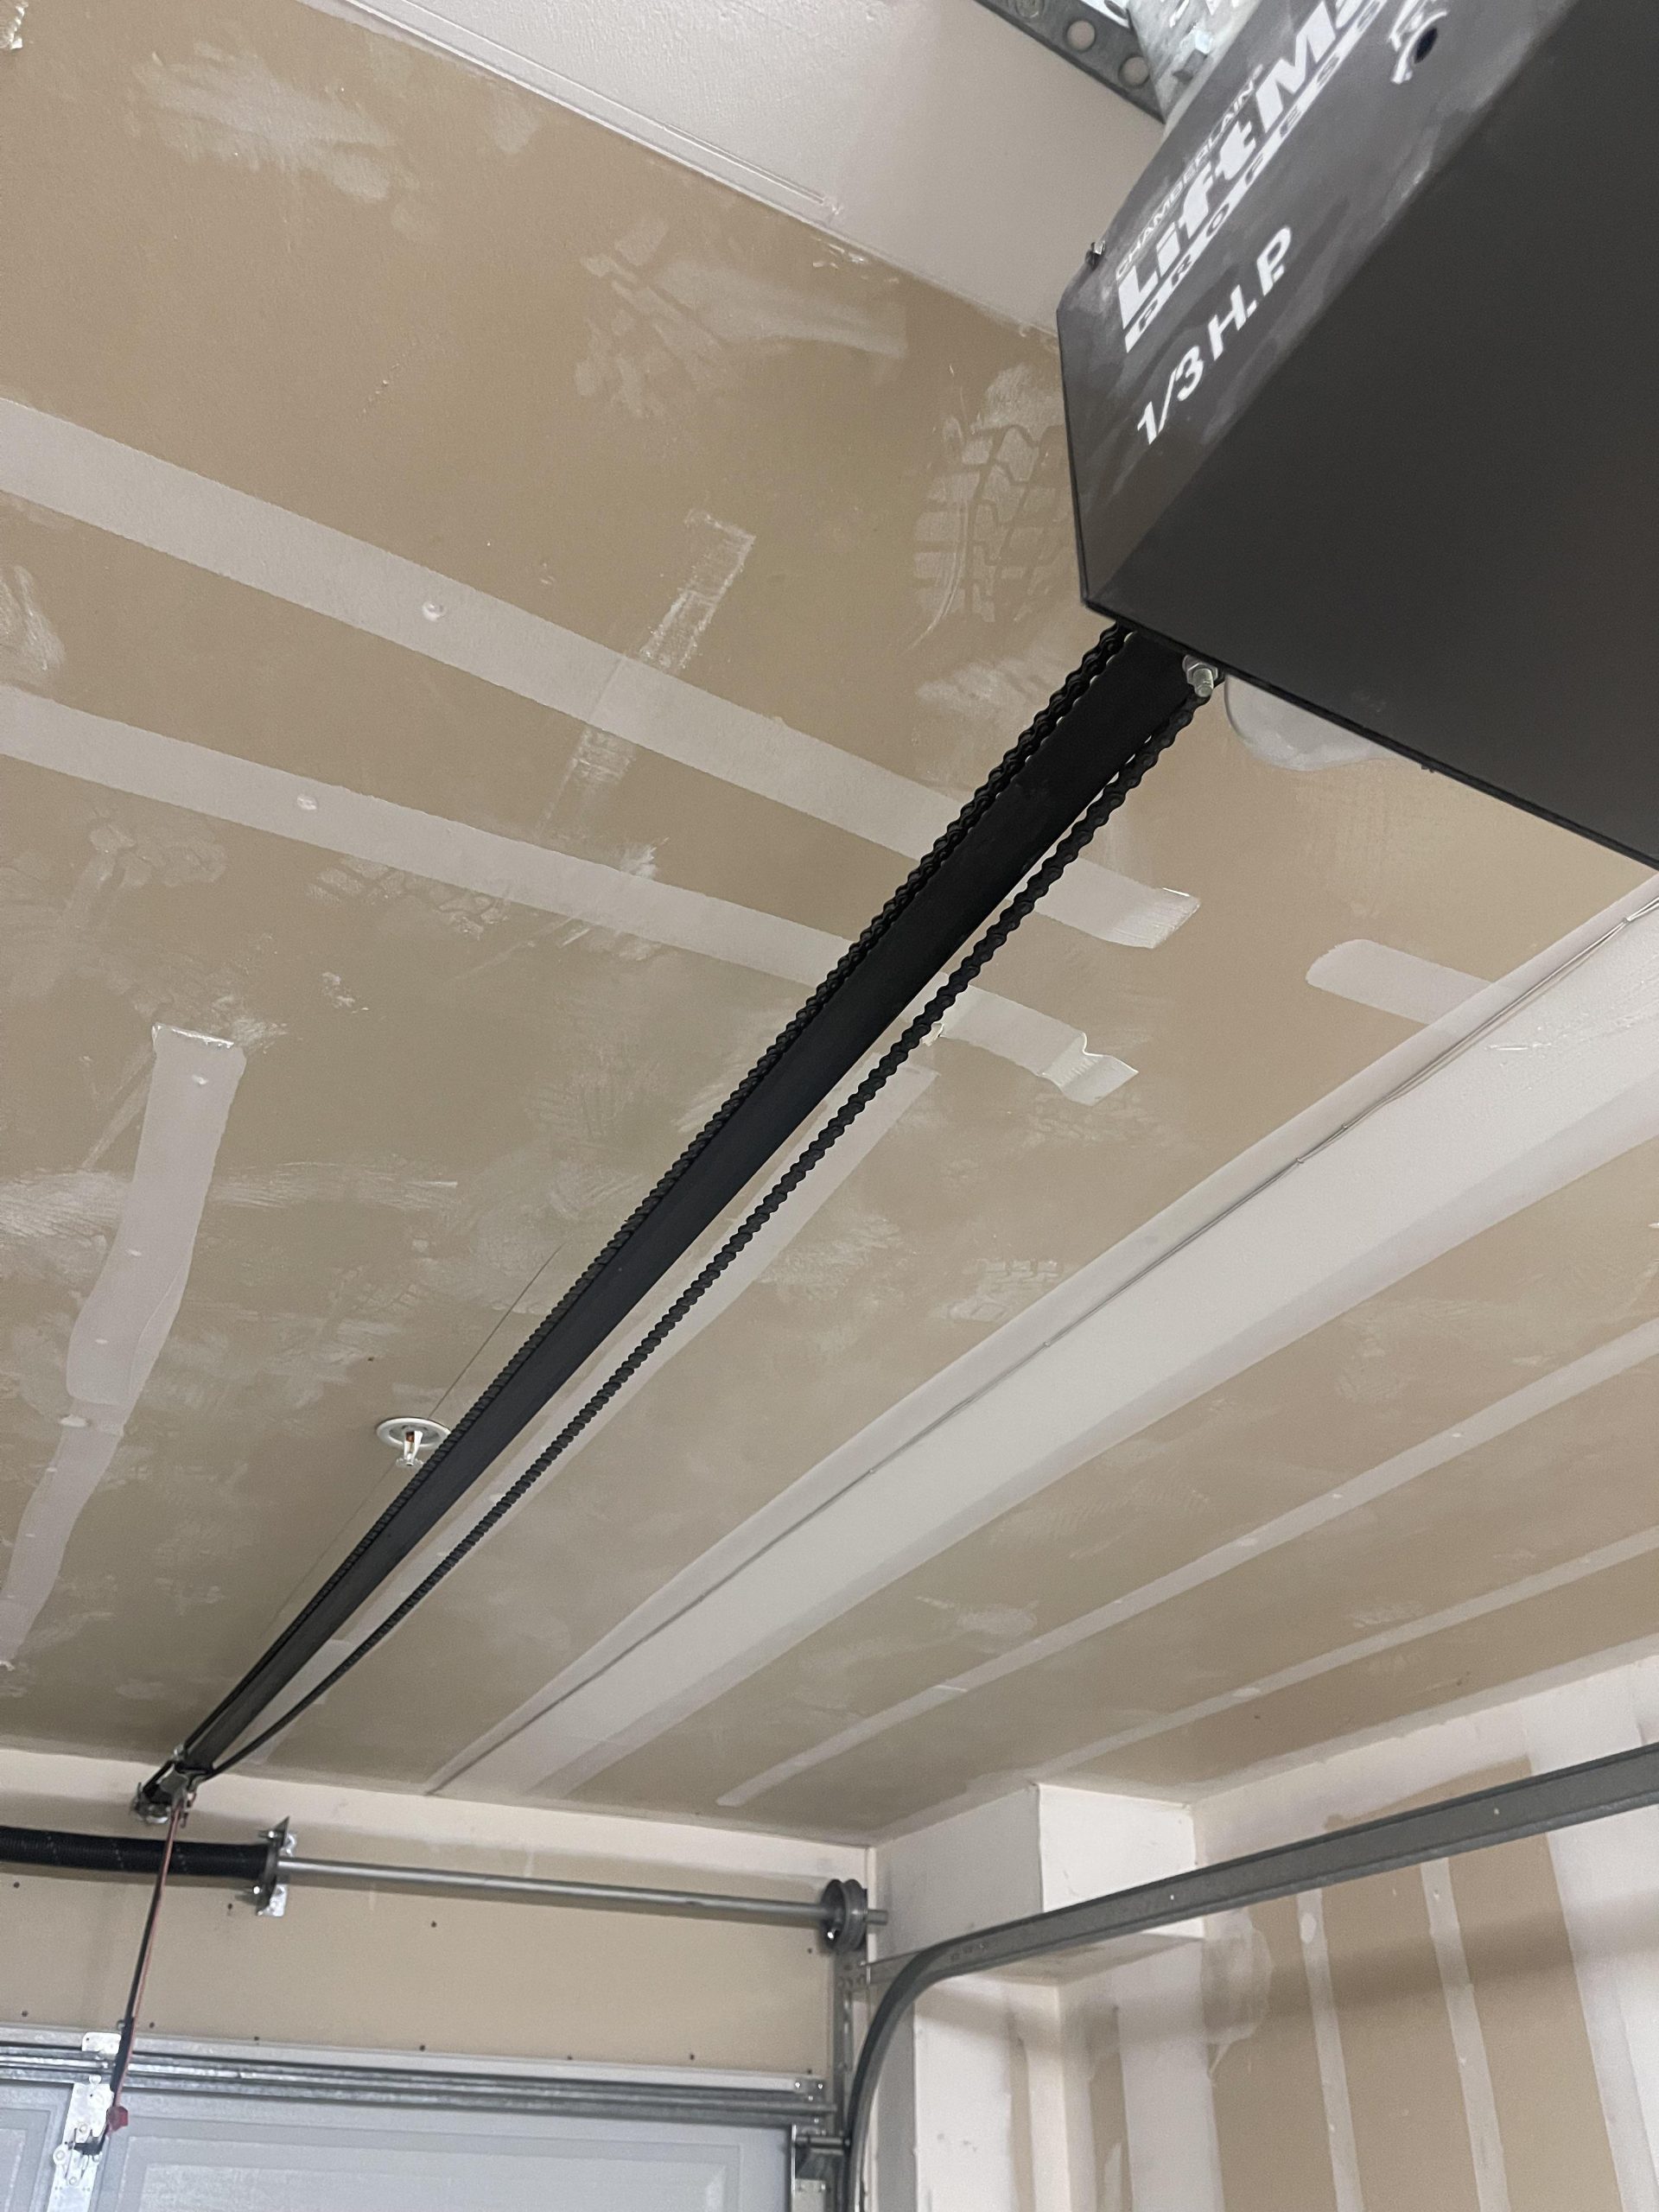
Have you ever pressed the button to close your garage door, only to watch it reverse immediately or refuse to move at all? It is a frustrating and potentially unsafe situation that leaves your home vulnerable and your daily routine disrupted. If you are dealing with a Liftmaster garage door opener will open but not close issue, you are not alone, and the good news is that most causes are simple to fix without calling a professional.
In this guide, we will walk you through the most common reasons why your Liftmaster opener behaves this way. We will provide step-by-step troubleshooting tips, safety checks, and expert insights to help you resolve the problem quickly and safely. Whether it is a misaligned sensor or a simple setting adjustment, we have got you covered.
Why Does My Liftmaster Open But Not Close?
When a garage door opens perfectly but refuses to close, it is almost always a safety feature triggering a “stop” command. Modern garage door openers, particularly those from LiftMaster (a brand of Chamberlain Group), are designed with rigorous safety standards to prevent injury or property damage.
According to federal safety regulations in the United States, all garage door openers manufactured after 1993 must have an auto-reverse mechanism. This means if the door detects any obstruction or fault in the safety system while closing, it will immediately reverse direction. Understanding this principle is key to troubleshooting: the door isn’t broken; it is trying to protect you.
The most frequent culprits include:
- Misaligned or dirty safety eye sensors.
- Incorrect travel limit settings.
- Obstructions in the door’s path.
- Remote control or wall panel issues.
Let’s dive into each of these solutions in detail.
Check the Safety Eye Sensors First
The number one reason a Liftmaster garage door opener will open but not close is due to issues with the safety eye sensors (also known as photo-eyes). These small devices are located near the floor on both sides of the garage door opening. They emit an invisible beam of light; if that beam is broken, the door assumes something (or someone) is in the way and reverses.
Step-by-Step Sensor Troubleshooting
- Inspect the LED Lights: Look at the sensors on both sides. One should have a green LED (sending eye), and the other should have an amber or orange LED (receiving eye).
- Solid Green/Amber: The alignment is likely correct.
- Blinking Amber/Orange: The sensors are misaligned or blocked.
- No Light: Check the power source or wiring.
- Clean the Lenses: Dust, spider webs, or dirt can block the beam. Use a soft, dry cloth to gently wipe the lenses on both sensors. Avoid using harsh chemicals that might leave a residue.
- Check Alignment: The sensors must face each other directly. Even a slight bump from a car or a broom can knock them out of alignment.
- Loosen the wing nut or bracket slightly.
- Adjust the sensor until the blinking light becomes solid.
- Tighten the bracket carefully without moving the sensor again.
- Remove Obstructions: Ensure nothing is blocking the beam path between the two sensors. This includes boxes, bikes, or even tall grass if the sensors are mounted very low.
Pro Tip: If the sun is shining directly into the receiving sensor, it can sometimes overwhelm the infrared signal. Try shading the sensor with your hand to see if the door closes. If it does, consider installing a sun shield or adjusting the sensor angle slightly.
For more detailed technical specifications on how safety reversal systems work, you can refer to the Wikipedia article on Garage Door Openers, which outlines the historical context and safety standards mandated by the U.S. Consumer Product Safety Commission.
Adjust the Travel Limit Settings
If your sensors are aligned and clean, but the door still reverses before hitting the ground, the issue might be with the travel limit settings. These settings tell the motor how far to move the door up and down. Over time, these settings can drift, causing the door to think it has hit an obstacle when it hasn’t.
How to Adjust Down Limits on LiftMaster Models
Most modern LiftMaster openers have adjustment knobs or buttons on the motor unit (the box attached to the ceiling).
- Locate the Adjustment Controls: Look for knobs labeled “Up” and “Down” or buttons with arrows. Older models may have screw-type adjustments.
- Identify the Direction: You want to adjust the Down limit.
- Make Small Adjustments:
- If using knobs: Turn the “Down” knob slightly in the direction indicated for “more travel” (usually clockwise, but check your manual).
- If using buttons: Press and hold the “Down” arrow button on the motor unit to increase the down travel distance.
- Test the Door: Press the wall button to close the door. Watch it closely.
- If it still reverses before touching the ground, adjust further.
- If it hits the ground hard and then reverses, you have adjusted too far. Back off slightly.
Note: The door should stop firmly on the ground without excessive force. If it slams down, it can damage the opener or the door panels.
Inspect the Door Balance and Tracks
Sometimes the issue is not with the opener itself, but with the physical door. If the garage door is off-balance or the tracks are obstructed, the opener’s motor will sense resistance and reverse to prevent burnout or breakage.
Quick Physical Inspection Checklist
- Manual Test: Disconnect the opener by pulling the red emergency release cord (usually a rope hanging from the trolley). Try to lift and lower the door manually.
- It should move smoothly with minimal effort.
- It should stay in place when lifted halfway. If it falls or rises on its own, the springs are unbalanced. Do not attempt to repair springs yourself; they are under high tension and can cause serious injury. Call a professional.
- Track Inspection: Look at the metal tracks on either side of the door.
- Are there dents, bends, or gaps?
- Is there debris (rocks, nails, dirt) inside the track?
- Clean the tracks with a damp cloth and ensure rollers move freely.
- Lubrication: Apply a silicone-based lubricant to the rollers, hinges, and tracks. Avoid WD-40 as it attracts dust and can gum up the mechanism over time.
Remote Control and Wall Panel Issues
If the door closes using the wall panel but not the remote, the issue is isolated to the remote control. Conversely, if neither works, the problem lies with the opener or safety systems.
Troubleshooting Remotes
- Replace Batteries: Weak batteries can send a weak signal, causing intermittent issues. Replace with fresh alkaline batteries.
- Reprogram the Remote: Sometimes the code sync gets corrupted.
- Locate the “Learn” button on the motor unit (usually yellow, purple, or red).
- Press and release the Learn button. The LED will blink.
- Within 30 seconds, press and hold the button on your remote until the opener lights flash or clicks.
- Check for Interference: LED light bulbs in the garage opener fixture can sometimes emit frequency interference that blocks remote signals. Try turning off the garage lights and testing the remote. If it works, replace the bulbs with “garage door compatible” LEDs.
FAQ: Common Questions About LiftMaster Closing Issues
1. Why does my LiftMaster door close when I hold the wall button but not when I press it once?
This is a classic sign of misaligned safety sensors. Holding the wall button bypasses the safety sensors (this is called “constant pressure mode”). If the door closes while holding the button but reverses when pressing it normally, your sensors are definitely misaligned, blocked, or faulty. Re-align them as described above.
2. What does it mean if the LiftMaster light blinks 10 times?
On many LiftMaster models, a diagnostic code of 10 flashes indicates that the safety eyes are blocked or misaligned. Some newer models use different codes, so consult your specific manual. However, 10 flashes is universally associated with sensor issues across most Chamberlain/LiftMaster units.
3. Can cold weather affect my garage door closing?
Yes. In extreme cold, metal tracks can contract, and lubricants can thicken, causing increased friction. Additionally, snow or ice buildup on the ground can block the safety eye beam. Ensure the area around the sensors is clear of snow and ice during winter months.
4. How do I reset my LiftMaster garage door opener?
To reset the opener’s memory and clear potential glitches:
- Unplug the opener from the power source.
- Wait for 30 seconds.
- Plug it back in.
- Reprogram your remotes and keypad using the “Learn” button. This soft reset can often clear minor electronic glitches preventing closure.
5. Is it safe to bypass the safety sensors?
No. Bypassing safety sensors is extremely dangerous and illegal in many jurisdictions. The sensors prevent the door from crushing cars, pets, or children. Never tape over the sensors or disconnect them to force the door closed. Always fix the underlying issue.
6. My door reverses immediately after touching the ground. What is wrong?
This usually indicates that the down force setting is too low, or the down limit is set incorrectly. The door touches the ground, senses resistance, and thinks it has hit an obstacle. Increase the down force slightly using the adjustment knobs on the motor unit, or adjust the down limit so the door stops precisely when it meets the floor.
Conclusion
Dealing with a Liftmaster garage door opener will open but not close scenario can be stressful, but it is rarely a catastrophic failure. In the vast majority of cases, the issue stems from simple, fixable problems like misaligned safety sensors, dirty lenses, or incorrect travel limits. By following the step-by-step troubleshooting guide above, you can save time and money by avoiding unnecessary service calls.
Remember, safety is paramount. Always keep the area clear of obstructions, never bypass safety features, and call a professional if you suspect issues with the high-tension springs or complex electrical components. Regular maintenance, such as cleaning sensors and lubricating tracks, can prevent these issues from recurring.
Did this guide help you fix your garage door? Share this article with friends and family who might be facing similar frustrations, or leave a comment below with your experience. Let’s help everyone keep their homes secure and their garages functioning smoothly!
Leave a Reply