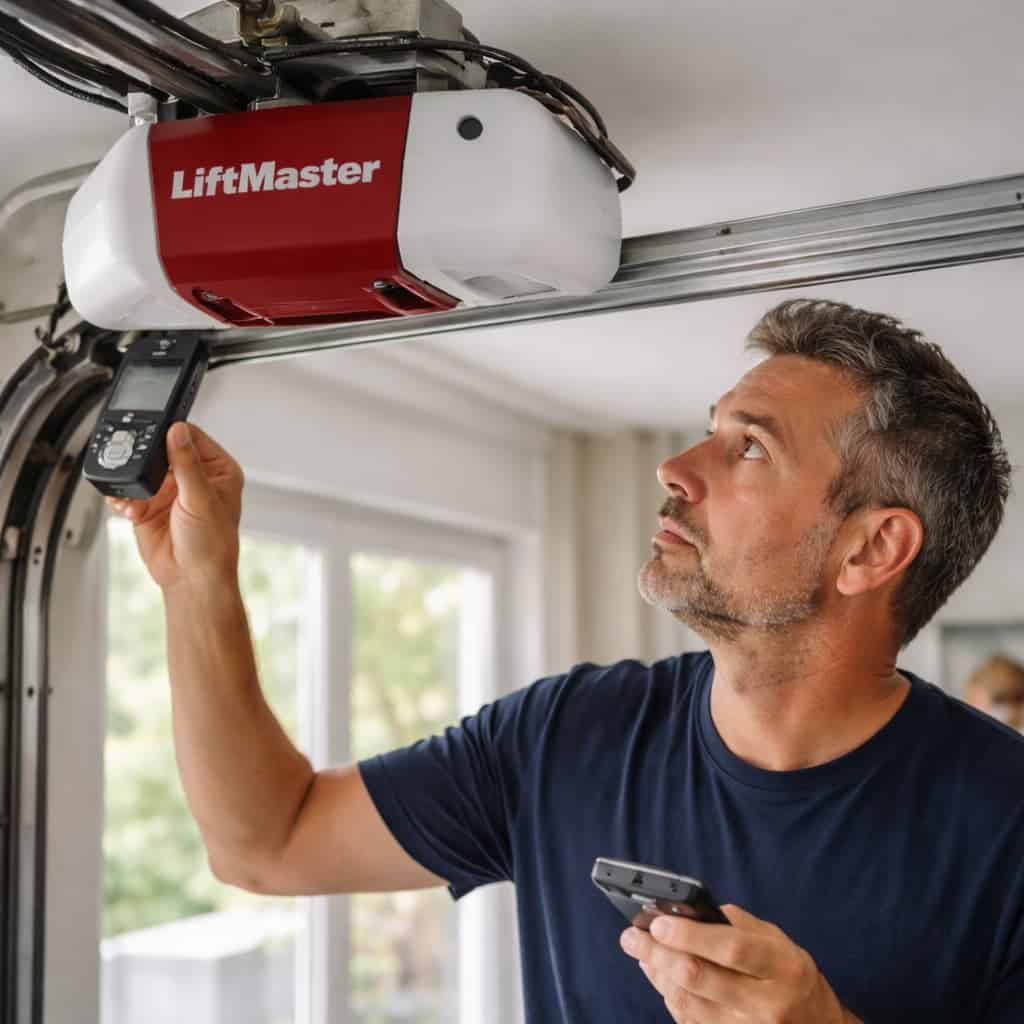
Is there anything more frustrating than pressing the remote button, watching your garage door descend, and then seeing it stop just inches from the ground before reversing back up? You are not alone. Thousands of homeowners face this exact issue every week, often leaving them stranded or unable to secure their home properly. If your Liftmaster garage door opener not closing all the way, it is usually a sign of a minor misalignment or a safety feature doing its job correctly, rather than a catastrophic mechanical failure.
In this guide, we will walk you through the most common causes and provide step-by-step solutions to get your door moving smoothly again. We will focus on practical, safe, and effective fixes that you can perform yourself without calling a technician immediately.
Why Does My Liftmaster Stop Before Hitting the Floor?
When a garage door refuses to close completely, it is rarely a random glitch. Modern openers, especially those from reputable brands like LiftMaster, are equipped with sophisticated safety mechanisms designed to prevent injury or property damage. Understanding why this happens is the first step to fixing it.
The primary culprit is almost always the safety reversal system. According to federal safety standards established in 1993, all residential garage door openers must have an auto-reverse feature. If the opener detects any resistance or an obstruction in the door’s path, it will immediately stop and reverse.
However, “obstruction” doesn’t always mean a box or a bike. It can be as subtle as:
- Misaligned safety eyes (photo-eyes).
- Dirty lenses blocking the infrared beam.
- Excessive friction in the tracks.
- Incorrectly set travel limits.
Before we dive into repairs, it is crucial to note that garage doors are under high tension. If you are uncomfortable working with springs or heavy machinery, always consult a professional. For general maintenance and sensor adjustment, however, DIY is often sufficient.
Check and Align the Safety Sensors
The most common reason for a Liftmaster garage door opener not closing all the way is a problem with the safety sensors. These are the small units mounted near the bottom of your garage door tracks, facing each other. They emit an invisible infrared beam; if the beam is broken, the door will not close.
Step-by-Step Sensor Alignment
- Inspect the LED Lights: Look at the sensors. One should have a steady green light (power), and the other should have a steady amber or yellow light (beam received). If the receiving sensor’s light is blinking or off, the beam is blocked or misaligned.
- Clean the Lenses: Use a soft, dry cloth to wipe away dust, spiderwebs, or dirt from the sensor lenses. Even a thin layer of grime can disrupt the signal.
- Check for Obstructions: Ensure nothing is hanging between the sensors, such as holiday decorations, tools, or even cobwebs.
- Align the Brackets: Loosen the wing nuts on the sensor brackets slightly. Gently adjust the sensors until they are pointing directly at each other. You know they are aligned when the blinking light becomes steady. Tighten the nuts securely.
- Test the Door: Press the wall button to close the door. If it closes fully, you have solved the problem.
If the lights are steady but the door still reverses, the issue may lie elsewhere.
Adjust the Down Limit Settings
If your sensors are working perfectly but the door stops short of the floor or reverses just before touching down, your down limit settings may need adjustment. The down limit tells the motor how far to travel before stopping. Over time, vibrations can cause these settings to drift.
LiftMaster openers typically use either screw-driven adjustments or digital buttons, depending on the model age.
For Models with Adjustment Screws:
- Locate the adjustment screws on the side of the motor unit. They are usually labeled “Up” and “Down.”
- Use a flathead screwdriver to turn the Down screw. Turning it clockwise usually increases the travel distance (making the door go lower), while counter-clockwise decreases it.
- Make small adjustments (quarter-turns) and test the door after each change.
For Models with Digital Buttons (MyQ Technology):
- Press and hold the “Adjustment” button until the LED blinks.
- Use the arrow keys to select “Down Limit.”
- Follow the on-screen prompts or manual instructions to increase the travel distance.
Caution: Do not force the door into the ground. The door should seal gently against the weather stripping. If it hits the floor with significant force, you risk damaging the opener’s gears or the door panels.
Inspect Tracks and Rollers for Friction
Sometimes, the opener isn’t the problem—the door itself is. If the tracks are bent, dirty, or lacking lubrication, the door encounters resistance. The opener interprets this resistance as an obstruction and reverses to prevent damage.
Maintenance Checklist:
- Visual Inspection: Look for dents or bends in the metal tracks. Even a small dent can cause the rollers to jump or stick.
- Clean the Tracks: Wipe down the inside of the tracks with a damp cloth to remove built-up grease and debris.
- Lubricate: Apply a silicone-based lubricant or lithium grease to the rollers, hinges, and springs. Avoid WD-40, as it attracts dust and can gum up the mechanism over time.
- Check Roller Condition: If your rollers are nylon and cracked, or steel and rusted, replace them. Smooth-rolling wheels reduce strain on the motor.
For a deeper understanding of garage door mechanics and safety standards, you can refer to Wikipedia’s entry on Garage Door Openers, which provides historical context and technical specifications for various systems.
Examine the Force Settings
If the door starts to close but reverses immediately upon touching the floor (or just before), the close force setting might be too low. The force setting determines how much power the motor uses to push the door down. If it is set too low, the motor thinks it has hit an obstacle when it actually just meets the resistance of the weather stripping.
How to Adjust Force Settings:
- Locate the force adjustment dials on the motor unit (often labeled “Close Force” or represented by an icon of a door pushing down).
- Turn the dial slightly toward the higher setting (usually clockwise).
- Test the door. It should close firmly but not slam.
- Safety Test: After adjusting, place a 2×4 piece of wood flat on the floor under the center of the door. Close the door. It should reverse immediately upon hitting the wood. If it does not reverse, the force is too high, which is dangerous. Adjust it back down until it passes this test.
When to Call a Professional
While many issues causing a Liftmaster garage door opener not closing all the way can be fixed DIY, some situations require expert attention. Consider calling a certified technician if:
- The garage door springs are broken or damaged. Never attempt to repair torsion springs yourself; they are under extreme tension and can cause severe injury.
- The motor makes grinding noises but the door does not move.
- The circuit board shows signs of burning or damage.
- You have adjusted limits and forces multiple times without success.
Comparison: Common Causes vs. Solutions
| Symptom | Likely Cause | Quick Fix |
|---|---|---|
| Door reverses immediately | Blocked/Dirty Sensors | Clean lenses and align brackets |
| Door stops 2-3 inches from floor | Down Limit Set Too High | Adjust down limit screw/button |
| Door struggles and reverses | High Friction in Tracks | Lubricate rollers and clean tracks |
| Door hits floor hard then reverses | Close Force Too Low | Increase close force slightly |
| Remote works, wall button doesn’t | Lock Feature Activated | Check for locked icon on wall console |
FAQ Section
Q: Why does my Liftmaster door close when I hold the wall button but not with the remote?
A: This is a classic sign of misaligned safety sensors. When you hold the wall button, you bypass the safety sensors. If the door closes only while holding the button, check and realign your photo-eyes immediately.
Q: Can cold weather affect my garage door closing?
A: Yes. In colder temperatures, metal tracks contract, and lubricants can thicken, increasing friction. Additionally, weather stripping becomes stiffer. You may need to slightly adjust your down limit and force settings during winter months.
Q: How often should I maintain my garage door opener?
A: Experts recommend a bi-annual maintenance check. Lubricate moving parts every six months and test the safety reversal feature monthly to ensure it is functioning correctly.
Q: My Liftmaster flashes 10 times and won’t close. What does this mean?
A: On many LiftMaster models, 10 flashes indicate that the safety sensors are misaligned or obstructed. Refer to the sensor alignment section above to resolve this.
Q: Is it safe to disable the safety sensors?
A: No. Disabling safety sensors is illegal in many jurisdictions and extremely dangerous. It removes the protection that prevents the door from crushing people, pets, or objects. Always keep sensors functional.
Conclusion
Dealing with a Liftmaster garage door opener not closing all the way can be stressful, but it is rarely a disaster. In most cases, the issue stems from simple misalignments, dirty sensors, or minor setting adjustments. By systematically checking your safety eyes, cleaning your tracks, and fine-tuning your limit and force settings, you can restore full functionality to your garage door.
Remember, regular maintenance is key to preventing these issues. A few minutes of cleaning and lubrication twice a year can save you from costly repairs and inconvenient malfunctions.
If you found this guide helpful, please share it with friends or neighbors who might be struggling with their garage doors. A well-functioning garage door is essential for home security and convenience—don’t let a small glitch keep you stuck outside!
Leave a Reply