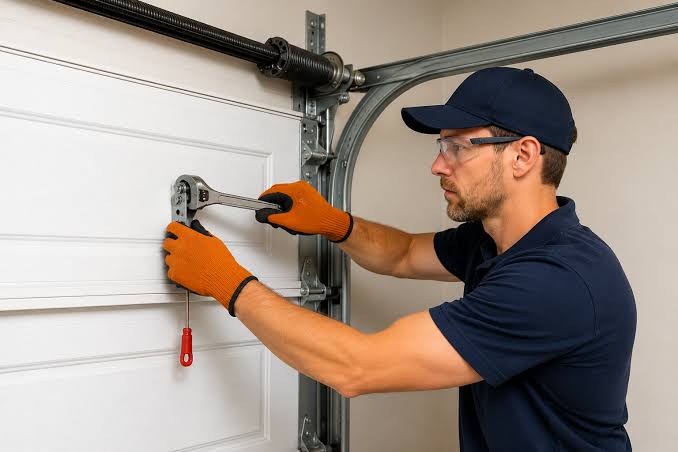
Replacing an aging or broken garage door opener can feel like a daunting task for many homeowners. You might be worried about electrical wiring, heavy lifting, or complex programming steps that could go wrong. If you are asking yourself, “Is it hard to replace a garage door opener?”, the short answer is: it depends on your comfort level with basic tools and following instructions. For most handy homeowners, it is a manageable weekend project that can save hundreds of dollars in labor costs.
In this comprehensive guide, we will break down the difficulty level, required tools, safety precautions, and step-by-step instructions to help you decide whether to tackle this job yourself or call a professional. By the end, you’ll have the confidence and knowledge to make the right choice for your home.
How Difficult Is It Really? Assessing the Challenge
The difficulty of replacing a garage door opener largely depends on three factors: your mechanical aptitude, the type of opener you are installing, and the condition of your existing setup.
Skill Level Required
- Beginner: If you have never used a power drill or read a wiring diagram, this task may feel challenging. However, modern openers come with detailed manuals and color-coded wires that simplify the process.
- Intermediate: If you are comfortable using basic hand tools, climbing a ladder safely, and following step-by-step instructions, you will likely find this project straightforward.
- Advanced: Not typically required unless you are dealing with unusual door weights, custom installations, or integrating smart home systems.
Time Commitment
Most homeowners can complete the replacement in 4 to 6 hours. This includes removing the old unit, assembling the new one, mounting it, wiring, and testing. If you are working alone, allow extra time for handling heavy components.
Common Misconceptions
Many people believe garage door openers are extremely heavy and dangerous to handle. While the motor unit does weigh between 15 to 30 pounds, it is manageable with proper lifting techniques. The real challenge often lies in aligning the rail and adjusting the tension springs safely.
Pro Tip: Always have a helper assist you when lifting the motor unit onto the mounting bracket. Safety first!
Tools and Materials You Will Need
Before starting, gather all necessary tools to avoid mid-project interruptions. Here’s a checklist:
- Power drill with assorted bits
- Socket set and wrenches (typically 7/16″ and 9/16″)
- Screwdrivers (flathead and Phillips)
- Ladder (stable and tall enough to reach the ceiling mount)
- Pliers and wire strippers
- Measuring tape
- Safety glasses and work gloves
- Assistant (highly recommended)
Ensure your new garage door opener kit includes all necessary hardware. Most kits come with rails, chains or belts, mounting brackets, and remote controls.
Step-by-Step Guide to Replacing Your Garage Door Opener
Follow these steps carefully to ensure a safe and successful installation.
Step 1: Disconnect Power and Remove the Old Opener
- Unplug the existing opener from the electrical outlet.
- Disconnect the emergency release cord from the trolley.
- Support the door manually to prevent it from falling.
- Unscrew the mounting brackets holding the rail and motor unit.
- Carefully lower the old opener and set it aside.
Step 2: Assemble the New Rail and Motor Unit
- Lay out the new rail sections on the floor.
- Connect the rail pieces according to the manufacturer’s instructions.
- Attach the chain or belt to the trolley and motor sprocket.
- Mount the motor unit to the rail assembly. Ensure all bolts are tightened securely.
Step 3: Install the Header Bracket
- Locate the center of the garage door above the top panel.
- Install the header bracket using lag screws into the wooden header.
- Ensure the bracket is level and secure. This bracket supports the front end of the rail.
Step 4: Mount the Opener to the Ceiling
- Lift the assembled rail and motor unit into position.
- Attach the front of the rail to the header bracket.
- Use angle iron or hanging straps to secure the motor unit to the ceiling joists.
- Ensure the unit is level and firmly attached. Loose mounts can cause noise and premature wear.
Step 5: Wire the Safety Sensors and Wall Console
- Run the low-voltage wires from the motor unit to the safety sensors near the floor.
- Mount the sensors on both sides of the door, about 6 inches above the ground.
- Connect the wall console inside the garage near the entry door.
- Double-check all wire connections for tightness and correct polarity.
Step 6: Program and Test
- Plug in the opener and restore power.
- Follow the manual to program the remote controls and keypad.
- Adjust the travel limits so the door opens fully and closes completely.
- Test the auto-reverse feature by placing a 2×4 block on the floor in the door’s path. The door should reverse upon contact.
For more detailed technical specifications on garage door safety standards, you can refer to Wikipedia’s article on garage door openers.
Pros and Cons: DIY vs. Professional Installation
| Feature | DIY Installation | Professional Installation |
|---|---|---|
| Cost | $200–$400 (unit only) | $400–$800+ (unit + labor) |
| Time | 4–6 hours | 2–3 hours |
| Skill Required | Moderate | None (for homeowner) |
| Warranty | May void if installed incorrectly | Fully covered by installer |
| Safety Risk | Higher if precautions ignored | Minimal |
| Convenience | Requires personal effort | Hassle-free experience |
Frequently Asked Questions (FAQ)
1. Can I replace just the motor unit without changing the rail?
In some cases, yes. If your existing rail is in good condition and compatible with the new motor, you can save time and money. However, manufacturers often recommend replacing the entire system to ensure warranty coverage and optimal performance.
2. Do I need an electrician to install a garage door opener?
Generally, no. Most garage door openers plug into a standard 120V outlet. If you do not have an outlet near the ceiling, you may need an electrician to install one. Always follow local electrical codes.
3. How long does a garage door opener last?
The average lifespan of a garage door opener is 10 to 15 years. Regular maintenance, such as lubricating moving parts and checking sensor alignment, can extend its life.
4. What happens if I install the safety sensors incorrectly?
If the sensors are misaligned or wired incorrectly, the door will not close. This is a built-in safety feature to prevent accidents. Always ensure the sensor lights are solid (not blinking) before testing the door.
5. Is it safe to work on garage door springs myself?
No. Torsion springs are under extreme tension and can cause serious injury if handled improperly. Leave spring adjustments or replacements to licensed professionals. Only work on the opener mechanism itself.
Conclusion
So, is it hard to replace a garage door opener? For most homeowners with basic DIY skills, the answer is no—it is a challenging but achievable project. By preparing the right tools, following safety guidelines, and taking your time, you can successfully install a new opener and enjoy the convenience of a reliable garage door.
However, if you feel uncomfortable with electrical wiring, ladder work, or heavy lifting, hiring a professional is a wise investment. Your safety and peace of mind are worth more than the savings from a DIY job.
Did you find this guide helpful? Share it with your friends on social media who might be considering a garage door upgrade! Don’t forget to leave a comment below with your own experiences or questions.
Leave a Reply