Introduction
Is your garage door reversing before it hits the floor, or perhaps straining against the ground when it tries to close? You are not alone; this is one of the most common frustrations for homeowners with automatic openers. Knowing how to set limits on Liftmaster garage door opener units can save you from costly service calls and restore peace of mind to your daily routine. In this guide, we will walk you through the process with clarity and confidence, ensuring your door operates smoothly and safely.
Understanding Travel Limits: Why They Matter
Before we dive into the screws and buttons, it is crucial to understand what “travel limits” actually are. Think of travel limits as the GPS coordinates for your garage door. They tell the motor exactly where “up” (fully open) and “down” (fully closed) are located.
If these settings drift—which happens over time due to temperature changes, wear on springs, or minor shifts in the track—your door will behave erratically.
- Open Limit Too High: The door may strain against the header, damaging the motor or the door panels.
- Close Limit Too Low: The door will reverse immediately upon touching the ground, leaving your garage insecure.
- Close Limit Too High: The door stops mid-air, allowing rain, pests, and cold air to enter your home.
According to industry standards, proper alignment ensures the longevity of your opener’s gear assembly and prevents premature burnout of the motor. By mastering this adjustment, you are performing essential preventative maintenance.
Identifying Your Liftmaster Model Type
Not all Liftmaster openers are created equal. The method for adjusting limits depends heavily on whether you have an older mechanical model or a newer smart-enabled unit. Generally, Liftmaster openers fall into two categories regarding limit adjustments:
- Screw-Driven Adjustment (Older/Standard Models): These use physical screws located on the side or back of the motor unit.
- Button-Driven Adjustment (Newer/Smart Models): These use electronic buttons on the back panel, often accompanied by LED indicators.
To identify your type, look at the main motor housing hanging from your ceiling. If you see small plastic screws labeled “Up Limit” and “Down Limit,” you have a screw-driven model. If you see buttons labeled with arrows or “Program,” you likely have a button-driven model.
Pro Tip: If you are unsure, consult your owner’s manual. You can often find digital copies by searching your model number on the Liftmaster official support page or checking the label on the motor casing.
Method 1: Adjusting Screw-Driven Limits (Standard Models)
This method applies to most traditional Liftmaster chain-drive and belt-drive openers manufactured before the widespread adoption of Wi-Fi enabled units.
Tools You Will Need
- A flathead screwdriver (usually #2 size).
- A sturdy ladder.
- A helper (optional but recommended for safety).
Step-by-Step Instructions
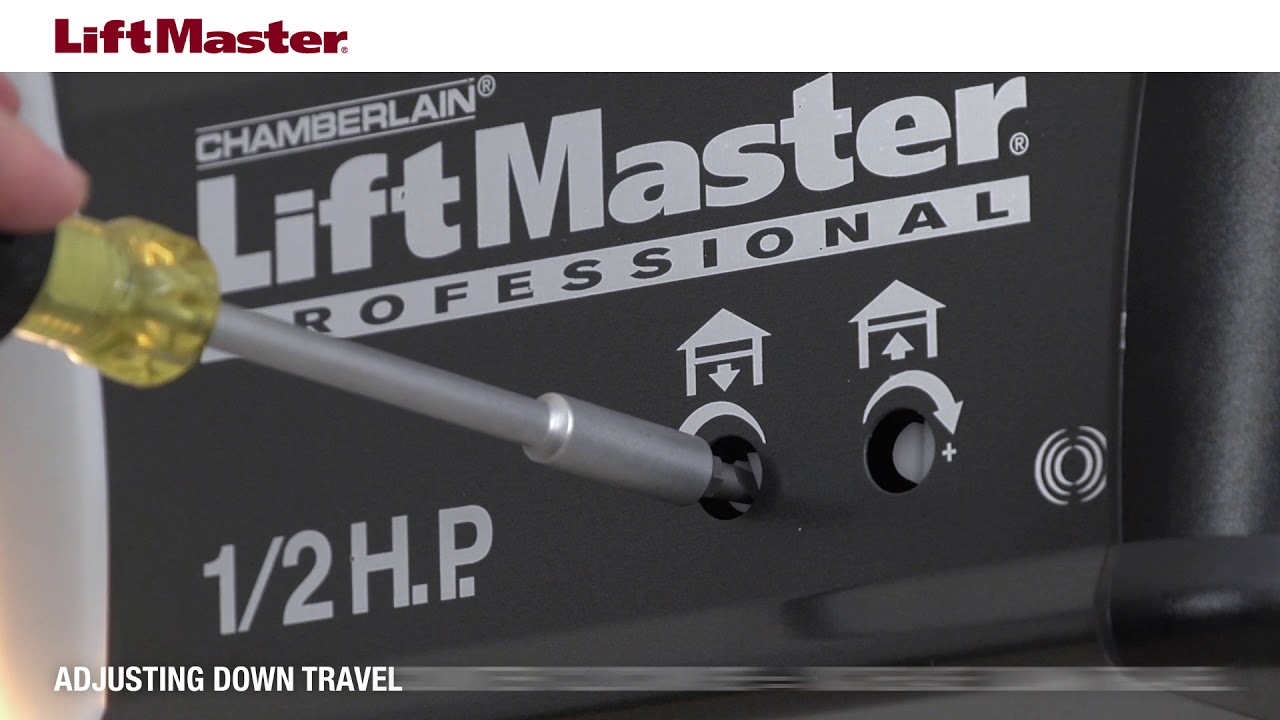
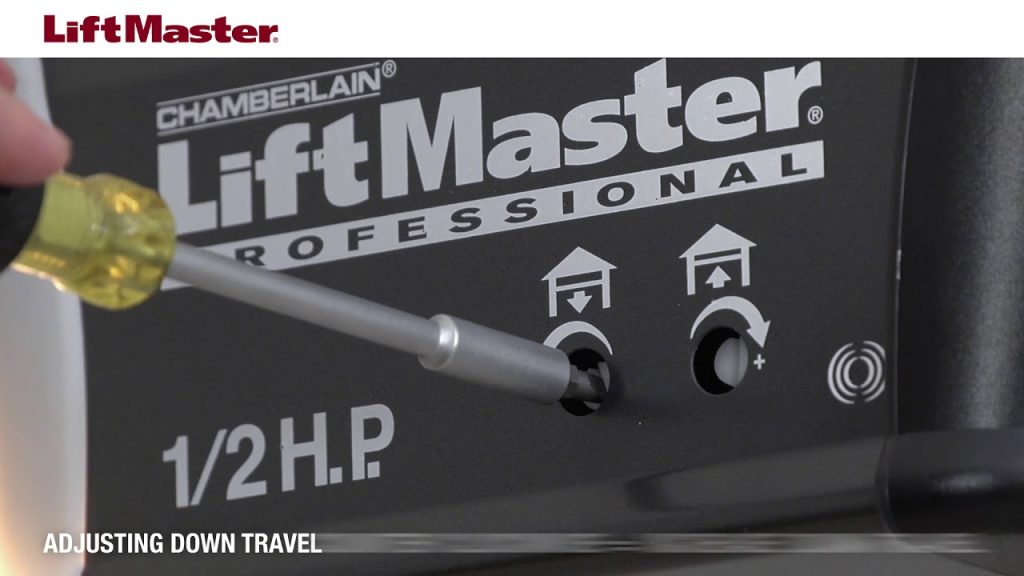
Step 1: Locate the Limit Screws Climb your ladder safely and locate the motor unit. On the side of the housing, you will find two small plastic screws. One is typically marked with an Up Arrow (or “Open”) and the other with a Down Arrow (or “Close”).
Step 2: Adjust the Down Limit (Closing) If your door reverses before hitting the ground, you need to increase the down travel.
- Turn the Down Limit screw clockwise in small increments (about 1/8th of a turn at a time).
- Each full turn usually adjusts the travel distance by approximately 2–3 inches.
- Test the door after each small adjustment.
Step 3: Adjust the Up Limit (Opening) If your door doesn’t open all the way, or if it strains at the top:
- Turn the Up Limit screw counter-clockwise to increase the opening height.
- Turn it clockwise to decrease the opening height if it is hitting the stop bracket too hard.
Step 4: Test and Fine-Tune Operate the door using the wall button. Watch closely as it closes. It should touch the floor firmly but not dig into the concrete. If it bounces back up, you have set the limit too low; turn the screw slightly counter-clockwise.
| Adjustment Direction | Effect on Door Movement |
|---|---|
| Clockwise (Down Screw) | Door travels further down |
| Counter-Clockwise (Down Screw) | Door stops higher up |
| Clockwise (Up Screw) | Door stops lower (opens less) |
| Counter-Clockwise (Up Screw) | Door travels further up |
Method 2: Adjusting Button-Driven Limits (Smart/Newer Models)
Newer Liftmaster models, such as the 8500W or Elite Series, utilize electronic programming. This method is cleaner but requires precise timing.
Step-by-Step Instructions
Step 1: Enter Programming Mode Locate the control panel on the back of the motor unit. Press and hold the “Up” arrow button until the LED light begins to flash. This indicates the opener is ready to learn the new up limit.
Step 2: Set the Up Limit
- Use the Up and Down arrow buttons to move the door to the desired fully open position.
- Once the door is where you want it, press the “Set” or “Program” button (depending on the specific model) to save the up position. The LED will usually stop flashing or change color to confirm.
Step 3: Set the Down Limit
- Press and hold the “Down” arrow button until the LED flashes again.
- Use the arrow buttons to lower the door to the desired closed position. Ensure it seals tightly against the weather stripping.
- Press the “Set” or “Program” button to save the down position.
Step 4: Verify Force Settings On smart models, limit adjustments often reset the force sensitivity. It is wise to run a “Force Test” via the myQ app or the control panel to ensure the door reverses appropriately if it encounters an obstacle.
Troubleshooting Common Issues
Even after adjusting limits, you might encounter issues. Here is how to address them:
The Door Reverses Immediately Upon Closing
This is rarely a limit issue and more often a safety sensor problem. Check the photo-eye sensors near the floor on both sides of the door.
- Are the lights solid? If they are blinking, something is blocking the beam.
- Are they aligned? Ensure both sensors are pointing directly at each other.
- For more technical details on sensor alignment, you can refer to general safety standards outlined in resources like Wikipedia’s entry on Garage Door Openers, which highlights the mandatory nature of these safety features in the US since 1993.
The Motor Runs But the Door Doesn’t Move
If you adjusted the limits and now the motor hums but the door stays still, you may have disengaged the trolley. Check the emergency release cord. If it was pulled, the door is disconnected from the opener. Re-engage it by pulling the handle toward the door until it clicks.
The Door Is Noisy After Adjustment
Noise often indicates that the chain or belt tension has changed relative to the new limits. Check the tension. A properly tensioned chain should have about 1/4 inch of slack in the middle of the rail.
Safety First: Critical Precautions
Adjusting your garage door involves working with high-tension springs and heavy moving parts. Please adhere to these safety guidelines:
- Never adjust spring tension yourself. Torsion springs are under extreme pressure and can cause severe injury if mishandled. Limit adjustments only involve the motor unit, not the springs.
- Keep hands clear. Never place your hands or fingers near rollers, hinges, or the track while the door is moving.
- Test the reversal feature. After setting limits, place a 2×4 piece of wood flat on the floor under the center of the door. Close the door. It must reverse immediately upon contacting the wood. If it does not, your force settings are incorrect, and the door is unsafe.
FAQ Section
Q1: How often should I adjust my Liftmaster garage door limits?
You typically only need to adjust limits once during installation. However, seasonal temperature changes can cause metal tracks to expand or contract, requiring minor tweaks once or twice a year. If you notice the door stopping short or digging into the ground, it’s time to check the limits.
Q2: Can I adjust limits using the myQ app?
For most current models, no. The myQ app allows you to monitor status, view history, and control the door remotely, but physical limit settings usually require manual adjustment at the motor unit. Some high-end commercial units may offer remote calibration, but residential units generally do not.
Q3: What if my door opens too fast after adjusting limits?
Speed is controlled by separate settings, not travel limits. On newer models, you can adjust speed via the control panel or app. On older models, speed is fixed by the motor’s gear ratio. If the door feels dangerously fast, consult a professional to check the brake mechanism.
Q4: Why does my Liftmaster door go up but not down?
This is almost always a safety sensor issue, not a limit issue. Check if the LED lights on the sensors near the floor are solid. If one is blinking or off, clean the lenses and realign them. Also, check for any obstructions in the track.
Q5: Is it dangerous to adjust garage door limits myself?
Adjusting the limits on the motor unit is generally safe for DIYers. However, never attempt to adjust the spring tension or repair broken cables yourself. Those components store dangerous amounts of energy and should only be handled by certified technicians.
Conclusion
Learning how to set limits on Liftmaster garage door opener systems is a valuable skill that empowers you to maintain your home’s security and convenience. Whether you have an older screw-driven model or a modern smart unit, the process is straightforward when approached methodically. By following the steps above, you can ensure your door opens and closes precisely where it should, preventing damage and enhancing safety.
Remember, regular maintenance goes a long way. Keep your tracks clean, lubricate moving parts annually, and test your safety sensors monthly. If you found this guide helpful, please share it with friends or neighbors who might be struggling with their own garage doors. A well-functioning garage door is a happy garage door!
Leave a Reply