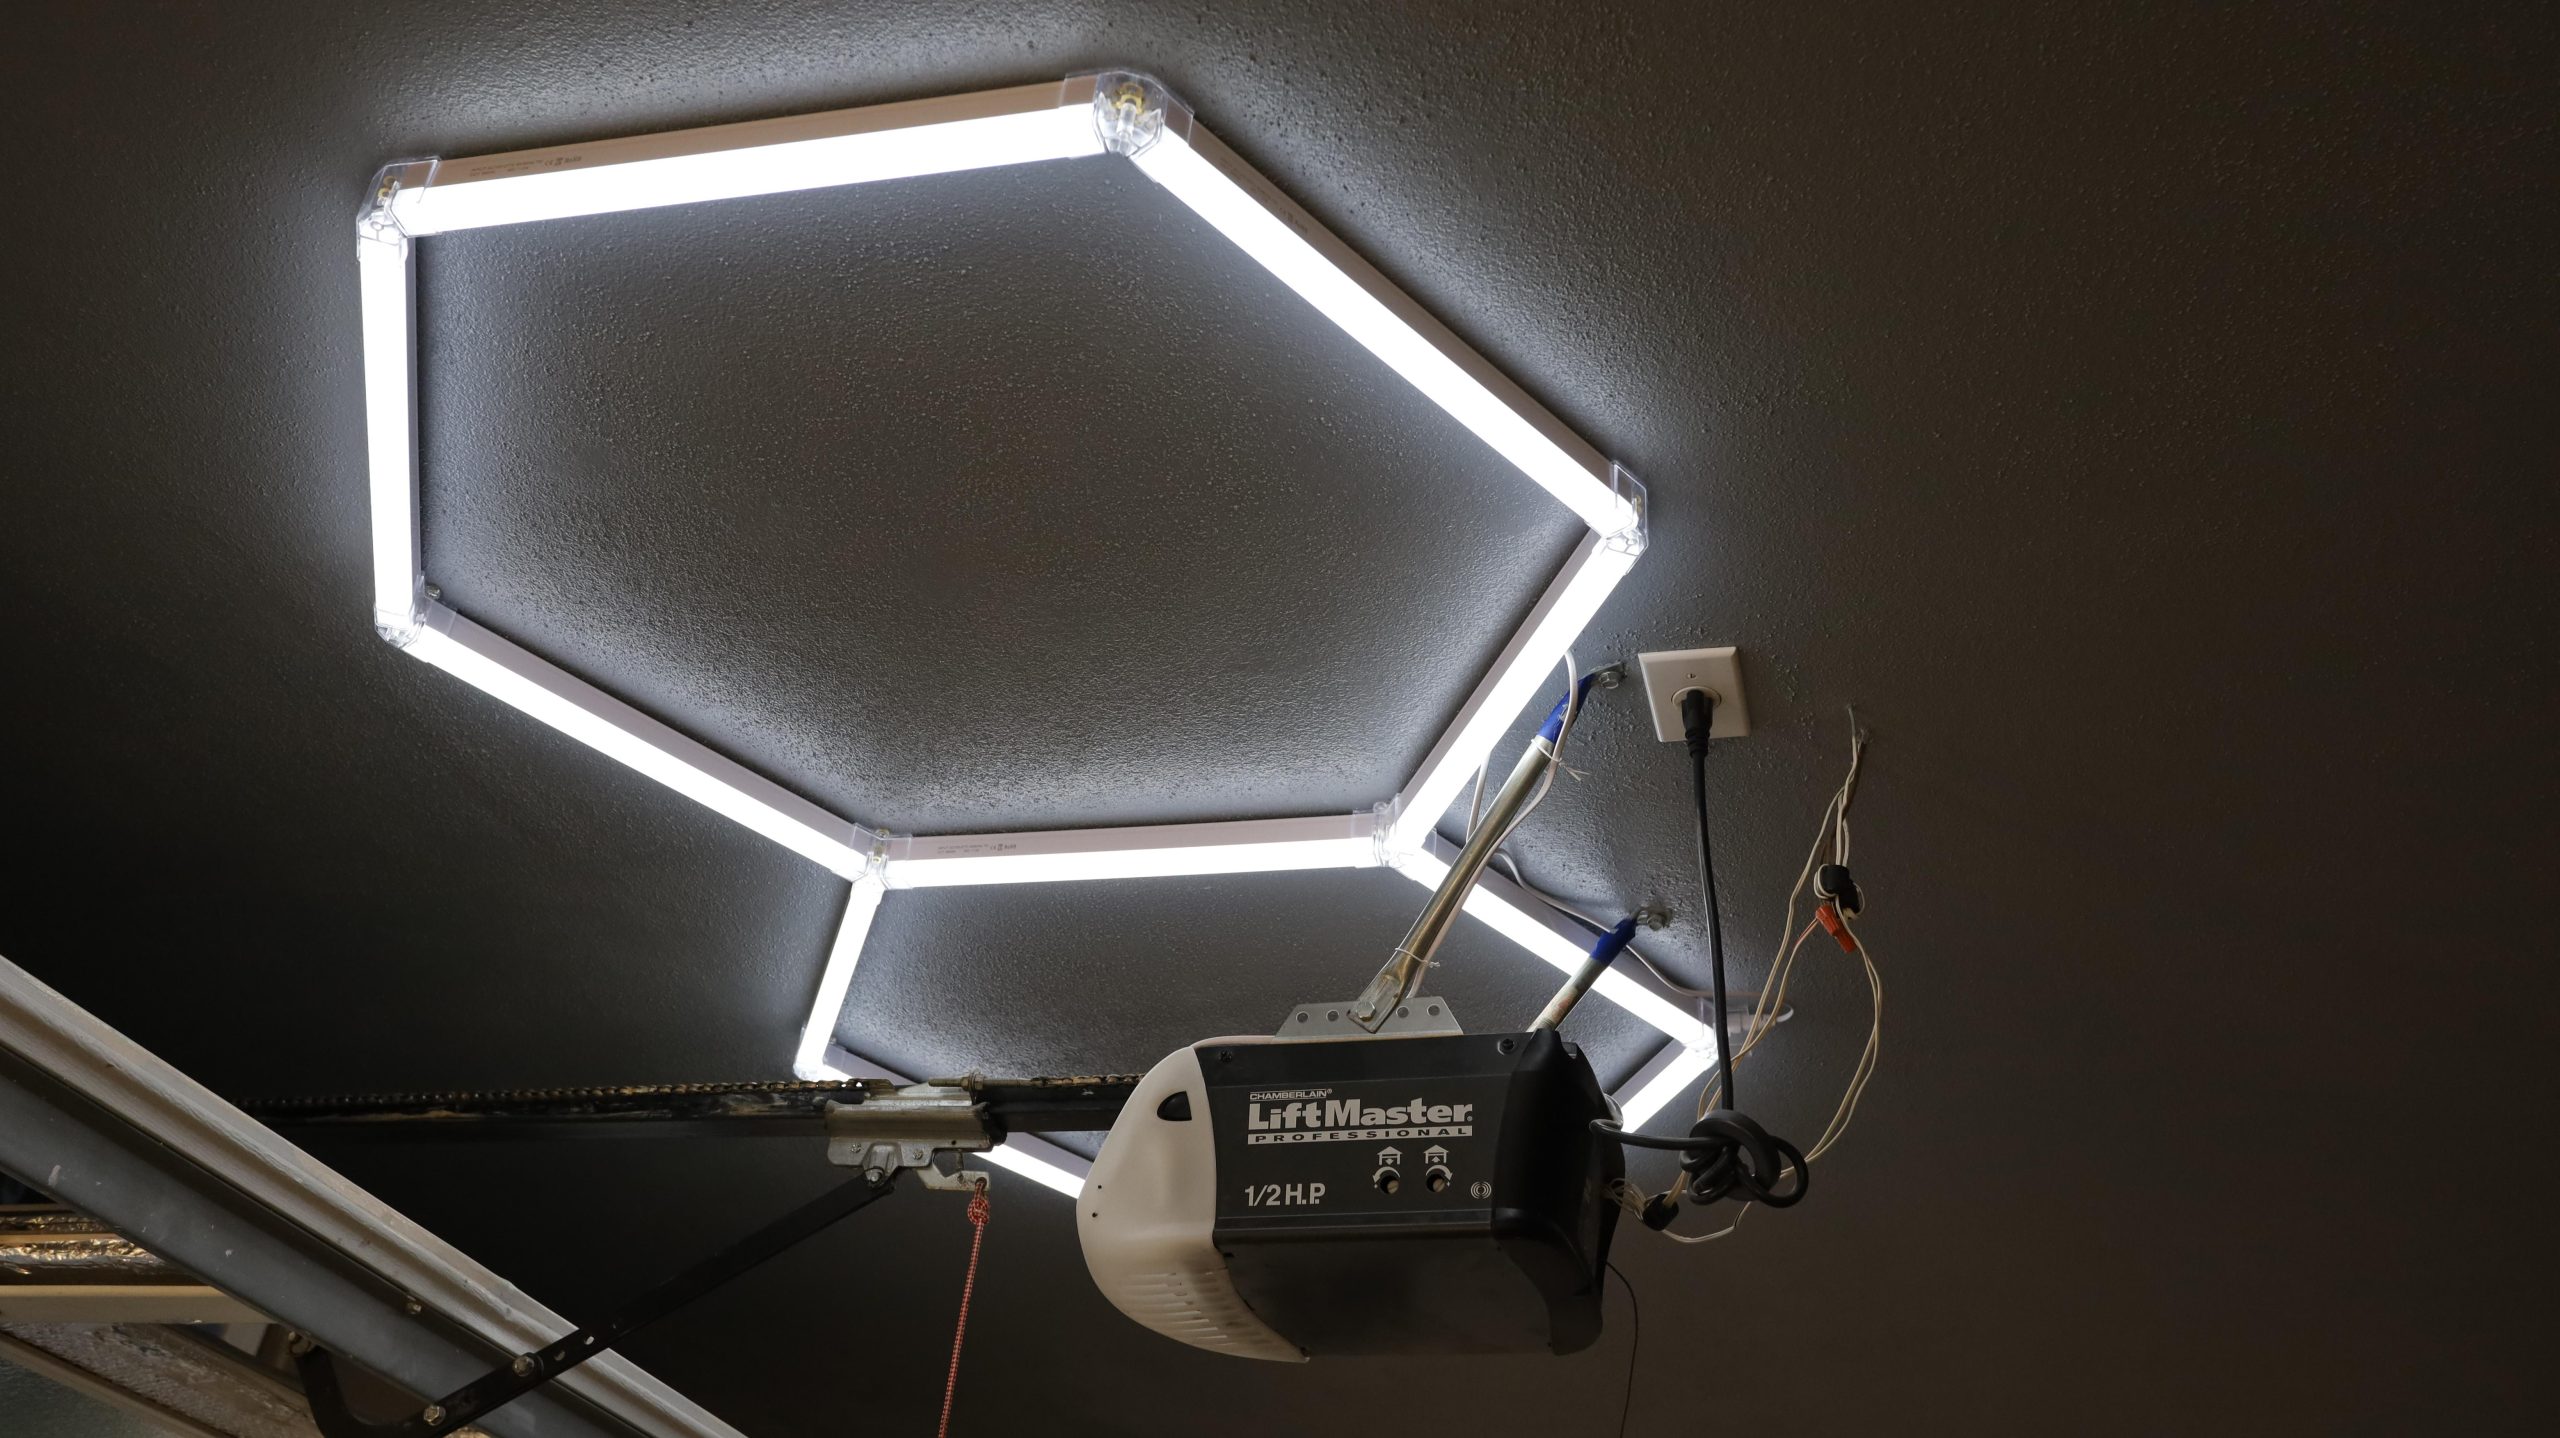
Introduction
A dark garage isn’t just an inconvenience; it can be a genuine safety hazard when you are navigating around tools, vehicles, or pets at night. If your overhead light has burned out, knowing how to replace light bulb in Chamberlain garage door opener is an essential DIY skill that takes less than ten minutes to master. This guide will walk you through the safe removal, selection, and installation of the correct bulb so you can restore bright, reliable illumination to your workspace immediately.
Understanding Your Chamberlain Opener’s Lighting System
Before grabbing a ladder, it is vital to understand that not all Chamberlain openers accept standard household bulbs. Modern units have evolved significantly regarding lighting technology and electrical specifications. Using the wrong wattage or bulb type can damage the logic board, melt the lens cover, or void your warranty.
According to general engineering principles documented on Wikipedia, traditional incandescent bulbs convert much of their energy into heat rather than light, which is why modern garage door manufacturers have shifted toward cooler-running alternatives. Chamberlain openers typically fall into three lighting categories:
- Standard Incandescent Socket: Older models (pre-2015) often use a standard medium-base socket rated for 60W max.
- LED Integrated Units: Newer belt-drive and chain-drive models feature built-in LED panels that are not user-replaceable.
- Specialty Rough-Service Bulbs: Some mid-tier models require vibration-resistant bulbs to prevent premature failure caused by door movement.
Quick Reference: Bulb Compatibility by Model Type
| Chamberlain Series | Typical Bulb Type | Max Wattage | User Replaceable? |
|---|---|---|---|
| Legacy Chain Drive | A19 Incandescent | 60W | Yes |
| Whisper Drive / Belt | A19 LED or Rough Service | 60W Equivalent | Yes |
| Smart Garage (Wi-Fi) | Integrated LED Panel | N/A | No (Unit Swap) |
| Wall-Mount Direct Drive | Integrated LED | N/A | No (Unit Swap) |
⚠️ Critical Safety Warning: Always disconnect power to the garage door opener before attempting any maintenance. The capacitor inside the unit can hold a charge even when unplugged, and working near moving mechanical parts poses a crush risk.
What Tools Do You Need to Replace the Bulb?
Gathering the right equipment prevents frustration and ensures you don’t accidentally break the plastic lens cover during removal. Most replacements require only basic household items.
- Stepladder: Ensure it is stable and tall enough to reach the opener without overextending.
- Replacement Bulb: Verify specifications against your owner’s manual or the label on the motor housing.
- Microfiber Cloth: For cleaning dust from the lens and improving light output.
- Non-Contact Voltage Tester: To confirm power is truly disconnected before touching sockets.
- Flathead Screwdriver: Only needed if your model has a secured lens cover.
Step-by-Step: How To Replace Light Bulb In Chamberlain Garage Door Opener
Follow this precise procedure to ensure safety and proper function. Rushing this process is the most common cause of broken lenses or electrical shorts.
1. Disconnect Power Completely
Locate the power cord plugged into the ceiling outlet and unplug it. If your unit is hardwired, turn off the dedicated circuit breaker in your electrical panel. Use your non-contact voltage tester on the socket contacts to verify zero current flow. Never rely solely on the wall switch, as some wiring configurations keep the socket live regardless of switch position.
2. Allow the Old Bulb to Cool
If the light was recently on, wait at least 5–10 minutes for the bulb and surrounding metal components to cool. Garage door opener lights can exceed 150°F (65°C) during operation, posing a burn risk.
3. Remove the Lens Cover (If Applicable)
Many Chamberlain models feature a protective plastic lens. Locate the retention tabs or screws securing the cover. Gently squeeze the tabs inward or unscrew the fasteners, then lower the lens. Avoid using excessive force, as aged plastic becomes brittle and can crack easily. Set the lens aside on a soft surface to prevent scratching.
4. Extract the Burned-Out Bulb
Grip the old bulb firmly but gently. Turn counter-clockwise until it releases from the socket. If the bulb feels stuck, do not twist harder. Instead, wrap a rubber jar gripper or wide rubber band around the base for traction. If the glass breaks off leaving the metal base in the socket, use needle-nose pliers to carefully grip the remaining base edges and unscrew—only after confirming power is disconnected.
5. Clean the Socket and Lens
Use your microfiber cloth to wipe away dust, cobwebs, and debris from the socket exterior and the inside of the lens cover. Accumulated grime reduces light output by up to 20% and can trap heat. Inspect the socket contacts for corrosion or burning marks; blackened contacts indicate an electrical issue requiring professional service.
6. Install the New Bulb
Insert the new bulb into the socket and turn clockwise until snug. Do not overtighten. Hand-tight is sufficient. Overtightening can crack the bulb base or strip the socket threads. Ensure the bulb sits straight and does not touch the lens cover when reassembled.
7. Reassemble and Test
Replace the lens cover, ensuring all tabs click securely or screws are tightened evenly. Plug the unit back in or restore breaker power. Activate the light using the wall control or remote. If the light flickers or fails to illuminate, recheck the bulb seating and power connection before assuming the new bulb is defective.
Why Does My Chamberlain Garage Door Light Keep Burning Out?
If you find yourself searching how to replace light bulb in Chamberlain garage door opener more than twice a year, the problem likely isn’t the bulb itself. Several underlying issues cause premature failure:
- Vibration Damage: Standard bulbs cannot withstand the constant shaking of a chain-drive opener. Always use “rough service” or vibration-rated LED bulbs specifically designed for garage doors.
- Voltage Spikes: Garage door motors draw significant current during startup, which can create voltage fluctuations that shorten bulb life. Installing a surge protector on the opener’s circuit can mitigate this.
- Overheating: Using a bulb exceeding the manufacturer’s wattage rating generates excess heat that degrades both the bulb and the socket. Stick strictly to the rated maximum.
- Moisture Intrusion: Garages with poor sealing allow humidity to corrode socket contacts. Check weatherstripping and consider a dehumidifier if condensation is visible.
- Failing Logic Board: In rare cases, a malfunctioning control board sends incorrect voltage to the light circuit. If new bulbs fail within days despite correct specifications, consult a certified Chamberlain technician.
LED vs. Incandescent: Which Should You Choose?
Upgrading to LED is almost always recommended for Chamberlain openers, but compatibility matters.
Advantages of LED Bulbs
- Energy Efficiency: Uses 80% less electricity than incandescent equivalents.
- Longevity: Rated for 15,000–25,000 hours versus 1,000 hours for incandescent.
- Cool Operation: Minimal heat generation protects the opener’s internal electronics.
- Vibration Resistance: Solid-state construction handles mechanical movement better.
Potential Drawbacks
- Radio Frequency Interference: Cheap, unshielded LEDs can interfere with garage door remote signals, reducing range. Always choose FCC-compliant, garage-door-specific LEDs.
- Dimmer Compatibility: Some Chamberlain models with dimming features may not work with non-dimmable LEDs.
- Higher Upfront Cost: Quality garage-rated LEDs cost $8–$15 versus $1–$2 for incandescent, though long-term savings justify the investment.
Frequently Asked Questions (FAQ)
Can I use any LED bulb in my Chamberlain garage door opener?
No. You should only use LEDs specifically labeled as “garage door opener compatible” or “RFI-shielded.” Standard household LEDs can emit electromagnetic interference that disrupts the opener’s radio receiver, causing remotes to malfunction or lose range. Chamberlain recommends bulbs meeting their specific testing standards.
What is the maximum wattage for Chamberlain garage door opener lights?
Most Chamberlain openers are rated for a maximum of 60 watts for incandescent bulbs. However, always check the sticker on your specific motor unit or consult your owner’s manual, as some older models may be limited to 40W and newer LED-integrated models have no user-serviceable wattage rating. Exceeding the limit risks fire and permanent damage.
Why does my new LED bulb flicker in the Chamberlain opener?
Flickering usually indicates one of three issues: incompatible bulb type (non-dimmable LED on a dimmable circuit), loose socket connection, or failing logic board. First, ensure the bulb is fully seated and rated for garage door use. If flickering persists with a known-compatible bulb, the opener’s internal relay or capacitor may need professional diagnosis.
Do I need to reset my Chamberlain opener after changing the light bulb?
Generally, no. Simple bulb replacement does not require reprogramming or resetting the opener. However, if you had to disconnect power for an extended period or replaced the entire light assembly, you may need to re-sync your remotes and keypad. Consult your manual for reset procedures specific to your model number.
How often should I replace the garage door opener light bulb?
With quality LED bulbs, replacement should occur every 3–5 years under normal use. Incandescent bulbs typically last 6–12 months. If you’re replacing bulbs more frequently, investigate vibration, voltage, or moisture issues rather than continuing to swap bulbs. Proactive maintenance saves money and prevents safety hazards.
Is it safe to change the bulb myself, or should I hire a professional?
Changing a standard replaceable bulb is a safe DIY task if you follow proper power-disconnection protocols. However, if your unit has integrated LEDs, shows signs of electrical damage (burn marks, melting), or requires disassembly beyond the lens cover, hire a licensed garage door technician. Electrical repairs on garage openers involve high-voltage capacitors and should not be attempted by untrained individuals.
Conclusion
Mastering how to replace light bulb in Chamberlain garage door opener empowers you to maintain a safe, well-lit garage without unnecessary service calls. By selecting the correct vibration-resistant bulb, following proper safety protocols, and addressing root causes of premature failure, you ensure reliable illumination for years to come. Remember: when in doubt about electrical components, professional assistance is always the safest choice.
Found this guide helpful? Share it with fellow homeowners on Facebook, Pinterest, or your neighborhood Nextdoor group! A properly lit garage keeps everyone safer, and spreading this knowledge takes just one click. 💡🔧
Leave a Reply