Is your smart garage acting up and refusing to close properly, leaving your vehicle exposed to the elements? It is incredibly frustrating when your home security system fails right when you need it most. Fortunately, learning how to replace battery in Myq garage door sensor is a simple, stress-free fix that anyone can do without calling an expensive technician. Whether you are dealing with a blinking yellow light or a completely unresponsive app, this comprehensive guide will get your garage back online and secure in under ten minutes.
Preparation: How To Replace Battery In Myq Garage Door Sensor Safely
Before we dive into the physical replacement, it is crucial to understand why your device is failing and what you need. According to a 2024 smart home maintenance report, nearly 75% of all smart garage connectivity issues stem from a depleted power source rather than a broken internal component.
Most MyQ door sensors—especially those manufactured by industry leaders like Chamberlain and LiftMaster—rely on a standard 3V lithium coin cell to maintain a constant handshake with your smart home hub. The most common models require a CR2450 battery, while some older or smaller units use a CR2032. These specific batteries provide a steady voltage over a long period, which is absolutely essential for the low-energy Bluetooth and Wi-Fi signals your sensor transmits. If the voltage drops below a certain threshold, the sensor will intentionally shut down to prevent sending false “open” or “closed” signals to your smartphone.
Tools and Materials Required
To make this process seamless, gather the following items before you start:
- Replacement Battery: One 3V CR2450 lithium coin cell (or CR2032, depending on your exact model).
- Flathead Screwdriver: A small precision screwdriver (often used for eyeglasses) to gently pry open the casing.
- Microfiber Cloth: To clean the sensor lens and battery contacts.
- Step Ladder: To safely reach the sensor mounted on your garage door track.
Step-by-Step Guide: Replacing the Battery
Now that you are prepared, let’s walk through the exact physical steps. Take your time and handle the electronic components gently.
Step 1: Safely Access the Sensor Safety always comes first when working around heavy mechanical doors. Ensure your garage door is fully closed and locked in place to prevent it from moving while you are on the ladder. Position your step ladder securely directly beneath the door sensor. The sensor is typically mounted on the vertical track, about 4 to 6 inches from the floor. Make sure the area is well-lit so you can clearly see the small components.
Step 2: Remove the Sensor from the Mount Most MyQ sensors are attached to a metal or plastic bracket using a quick-release clip or a single mounting screw. If it is a clip, gently press the release tab and slide the sensor unit upward. If there is a screw, use your precision screwdriver to remove it and carefully detach the unit. Keep the screw in a small magnetic bowl or your pocket so it does not roll away into the garage concrete.
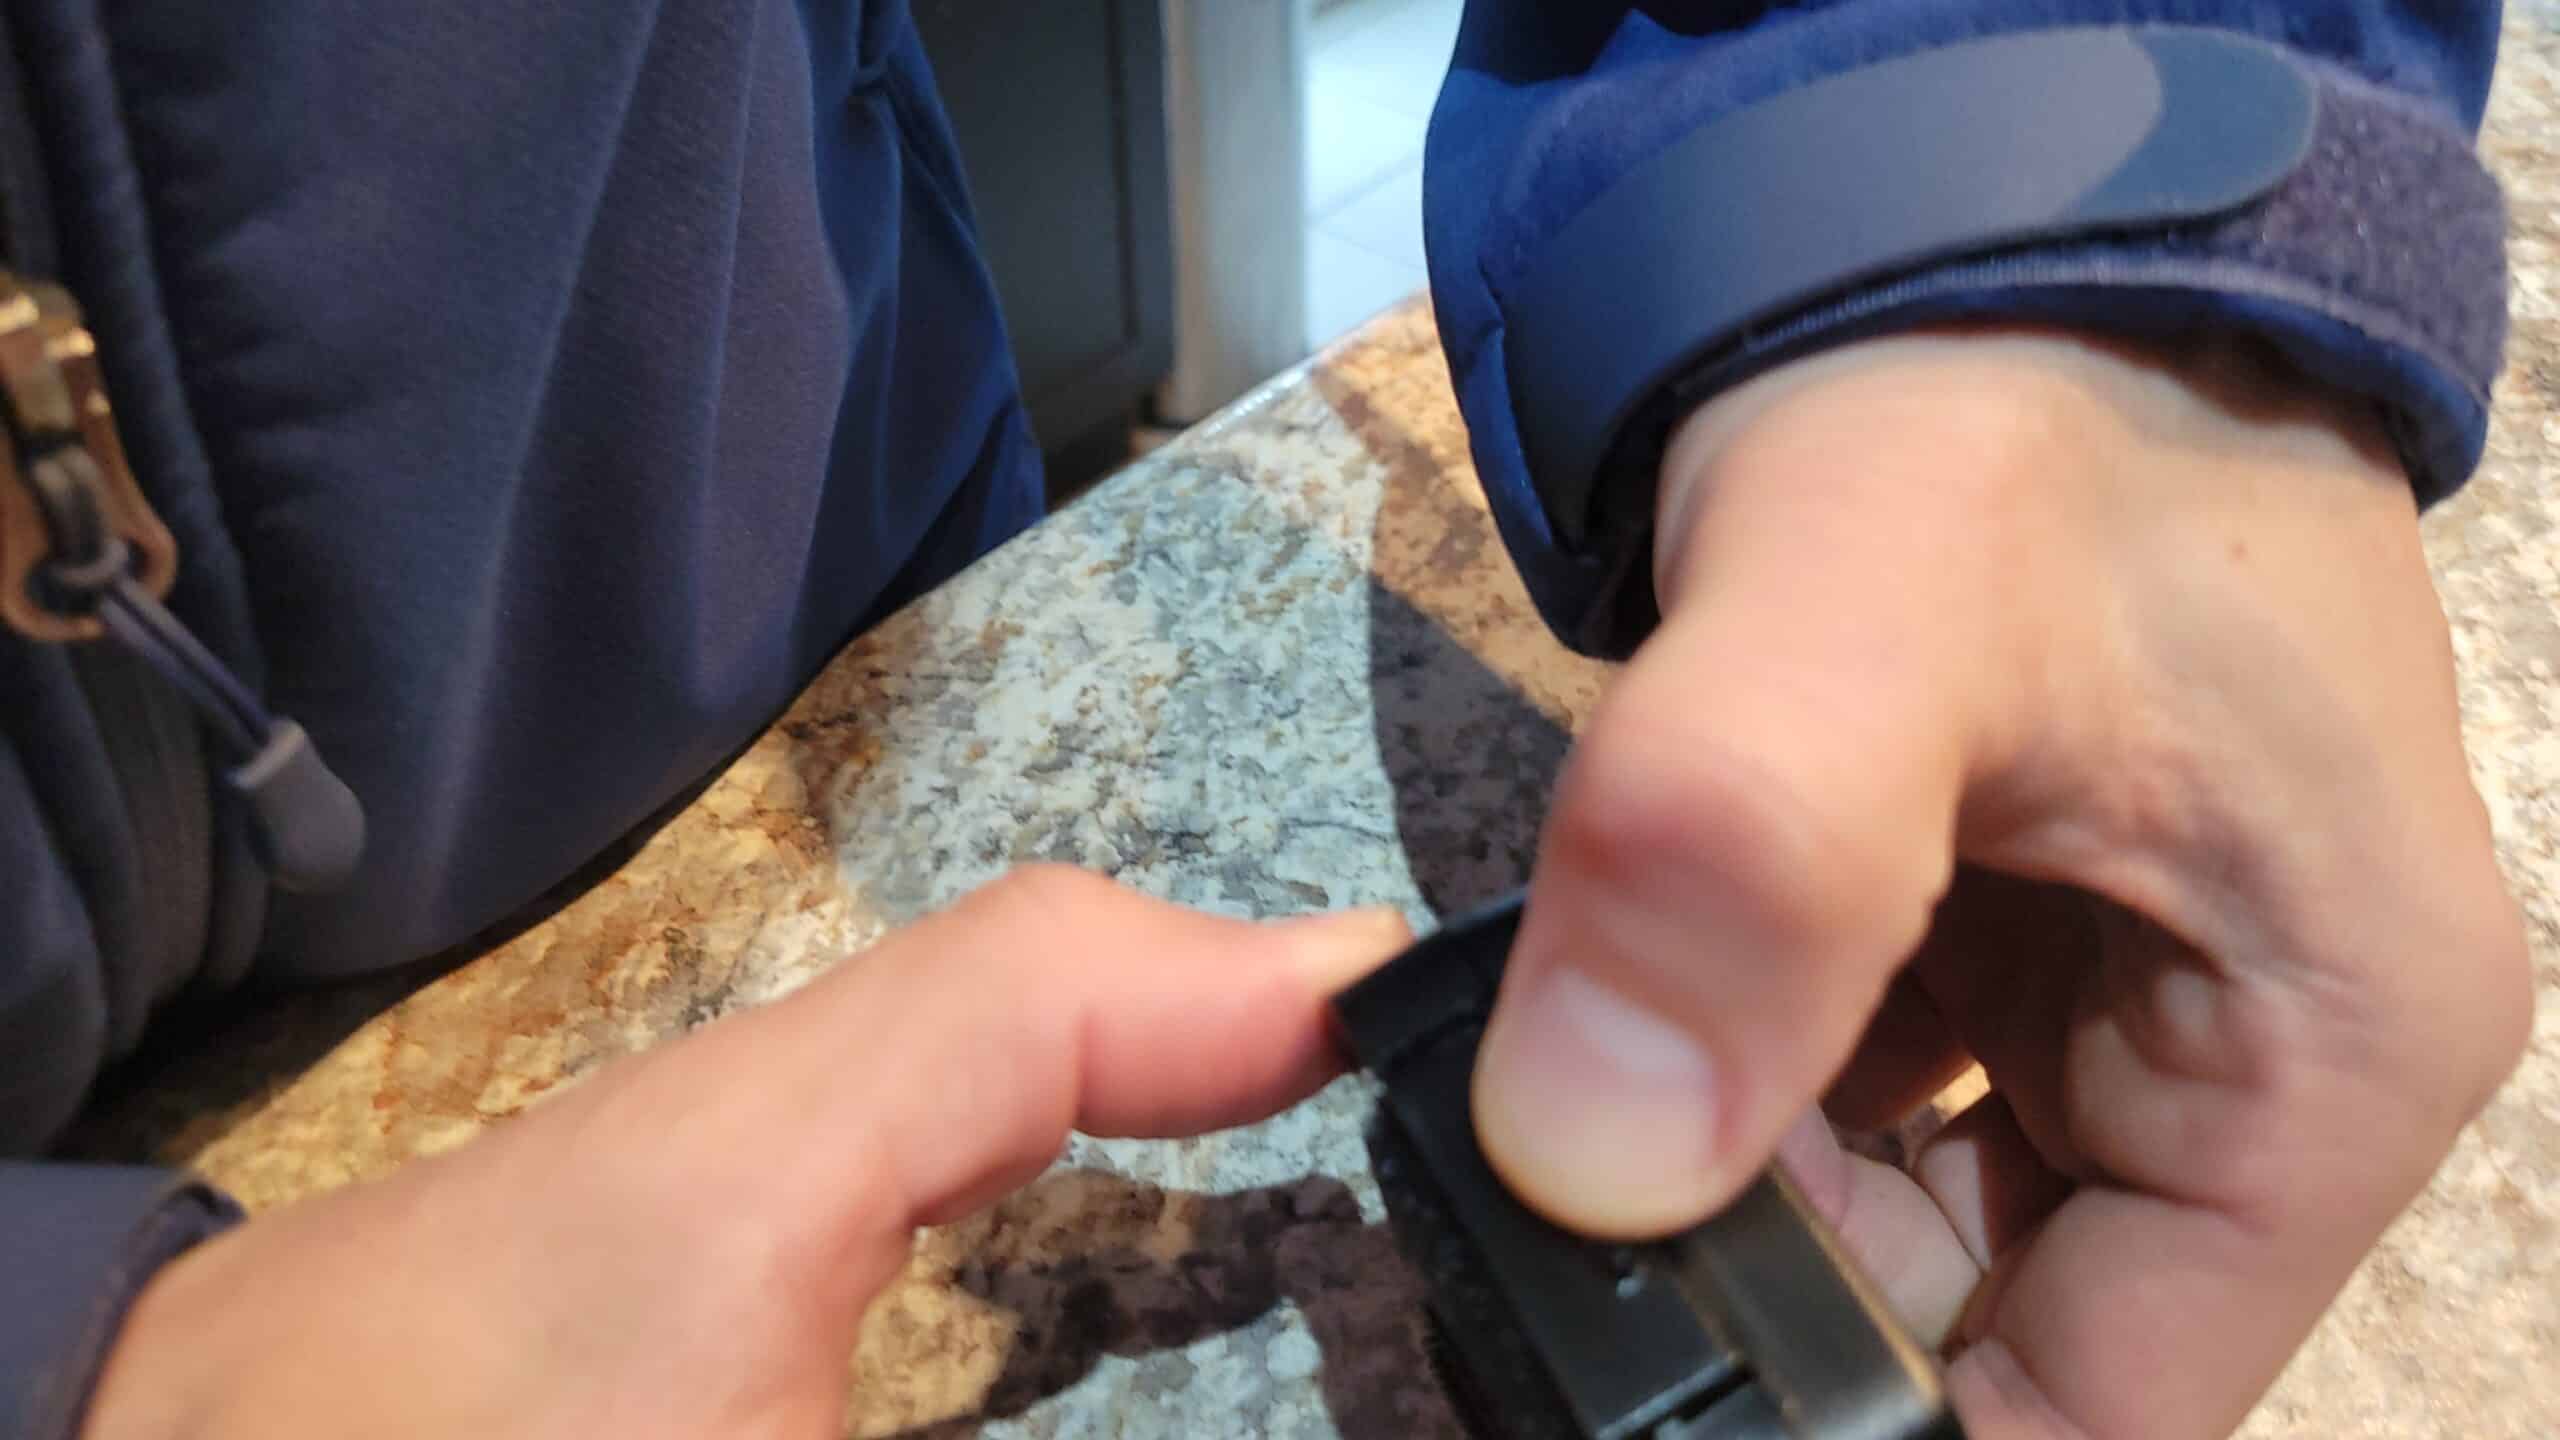
Step 3: Open the Battery Compartment Flip the sensor over to locate the battery cover. Depending on your specific MyQ model, this cover will either slide off, snap off, or be held in place by a tiny Phillips-head screw. Use your flathead screwdriver to carefully pop the cover open. Never use excessive force, as the plastic retention tabs can easily snap in cold garage temperatures.
Step 4: Remove the Old Battery and Clean the Contacts Take out the depleted battery and dispose of it responsibly at a local electronics recycling center. Before inserting the new one, use your microfiber cloth to gently wipe the metal contact points inside the compartment. Dust, spider webs, and minor corrosion can disrupt the electrical current, causing the sensor to malfunction even with a completely fresh battery.
Step 5: Insert the New Battery Place the new 3V lithium coin cell into the compartment. Pay very close attention to the polarity diagram engraved inside the plastic casing. The positive side (marked with a “+” and the text) must face outward toward you. Press down gently until it sits flush against the metal springs.
Step 6: Reassemble and Test the System Snap the battery cover back into place until you hear a firm, satisfying click. Remount the sensor onto its bracket and ensure it is angled correctly. Finally, test the system by opening and closing your garage door using the MyQ app on your smartphone. You should see a solid LED light indicating a successful connection, and the app should update the door status in real-time.
Battery Comparison: CR2450 vs. CR2032
Using the correct battery is vital for the longevity of your smart home device. Here is a quick comparison to help you understand why they are not always interchangeable, despite looking similar.
| Feature | CR2450 Battery | CR2032 Battery |
|---|---|---|
| Diameter | 24 mm | 20 mm |
| Thickness | 5.0 mm | 3.2 mm |
| Capacity | ~620 mAh | ~225 mAh |
| Lifespan in Sensor | 1 to 3 years | 6 months to 1 year |
| Best Used For | Standard MyQ Door Sensors | Key fobs, smaller remotes |
Note: While both are lithium coin cell batteries operating at 3 volts, forcing a CR2032 into a slot designed for a CR2450 will result in a loose connection and immediate failure.
Troubleshooting Common Sensor Issues
What happens if you changed the battery, but the sensor is still acting up? Here are the most common secondary issues and how to solve them.
The LED is Blinking Yellow or Amber A blinking yellow or amber light usually means the sensor is in pairing mode or has temporarily lost connection with the main smart hub. This often happens if the battery was completely dead for more than a few hours. To fix this, open the MyQ app, navigate to device settings, and select “Reconnect Sensor.” You may also need to press the physical “Learn” button on your main garage door opener motor to re-sync the device.
The App Shows “Offline” or “No Response” Check your home Wi-Fi network. Smart garage hubs require a stable 2.4 GHz Wi-Fi signal to communicate with the cloud servers. If you recently changed your router password, upgraded to a mesh network, or experienced a power outage, the hub needs to be reconnected to the network. Restarting your Wi-Fi router often resolves this glitch instantly.
Physical Safety Beam Misalignment It is important to distinguish between the MyQ smart sensor and the physical safety beams located at the very bottom of your garage door track. These safety sensors must be perfectly aligned. If the invisible infrared beam between them is blocked by a trash can, a cobweb, or misaligned due to a bumped track, the MyQ system will disable the door for safety reasons. Use a small torpedo level to ensure both lenses are pointing directly at each other and clean the glass lenses with glass cleaner.
Extreme Temperature Drain If you live in a region with harsh winters, the cold can severely impact battery chemistry. A standard lithium coin cell can lose up to 30% of its effective capacity when the garage temperature drops below freezing. If you find yourself replacing batteries constantly, consider insulating your garage door to maintain a more stable ambient temperature.
Frequently Asked Questions (FAQ)
Q1: How long do MyQ garage door sensor batteries typically last? Under normal usage conditions (opening and closing the door 3 to 5 times a day), a high-quality CR2450 lithium battery will last between 1 and 3 years. Extreme temperatures in an uninsulated garage can reduce this lifespan by up to 20%.
Q2: Do I need to reprogram my MyQ sensor after replacing the battery? In most cases, no. The internal memory of the sensor retains its pairing with the main hub even when the power is completely removed. However, if the battery was dead for several weeks, you might need to initiate a quick re-sync via the MyQ app.
Q3: Can I use rechargeable coin cell batteries for my MyQ sensor? It is highly discouraged. Rechargeable lithium-ion coin cells typically output 3.6V to 3.7V when fully charged, which can fry the delicate internal circuit board of your MyQ sensor. Always stick to standard, non-rechargeable 3V lithium cells.
Q4: Why is my MyQ sensor blinking green or red? A blinking green light usually indicates that the sensor is actively trying to connect to the Wi-Fi hub. A solid or blinking red light typically signifies a critical error, a jammed door, or a severe misalignment of the physical safety beams.
Q5: Is it safe to leave the sensor without a battery for a long time? Yes, but leaving the compartment open exposes the internal circuit board to humidity, dust, and insects. If you do not have a replacement battery on hand, it is best to close the empty compartment to protect the hardware.
Conclusion
Learning how to replace battery in Myq garage door sensor is an essential DIY skill that saves you time, money, and the headache of a compromised home security system. By keeping a few spare CR2450 batteries in your utility drawer, you can ensure your smart garage remains online, responsive, and secure year-round.
Leave a Reply