Introduction
There is nothing quite as frustrating as hearing the storm roll in, knowing your power might flicker, and realizing your garage door won’t open because of a dead backup battery. If you are currently staring at a blinking LED or a silent motor unit, you are likely searching for how to replace backup battery in LiftMaster garage door opener to restore your home’s security and convenience. This guide provides a safe, comprehensive walkthrough designed specifically for US homeowners, ensuring you get your system back online without risking injury or voiding your warranty.
Why Your LiftMaster Backup Battery Matters
Before grabbing a screwdriver, it is vital to understand why this component exists. Modern LiftMaster openers with battery backup (BBU) are designed to operate during power outages, allowing up to 20 cycles of opening and closing within a 24-hour period. According to industry safety standards, these batteries typically last 1 to 2 years depending on usage frequency and temperature exposure.
Ignoring a failing battery doesn’t just mean losing access during a blackout; it can also trigger persistent error codes that prevent the opener from functioning correctly even when grid power is restored. For a deeper understanding of how these electrochemical storage systems degrade over time, you can refer to the technical overview of lead-acid and lithium-ion battery chemistry on Wikipedia.org. Understanding this degradation helps explain why proactive replacement is superior to reactive repair.
Which Battery Does My LiftMaster Use?
One of the most common questions in “People Also Ask” results involves compatibility. Using the wrong voltage or amperage can damage the logic board. Below is a comparison table to help you identify the correct replacement part.
| LiftMaster Model Series | Typical Battery Part Number | Voltage / Type | Notes |
|---|---|---|---|
| 8550WLB / 8550W | 485LM | 12V DC Sealed Lead-Acid | Most common BBU model |
| 8360W / 83600 | 485LM | 12V DC Sealed Lead-Acid | Standard belt drive BBU |
| WLED / 8160WB | 485LM | 12V DC Sealed Lead-Acid | Wall-mount/light combo units |
| 98022 / Newer Elite | Integrated Li-Ion | Proprietary Pack | Often requires dealer service |
| 8500W (Jackshaft) | 485LM | 12V DC Sealed Lead-Acid | Side-mount residential unit |
Note: Always verify the label on your existing battery or check your owner’s manual before purchasing. Manufacturers occasionally update internal components.
Safety First: Pre-Replacement Checklist
Working with electrical garage door equipment carries inherent risks. Before learning how to replace backup battery in LiftMaster garage door opener, complete these safety steps:
- Disconnect Power: Unplug the opener from the ceiling outlet or turn off the dedicated circuit breaker.
- Disengage the Trolley: Pull the emergency release cord to disconnect the door from the opener carriage. Manually lower the door to the fully closed position to prevent accidental movement.
- Wait 60 Seconds: Allow capacitors in the logic board to discharge residual energy.
- Gather PPE: Wear safety glasses and insulated gloves. Old batteries can leak corrosive acid or have swollen casings.
- Use Insulated Tools: Prevent accidental short circuits against the metal housing.
Step-by-Step: How To Replace Backup Battery In LiftMaster Garage Door Opener
Follow these precise instructions for the standard 485LM battery replacement found in most US residential LiftMaster units.
Step 1: Access the Battery Compartment
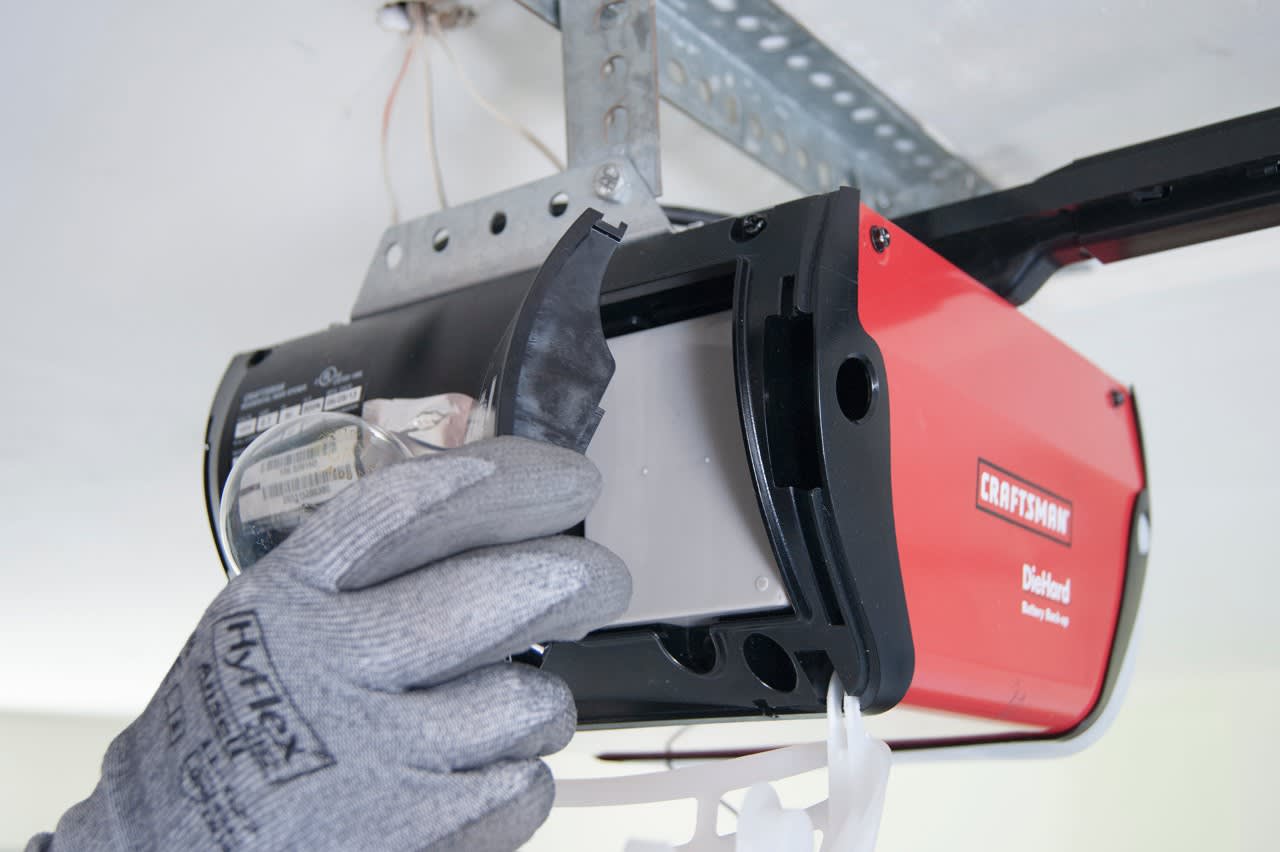
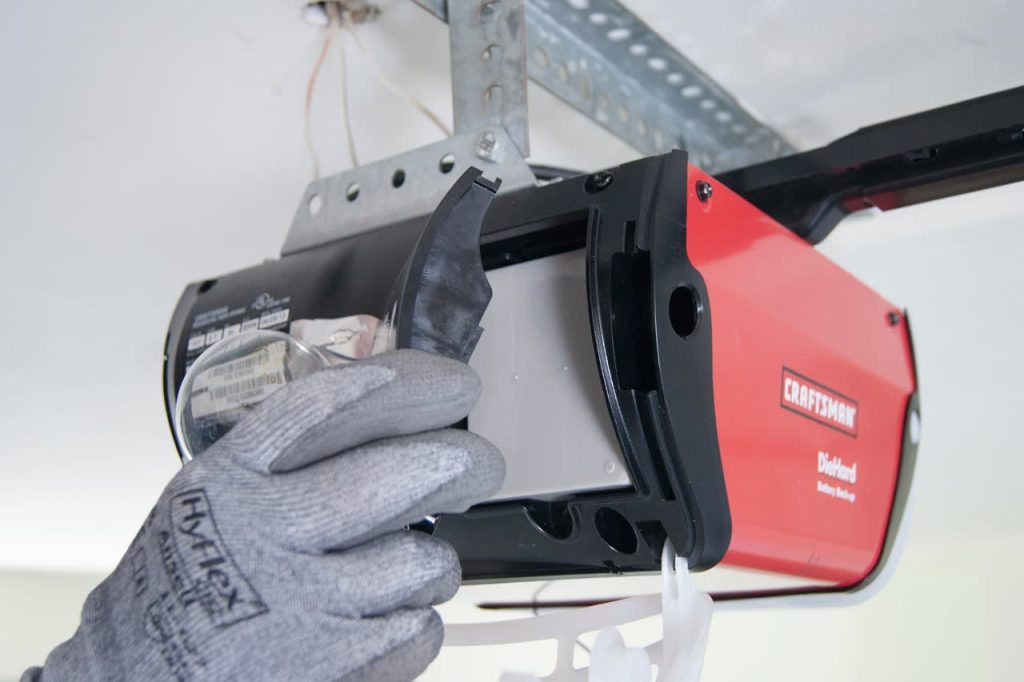
Locate the battery compartment cover on the side or rear of the motor head. On most 8550W and 8360W models, this is a black plastic panel secured by two Phillips-head screws. Remove the screws and gently slide the cover downward or outward to expose the battery cavity. Do not force the cover; if it resists, check for a hidden tab or additional fastener.
Step 2: Disconnect the Wiring Harness
You will see a wiring harness connecting the battery to the opener’s internal circuitry. Squeeze the locking tab on the connector and pull straight out. Never pull by the wires themselves, as this can damage the terminal pins. If the connector is stuck due to age, gently wiggle it side-to-side while maintaining pressure on the tab.
Step 3: Remove the Old Battery
Lift the old battery out of its cradle. Inspect the compartment for signs of corrosion, rust, or melted plastic. If you find white powdery residue, clean it with a mixture of baking soda and water using a non-metallic brush, then dry thoroughly before proceeding. Corrosion indicates a previous leak and may require professional inspection of the contacts.
Step 4: Install the New Battery
Place the new 485LM battery into the cradle in the exact same orientation as the old one. The terminals must align with the wiring harness. Reconnect the harness until you hear or feel a definitive click. Give the wire a gentle tug to confirm it is seated properly. A loose connection is the #1 cause of post-replacement failure.
Step 5: Reassemble and Test
Replace the battery compartment cover and secure the screws. Do not overtighten, as the plastic housing can crack. Plug the opener back into the power source or restore the circuit breaker. Wait approximately 30 to 60 seconds for the system to boot and recognize the new battery.
Step 6: Verify Operation
Press the wall button to cycle the door once. Check the LED indicator on the motor unit:
- Solid Green: Battery is charged and functional.
- Flashing Green: Battery is charging (may take 24–48 hours for full charge).
- Red/Amber Flashing: Installation error or incompatible battery detected.
If the light remains red after 5 minutes, recheck your connections and battery orientation.
Signs It Is Time for a Replacement (Beyond the Beep)
Many homeowners wait for the audible alert, but proactive replacement prevents being stranded. Watch for these indicators:
- Slower Door Speed: The opener struggles or pauses mid-cycle even with grid power.
- Frequent Logic Resets: Your programmed remotes or keypad codes disappear unexpectedly.
- Physical Swelling: The battery case appears bulged or distorted—replace immediately as this is a fire hazard.
- Age Marker: If you cannot recall the last replacement and the unit is over 18 months old, replace it preemptively.
- Failed Monthly Test: LiftMaster recommends testing BBU monthly by unplugging the unit. If the door fails to operate during this test, the battery has reached end-of-life.
Frequently Asked Questions (FAQ)
Q1: How often should I replace the backup battery in my LiftMaster opener?
Most manufacturers recommend replacement every 1 to 2 years. However, extreme temperatures in unconditioned garages can reduce lifespan to under 12 months. Perform a monthly functional test by unplugging the unit to gauge actual health rather than relying solely on time intervals.
Q2: Can I use a generic 12V battery instead of the OEM 485LM?
While generic 12V sealed lead-acid batteries may physically fit, they often lack the specific discharge curve and terminal configuration required by LiftMaster’s charging circuit. Using non-OEM batteries can void your warranty, cause premature logic board failure, or create safety hazards. Always use the manufacturer-specified 485LM or certified equivalent.
Q3: Why is my LiftMaster still beeping after I replaced the battery?
The system requires a reset cycle to clear the low-battery fault code. After installation, ensure the unit is plugged in and allow it to charge undisturbed for at least 24 hours. If beeping persists beyond 48 hours with a solid green light, the logic board may have stored a permanent fault requiring professional diagnosis.
Q4: Is it safe to dispose of the old battery in household trash?
Absolutely not. Sealed lead-acid batteries contain hazardous materials and are classified as universal waste in all US states. Take the old battery to an auto parts store, Home Depot/Lowe’s recycling center, or your local household hazardous waste facility. Many retailers accept them free of charge.
Q5: Can I replace the battery without unplugging the opener?
Technically possible but strongly discouraged. Working on live electrical equipment risks shock, short circuits, and damage to sensitive electronics. The 60-second unplugging step takes minimal time and eliminates catastrophic risk. Safety should never be traded for convenience.
Q6: Will replacing the battery erase my remote and keypad programming?
No. Remote codes, keypad PINs, and travel limits are stored in non-volatile memory on the logic board, independent of the backup battery. You should retain all settings after replacement. If programming is lost, it indicates a separate logic board issue unrelated to the battery swap.
Conclusion
Learning how to replace backup battery in LiftMaster garage door opener is one of the most valuable maintenance skills a homeowner can possess. By following this guide, you ensure reliable operation during emergencies, extend the lifespan of your opener, and maintain compliance with safety standards. Remember to purchase the correct 485LM battery, follow all safety protocols, and test your system monthly to avoid surprises during the next storm.
Found this guide helpful? Share it with neighbors, friends, or family members who own LiftMaster openers! Tag us on social media or send this link to someone who’s been dealing with that annoying beep. A well-maintained garage door keeps everyone safer—and a quick share could save someone a costly service call. Stay powered, stay secure!
Leave a Reply