Is your garage door opener making strange grinding noises or refusing to open? A derailed chain is one of the most common issues homeowners face, but knowing how to put garage door chain back on sprocket can save you hundreds in repair costs. Don’t worry—with the right tools and a bit of patience, you can get your garage door working smoothly again in under an hour.
Why Does the Garage Door Chain Come Off the Sprocket?
Before diving into the repair process, it’s essential to understand why this problem occurs in the first place. According to industry experts, approximately 30% of garage door opener malfunctions are related to chain or belt issues.
Several factors can cause your garage door chain to derail from the sprocket:
- Loose chain tension: Over time, chains naturally stretch and become loose
- Worn sprocket teeth: Damaged or worn teeth can’t properly grip the chain
- Misaligned tracks: If your garage door tracks aren’t aligned, it puts extra stress on the chain
- Lack of lubrication: Dry chains create more friction and are prone to jumping off
- Heavy usage: Frequent opening and closing accelerates wear and tear
Understanding the root cause helps prevent future occurrences and ensures your repair lasts longer.
Tools and Safety Equipment You’ll Need
Gathering the right tools before starting makes the repair process smoother and safer. Here’s what you’ll need:
Essential Tools:
- Adjustable wrench or socket set
- Screwdriver (Phillips and flathead)
- Ladder (stable and appropriate height)
- Work gloves
- Safety glasses
- Flashlight
Optional but Helpful:
- Chain lubricant (silicone-based recommended)
- Rag or cloth for cleaning
- Pliers
⚠️ Safety First: Always disconnect the power to your garage door opener before beginning any repairs. Pull the emergency release cord to disengage the opener from the door, allowing you to work safely without unexpected movement.
Step-by-Step Guide: How To Put Garage Door Chain Back On Sprocket
Follow these detailed steps to successfully reattach your garage door chain:
Step 1: Disconnect Power and Release Tension
First, unplug your garage door opener from the electrical outlet or turn off the circuit breaker. This is crucial for preventing accidental activation while you’re working. Next, pull the red emergency release cord hanging from the opener rail. This disengages the trolley from the door, relieving tension on the chain.
Step 2: Inspect the Chain and Sprocket
Use your flashlight to examine both the chain and sprocket closely. Look for:
- Broken or bent chain links
- Worn or damaged sprocket teeth
- Excessive rust or corrosion
- Debris buildup
If you notice significant damage to either component, replacement may be necessary rather than just reattachment. For more information on garage door opener components, you can reference Wikipedia’s article on garage door openers.
Step 3: Loosen the Motor Unit
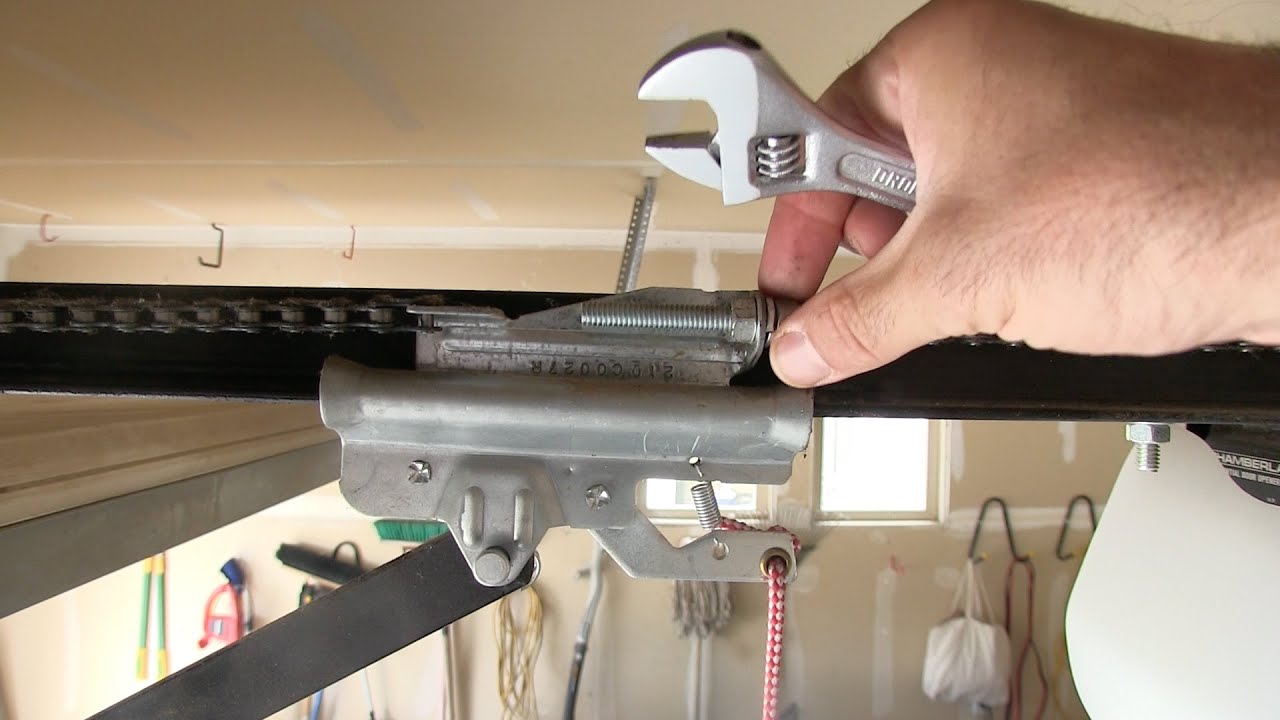
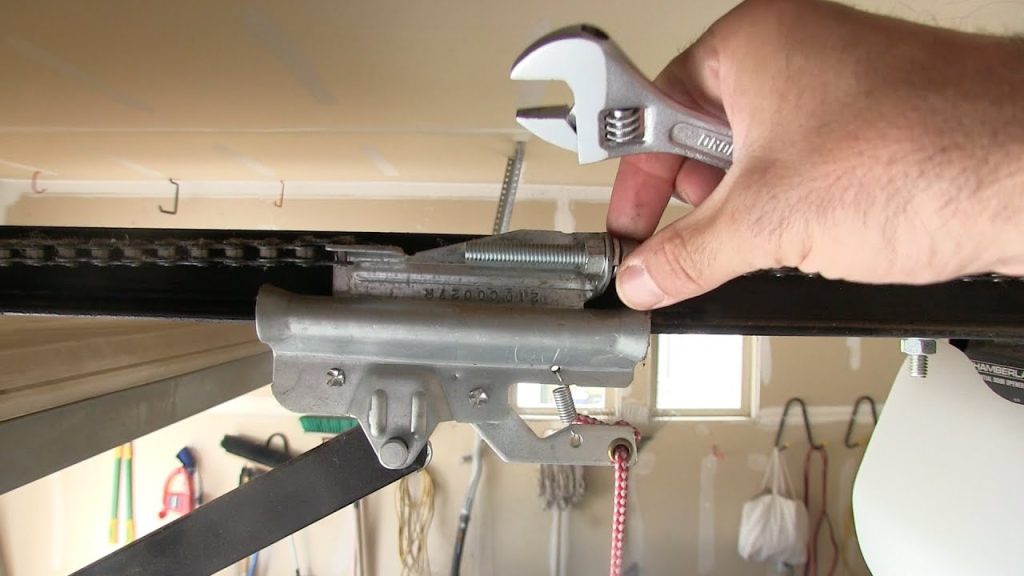
Most garage door openers have adjustment bolts that hold the motor unit in place. Using your wrench, slightly loosen these bolts (don’t remove them completely). This creates slack in the system, making it easier to manipulate the chain back onto the sprocket.
Step 4: Position the Chain on the Sprocket
Carefully lift the chain and position it over the sprocket teeth. Make sure each link sits properly in the grooves. You may need to rotate the sprocket manually to align the teeth correctly with the chain links. Work slowly and methodically—rushing can cause misalignment.
Step 5: Adjust Chain Tension
Proper tension is critical for optimal performance. The chain should have about ¼ to ½ inch of slack in the middle when pulled gently. Too tight, and you’ll strain the motor; too loose, and it will derail again. Use the tension adjustment screws (usually located near the motor unit) to achieve the correct tension.
Quick Reference Table: Chain Tension Guidelines
| Condition | Slack Measurement | Action Needed |
|---|---|---|
| Too Tight | Less than ¼ inch | Loosen tension |
| Ideal | ¼ to ½ inch | No adjustment |
| Too Loose | More than ½ inch | Tighten tension |
Step 6: Test the System
Once the chain is properly seated and tensioned, reconnect the power to your garage door opener. Re-engage the trolley by pulling the release handle toward the door. Test the opener by pressing the wall button or remote control. Listen for smooth operation and watch for any unusual movements.
Step 7: Lubricate and Maintain
Apply a silicone-based lubricant to the chain, focusing on the links and where they contact the sprocket. Avoid using WD-40 or oil-based lubricants, as these attract dust and debris. Regular lubrication every six months prevents future derailments and extends the life of your opener.
Common Mistakes to Avoid
Even experienced DIYers can make errors when repairing garage door chains. Here are the most common pitfalls:
Over-tightening the chain: This puts excessive stress on the motor and bearings, leading to premature failure.
Ignoring underlying issues: Simply putting the chain back without addressing why it came off means the problem will recur.
Using wrong lubricant: Petroleum-based products damage rubber components and attract dirt.
Skipping safety steps: Never work on a powered garage door opener—it’s extremely dangerous.
Forcing the chain: If the chain doesn’t seat easily, stop and reassess. Forcing it can damage both the chain and sprocket.
When to Call a Professional
While many homeowners can successfully reattach a garage door chain, certain situations require professional assistance:
- The sprocket teeth are severely worn or broken
- The chain has multiple broken links
- You hear grinding noises even after repair
- The door operates unevenly or sticks
- You’re uncomfortable working at heights or with mechanical systems
Professional garage door technicians typically charge between $150-$300 for chain repair services. However, if additional components need replacement, costs can rise to $400-$600.
Preventive Maintenance Tips
Prevention is always better than cure. Follow these maintenance tips to keep your garage door chain properly seated:
- Monthly inspections: Check chain tension and look for signs of wear
- Bi-annual lubrication: Apply silicone lubricant every six months
- Annual professional service: Have a technician inspect all components yearly
- Keep tracks clean: Remove debris and ensure proper alignment
- Listen for changes: Unusual noises often indicate developing problems
FAQ Section
Q: How often should I check my garage door chain tension?
A: Check your chain tension monthly as part of regular maintenance. Seasonal temperature changes can affect metal expansion and contraction, altering tension levels. If you notice the chain becoming loose more frequently, inspect for worn components.
Q: Can I use any type of lubricant on my garage door chain?
A: No, only use silicone-based or lithium-based lubricants specifically designed for garage doors. Avoid WD-40, motor oil, or grease, as these attract dust and can damage plastic and rubber components in your opener system.
Q: What if the chain keeps coming off after I fix it?
A: Recurring derailment indicates an underlying issue such as worn sprocket teeth, misaligned tracks, or improper tension. Inspect these components carefully. If the problem persists after addressing these factors, consult a professional technician.
Q: Is it safe to operate my garage door with a loose chain?
A: No, operating with a loose chain is unsafe and can cause further damage. A loose chain can derail completely, potentially damaging the opener motor or causing the door to fall unexpectedly. Always address chain issues before using your garage door.
Q: How long does a garage door chain typically last?
A: With proper maintenance, a garage door chain should last 10-15 years. However, heavy usage, lack of lubrication, or harsh environmental conditions can reduce lifespan. Regular inspection helps identify wear before complete failure occurs.
Q: Can I replace just the chain, or do I need to replace the sprocket too?
A: If the sprocket teeth show minimal wear, you can replace just the chain. However, if teeth are worn, rounded, or broken, replace both components together. Installing a new chain on a worn sprocket causes rapid wear and repeated failures.
Conclusion
Learning how to put garage door chain back on sprocket is a valuable skill that saves time and money. By following our step-by-step guide, you can confidently tackle this common repair yourself. Remember to prioritize safety, use proper tools, and address underlying causes to prevent future issues.
Regular maintenance is key to keeping your garage door operating smoothly. Schedule monthly inspections, lubricate quarterly, and don’t hesitate to call a professional when needed. Your garage door is one of the most-used entry points to your home—keeping it in good condition ensures security, convenience, and peace of mind.
Did you find this guide helpful? Share it with friends and family who might benefit from learning how to fix their garage door chain. Follow us on social media for more home maintenance tips and DIY tutorials!
Leave a Reply