Introduction
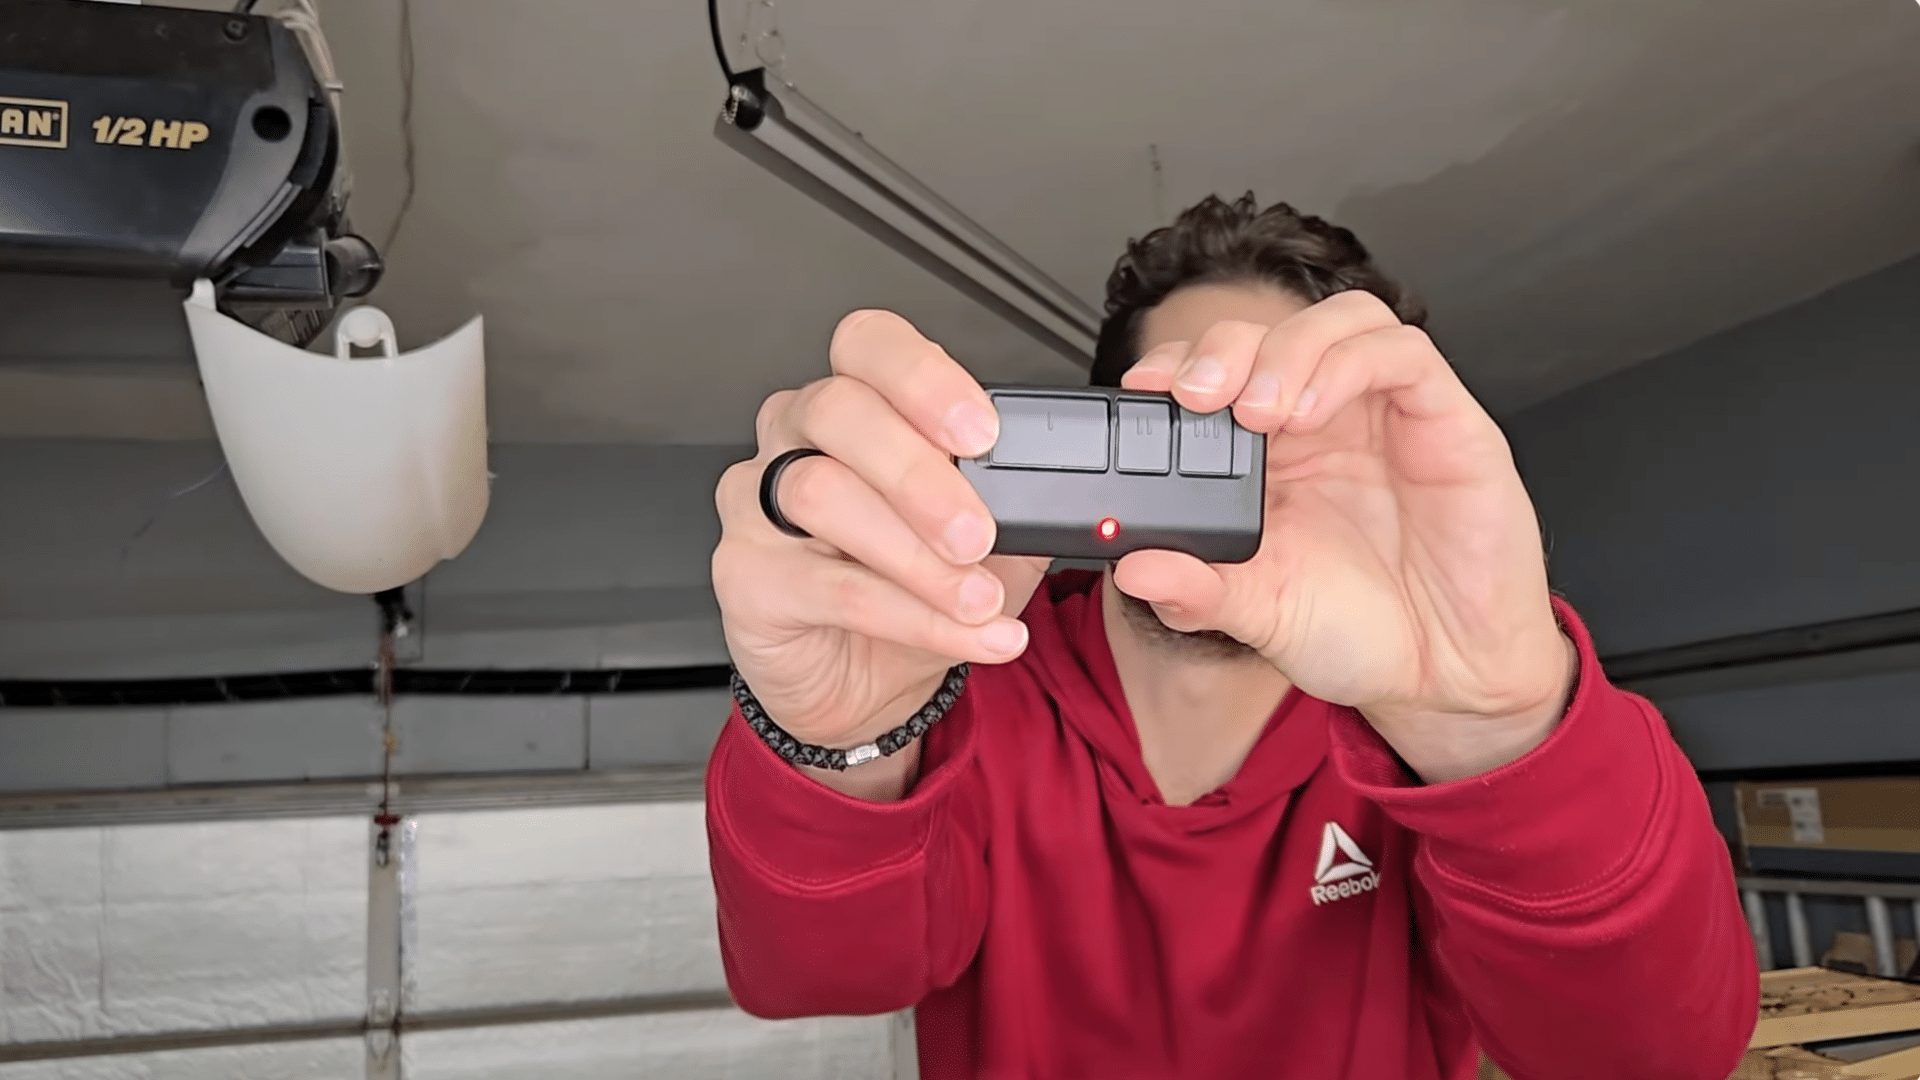
There are few things more frustrating than pressing your garage remote repeatedly while sitting in your driveway, only to have the door remain stubbornly closed. Whether you have lost a remote, replaced a battery, or installed a new opener, knowing how to program Chamberlain garage door opener with remote control is an essential homeowner skill that saves both time and service fees. This comprehensive guide will walk you through the exact steps for various models, ensuring you get back into your garage safely and quickly without needing to call a technician.
Understanding Your Chamberlain Model Before Programming
Before you climb a ladder or start pressing buttons, it is vital to identify which generation of Chamberlain opener you own. Chamberlain has manufactured openers for decades, and the programming protocol differs significantly between older “dip switch” models and modern “Security+ 2.0” systems.
According to industry data, over 70% of residential garage door openers in the United States are manufactured by the Chamberlain Group, making their technology the de facto standard. However, this ubiquity means there are dozens of variations. You can typically identify your model by checking:
- The Motor Head: Look for a label on the side or back of the unit mounted to the ceiling.
- The Learn Button Color: This is the most critical identifier. Chamberlain uses color-coded learn buttons to indicate frequency and security protocol.
- Yellow: Security+ 2.0 (2011–Present)
- Purple: Security+ (2006–2014)
- Orange/Red: Security+ (1997–2005)
- Green: Older rolling code or fixed code models
- The Remote Itself: Check the FCC ID or model number on the back of your handheld remote.
⚠️ Safety First: Always ensure the garage door area is clear of people, pets, and objects before testing. Never bypass safety sensors during programming. For detailed technical specifications and history of these mechanisms, you may refer to Wikipedia’s entry on garage door openers to understand the evolution of rolling code technology.
Step-by-Step: How to Program Chamberlain Garage Door Opener With Remote Control
This section covers the universal method for modern Chamberlain openers (Security+ and Security+ 2.0). If you have a vintage model with physical dip switches, skip to the next section.
Step 1: Locate the Learn Button
Find the “Learn” button on the motor head. It is usually located on the back panel or under the light lens cover. The LED indicator next to it will be your primary feedback mechanism.
Step 2: Clear Previous Codes (Optional but Recommended)
If you are programming a used remote or experiencing interference, hold down the Learn button for approximately 6 seconds until the LED turns off. This erases all previously paired remotes and keypads. Note: You will need to reprogram all devices after doing this.
Step 3: Initiate Programming Mode
Press and release the Learn button once. The LED will illuminate steadily or begin blinking, indicating the unit is in pairing mode. You typically have 30 seconds to complete the next step before the system times out.
Step 4: Sync the Remote
While the LED is active, press and hold the button on your remote that you wish to program. Hold it for 1–2 seconds, then release.
Step 5: Confirm Success
Watch the motor head lights. They should flash twice, or you may hear two distinct clicks. This confirms the code has been accepted. Test the remote immediately from a safe distance to verify operation.
Troubleshooting Table: Common Programming Failures
| Symptom | Probable Cause | Solution |
|---|---|---|
| LED flashes then goes out instantly | Incompatible remote frequency | Verify remote matches Learn button color |
| No response at all | Dead remote battery or out of range | Replace CR2032 battery; move within 3 feet |
| Door opens partially then reverses | Safety sensor misalignment | Check sensor LEDs; ensure beam is unobstructed |
| Remote works intermittently | Signal interference or weak battery | Change battery; check for nearby LED bulbs causing RF noise |
| Learn button won’t activate | Logic board failure or capacitor issue | Consult professional; may require board replacement |
Programming Legacy Dip Switch Models (Pre-1997)
If your Chamberlain opener lacks a colored Learn button and instead has a row of tiny toggle switches inside the motor housing, you own a legacy fixed-code system.
- Open the remote’s battery compartment to reveal its dip switches.
- Open the motor head cover to access the matching dip switch bank.
- Use a small screwdriver or pen tip to set the motor switches to a unique pattern.
- Exactly match the remote switches to the motor switches. Every position must align perfectly.
- Test the remote. If it fails, choose a different switch pattern and repeat.
💡 Expert Tip: Legacy fixed-code systems are vulnerable to code grabbing. If you still use one, consider upgrading to a modern Security+ 2.0 system or adding a universal rolling-code receiver retrofit kit for enhanced security.
Why Won’t My Chamberlain Remote Program? Advanced Diagnostics
Even when following instructions precisely, users sometimes encounter persistent failures. Here are advanced diagnostics based on common field service scenarios:
Battery Voltage vs. Battery Age
A remote battery might read 3V on a multimeter but fail under load. Lithium CR2032 batteries degrade non-linearly. Always test with a brand-new battery before assuming hardware failure. Statistics show that nearly 40% of “failed programming” service calls are resolved simply by installing fresh batteries.
LED Bulb Interference
Modern LED bulbs, especially cheaper variants, can emit radio frequency noise that jams the 315MHz or 390MHz bands used by garage openers. If programming works only when the garage light is off, replace your opener’s bulb with a Chamberlain-approved LED or a rough-service incandescent bulb.
Capacitor Degradation
On units older than 10 years, the logic board capacitor may have degraded, providing insufficient power for the RF receiver during programming. Symptoms include dim learn LEDs or inconsistent behavior. This requires professional diagnosis and potential board replacement.
Remote Compatibility Matrix
Not all Chamberlain remotes work with all openers, even within the same brand. Cross-reference your remote’s model number against the opener’s manual. Universal remotes like the Chamberlain KLIK1U are designed to bridge compatibility gaps across multiple generations.
Frequently Asked Questions (FAQ)
Q1: Can I program multiple remotes to the same Chamberlain opener?
Yes. Most modern Chamberlain openers support up to 8 remotes plus wireless keypads. Simply repeat the programming sequence for each additional remote. Each remote occupies one memory slot, so keep track if you approach the limit.
Q2: Do I need to reprogram my remote after changing the battery?
Generally, no. Modern rolling-code remotes retain their programming in non-volatile memory. However, some very old fixed-code remotes may lose synchronization. If your remote stops working after a battery change, try reprogramming it as a first troubleshooting step.
Q3: How do I know if my remote is compatible with my opener?
Check the Learn button color on your motor head and compare it to the remote’s packaging or FCC label. Yellow-button openers require Security+ 2.0 remotes. Purple and orange buttons have their own specific remote families. When in doubt, purchase a Chamberlain universal remote rated for your learn button color.
Q4: What does it mean when the learn button LED blinks rapidly?
Rapid blinking usually indicates the unit is in lock mode or has detected a safety sensor fault. Press and hold the lock button on your wall console for 3 seconds to disable lock mode. If sensors are the issue, realign them until both indicator LEDs glow steadily.
Q5: Can I program my car’s built-in HomeLink system to my Chamberlain opener?
Absolutely. HomeLink programming follows a similar process but requires holding the HomeLink button and the remote button simultaneously near the visor first, then pressing the opener’s Learn button. Refer to your vehicle’s HomeLink manual for model-specific timing, as sequences vary between automakers.
Q6: Is there a reset procedure if programming keeps failing?
Yes. Perform a hard reset by unplugging the opener for 60 seconds, then plugging it back in. Wait for the system to fully boot (about 30 seconds), then attempt programming again. This clears temporary logic board glitches that soft resets cannot resolve.
Conclusion
Mastering how to program Chamberlain garage door opener with remote control empowers you to maintain one of your home’s most-used entry points independently. By identifying your model correctly, following the precise timing sequences, and understanding common failure points like battery degradation and LED interference, you can resolve most issues in under five minutes. Remember that safety always comes first—never force a malfunctioning door, and consult a certified technician if electrical components appear damaged.
Found this guide helpful? Share it with friends, family, or neighbors who might be stuck outside their garage right now! Tag us on social media with your success stories or remaining questions—we love hearing from fellow DIY homeowners. A quick share could save someone a costly service call today! 🏠🔧
Leave a Reply