Is your garage door refusing to open when you press the button? It is a frustrating scenario that happens to almost every homeowner at some point. Whether you have replaced an old remote or bought a new one, knowing how to program a Linear garage door opener remote is an essential skill that saves you time and money on service calls.
In this comprehensive guide, we will walk you through the exact steps to sync your remote with your Linear opener. We will cover different models, common mistakes to avoid, and expert tips to ensure your garage remains secure and accessible.
Understanding Your Linear Garage Door Opener Model
Before diving into the programming steps, it is crucial to identify which type of Linear opener you own. Linear has manufactured several series over the years, and the programming method can vary slightly depending on the model’s age and technology.
Most modern Linear openers use either Dip Switches (older models) or Smart Code/Learn Button technology (newer models). Identifying your system ensures you follow the correct procedure.
Dip Switch vs. Smart Code: What’s the Difference?
| Feature | Dip Switch System | Smart Code / Learn Button |
|---|---|---|
| Era | Pre-2005 (mostly) | 2005–Present |
| Mechanism | Physical tiny switches inside remote & motor | Digital rolling code technology |
| Security | Lower (fixed code) | Higher (changes every use) |
| Programming | Match switch positions manually | Press “Learn” button on motor |
If your remote has a row of tiny switches numbered 1–12, you have a Dip Switch model. If your remote has a single button to press and your motor unit has a colored “Learn” button (usually red, purple, or yellow), you have a Smart Code system.
Note: For more information on the evolution of garage door security standards, you can refer to Wikipedia’s article on Garage Door Openers, which details the shift from fixed codes to rolling codes for enhanced safety.
Step-by-Step: How to Program a Linear Garage Door Opener Remote (Smart Code)
For most homeowners today, the Smart Code system is the standard. This method uses rolling code technology, which changes the access code every time you use the remote, preventing hackers from intercepting the signal.
Follow these precise steps to program your remote:
Step 1: Locate the Learn Button
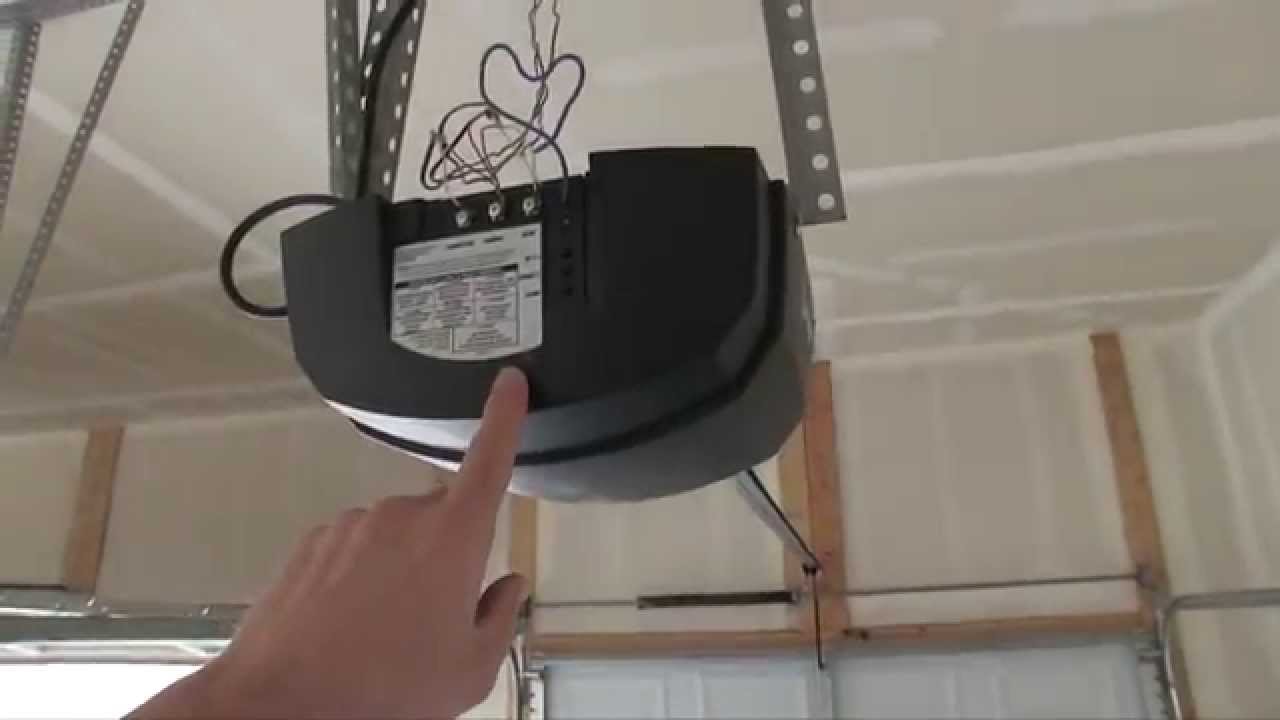
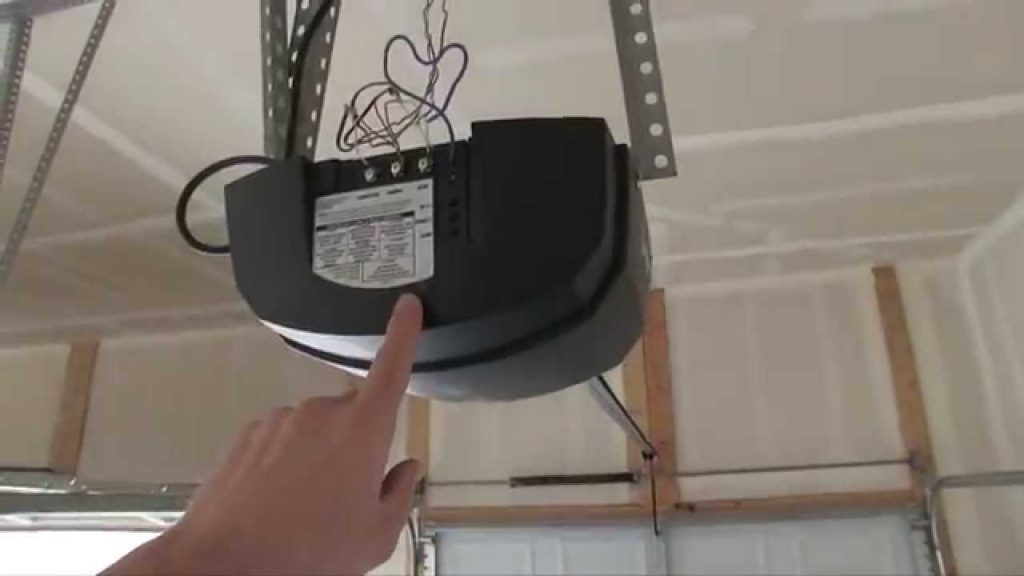
Climb a sturdy ladder to access your garage door opener motor unit mounted on the ceiling. Look for a small LED light and a button labeled “Learn” or “Program.” On Linear models, this button is often located on the back or side of the motor housing. The color may vary (red, purple, or yellow), but the function remains the same.
Step 2: Clear Old Codes (Optional but Recommended)
If you are reprogramming because your remote was lost or stolen, it is wise to clear the memory first. Press and hold the Learn button for about 10 seconds until the LED light turns off. This erases all previously programmed remotes. Warning: You will need to reprogram all existing remotes after doing this.
Step 3: Activate Programming Mode
Press the Learn button once briefly. You should see the LED light turn on or start blinking. This indicates the opener is now in “listening mode” and ready to accept a new remote. You typically have 30 seconds to complete the next step.
Step 4: Sync the Remote
Within those 30 seconds, go to your handheld remote. Press and hold the button you wish to program (e.g., Button 1). Keep holding it until you see the lights on the motor unit flash or hear a click. Some models may require you to press the remote button twice.
Step 5: Test the Connection
Press the remote button again normally. The garage door should activate. If it does, congratulations! You have successfully learned how to program a Linear garage door opener remote. If not, repeat Steps 3 and 4, ensuring you are within range (usually 10–20 feet) during programming.
Programming Older Linear Models with Dip Switches
If you have an older Linear opener, you won’t find a Learn button. Instead, you will rely on physical switches. This method is simpler but less secure.
- Open the Remote: Use a small screwdriver to open the battery compartment of your remote. You will see a row of tiny switches.
- Match the Motor Unit: Open the cover of the motor unit on the ceiling. Locate the identical row of switches.
- Align the Switches: Ensure that the position of every switch in the remote matches the position in the motor unit exactly. If switch #3 is “Up” on the motor, it must be “Up” on the remote.
- Close and Test: Close both covers securely and test the remote. Since there is no digital handshake, the door should respond immediately if the switches align.
Troubleshooting Common Programming Issues
Even when following instructions perfectly, things can go wrong. Here are the most common issues users face when trying to program their Linear remotes and how to fix them.
The Remote Won’t Sync
- Check the Batteries: Weak batteries are the #1 cause of failure. Replace them with fresh alkaline batteries before attempting to program.
- Interference: LED light bulbs in your garage can sometimes emit frequency interference. Try turning off the garage lights during programming.
- Distance: Stand closer to the motor unit (within 5 feet) while programming to ensure a strong signal reception.
The Door Moves Partially Then Stops
This is rarely a programming issue and more likely a safety sensor problem. Check the photo-eye sensors near the floor. Ensure they are aligned and free of dirt or spider webs. If the beam is blocked, the door will reverse for safety.
The Learn Button Light Doesn’t Turn On
If the LED on the motor unit doesn’t light up when pressed, the logic board may be faulty, or the unit may have lost power. Check your circuit breaker and ensure the opener is plugged in. If the problem persists, you may need professional assistance.
Expert Tips for Maintaining Your Linear Remote
Programming is just the beginning. To ensure longevity and reliability, consider these expert recommendations:
- Keep a Spare: Always keep a secondary remote in your car or home. Programming a second remote follows the same steps as the first.
- Update Regularly: If you move into a new home, always clear the memory and reprogram all remotes. You never know who might have kept an old key fob.
- Protect from Moisture: Garage environments can be humid. Store your remote in a dry place when not in use to prevent circuit corrosion.
- Use Visor Clips: Avoid leaving remotes on hot dashboards in summer, as extreme heat can damage the internal electronics and reduce battery life.
FAQ Section
1. Can I program a universal remote to work with my Linear opener?
Yes, most universal remotes are compatible with Linear openers. However, you must set the universal remote to the correct brand code (usually found in the manual under “Linear” or “Northeastern”) before following the standard programming steps.
2. How many remotes can I program to one Linear opener?
Most modern Linear openers allow you to program between 8 to 12 remotes simultaneously. Check your specific model’s manual for the exact limit. If you exceed this limit, you must erase old codes to add new ones.
3. Why does my Linear remote work intermittently?
Intermittent issues are usually caused by low batteries, radio frequency interference from nearby devices (like baby monitors or Wi-Fi routers), or misaligned antennas on the motor unit. Try replacing the battery first.
4. Is it safe to use a Linear opener without rolling code technology?
Older Dip Switch models are less secure because the code never changes. A hacker could potentially record the signal and replay it. If you have an older model, consider upgrading to a newer Smart Code opener for better security.
5. What should I do if I lose my only remote?
If you have no working remotes, you can still open the door using the wall-mounted keypad inside the garage. To program a new remote, you will need to access the motor unit’s Learn button as described in the steps above.
6. Does programming a new remote erase the old ones?
No, pressing the Learn button once to add a new remote does not erase existing ones. It only adds the new device to the memory. To erase all remotes, you must hold the Learn button down for 10+ seconds until the light goes out.
Conclusion
Learning how to program a Linear garage door opener remote is a straightforward process that empowers you to manage your home security effectively. Whether you have a modern Smart Code system or an older Dip Switch model, following the correct steps ensures a seamless connection.
Remember to keep your batteries fresh, protect your remotes from extreme temperatures, and clear your memory if you ever suspect unauthorized access. By mastering this skill, you save time and avoid unnecessary service fees.
Did you find this guide helpful? Share it with your friends and family on social media to help them troubleshoot their garage door issues too!
Leave a Reply