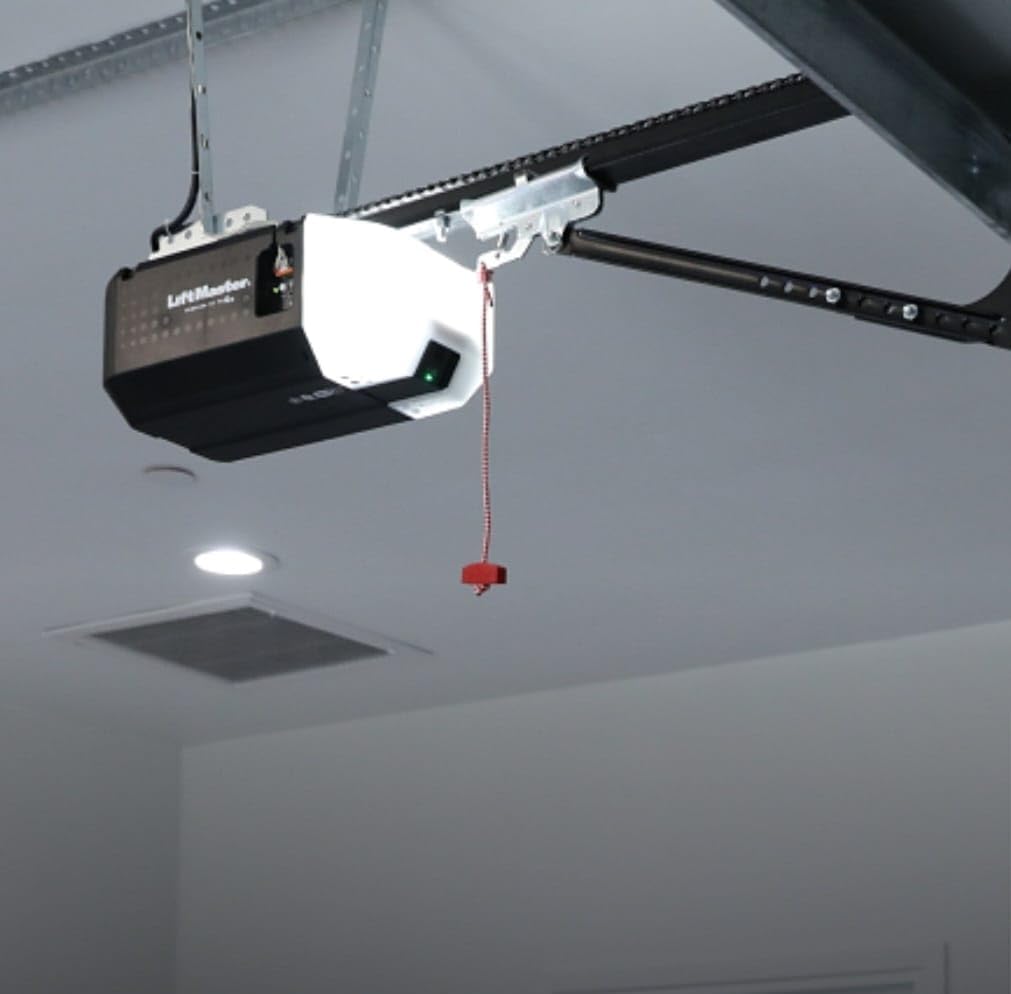
Introduction
Replacing or installing a new garage door opener can feel intimidating, especially when you are worried about safety sensors and heavy lifting. However, learning how to install a LiftMaster chain drive garage door opener is a manageable weekend project that saves hundreds of dollars in labor costs while giving you complete control over your home’s security. This comprehensive guide walks you through every phase of the installation with empathy for first-time DIYers, ensuring your system is safe, quiet, and fully operational by sundown.
What Tools Do You Need Before Starting Installation?
Before you unbox your new unit, gathering the correct tools prevents frustrating mid-project trips to the hardware store. According to industry standards from the International Door Association, having the right equipment reduces installation time by up to 40% and significantly lowers injury risk.
Essential Tool Checklist
- Stepladder: Minimum 6-foot height for safe ceiling access.
- Power Drill & Bits: Cordless drill with 3/16” masonry bits (for concrete ceilings) or standard wood bits.
- Wrenches & Sockets: Adjustable wrench, 7/16” socket, and open-end wrenches.
- Measuring Tape & Level: Critical for rail alignment and sensor height.
- Locking Pliers (Vise-Grips): For securing the trolley during assembly.
- Safety Gear: ANSI-approved safety glasses and work gloves.
- Electrical Tester: Non-contact voltage tester to verify power is off.
- Helper: Never attempt this installation alone. A second person is required for lifting the motor head safely.
Expert Tip: Lay out all hardware on a magnetic tray before starting. LiftMaster kits contain dozens of small bolts; losing one can compromise structural integrity.
How Long Does It Take to Install a Chain Drive Opener?
Understanding the time commitment helps you plan appropriately and avoid rushing, which is the leading cause of installation errors.
| Experience Level | Estimated Time | Notes |
|---|---|---|
| First-Time DIYer | 4–6 Hours | Includes reading manual and troubleshooting |
| Intermediate | 2–3 Hours | Familiar with basic wiring and mounting |
| Professional Tech | 1–1.5 Hours | Specialized tools and repetitive experience |
Data from home improvement surveys indicates that chain drive openers generally take 30–45 minutes longer to install than belt drives due to additional chain tensioning steps. Plan for a full half-day to ensure precision over speed.
Step-by-Step: How To Install A LiftMaster Chain Drive Garage Door Opener
Follow these detailed instructions precisely. Always defer to your specific model’s manual if discrepancies arise, as LiftMaster frequently updates hardware configurations.
Step 1: Disconnect Power and Remove Old Unit
Safety is non-negotiable. Turn off the circuit breaker supplying the garage outlet and verify with your voltage tester. If replacing an old unit, disconnect the door from the existing opener arm and manually lower the door. Secure the old rail and motor, then remove all mounting hardware. Dispose of old units according to local e-waste regulations.
Step 2: Assemble the Rail and Trolley
On a clean floor, connect the rail sections using the provided bolts and lock nuts. Insert the trolley into the rail before closing the end caps. Attach the chain to the trolley and sprocket per the manual’s diagram. Do not overtighten chain links at this stage; final tensioning occurs after mounting.
Step 3: Mount the Header Bracket
Measure the centerline of your garage door. Mark the header bracket location exactly centered above the door, typically 2–4 inches above the highest point of door travel. Use a level to ensure perfect horizontal alignment. Secure with lag screws into structural framing—never rely solely on drywall anchors.
Step 4: Hang the Motor Head
With your helper supporting the motor, slide the rail onto the header bracket. Position the motor head so the rail is perfectly level (use your 4-foot level). Mark ceiling mounting points, drill pilot holes, and secure with angle iron or direct-mount brackets depending on your ceiling type. The rail should have a slight downward pitch toward the door (approximately ¼ inch per foot) to prevent binding.
Step 5: Install the Door Arm and Connect Trolley
Attach the straight door arm to the top roller bracket on the garage door. Connect the curved arm to the trolley, then join both arms with the clevis pin and cotter pin. Manually operate the door to confirm smooth movement without obstruction. Adjust arm length so the door sits flush when closed and opens fully without strain.
Step 6: Wire Safety Sensors and Wall Control
Mount safety sensors 6 inches above the floor on both sides of the door, aligned perfectly. Run wires along the ceiling/wall using staples (avoid piercing insulation). Connect wires to the motor head terminals matching color codes. Install the wall control button at least 5 feet high and out of reach of children. Refer to Wikipedia’s article on garage door openers for foundational safety sensor principles and regulatory history.
Step 7: Set Travel Limits and Force Adjustments
Restore power. Use the programming buttons on the motor to set open/close limits: the door must stop precisely at full open and seal completely when closed. Test force settings by placing a 2×4 board flat on the floor under the door. Upon contact, the door must reverse within 2 seconds. Adjust sensitivity incrementally until compliant. This step is legally required under UL 325 safety standards.
Step 8: Program Remotes and Test System
Press the learn button on the motor and sync each remote/keypad. Perform 10 complete open/close cycles observing for noise, vibration, or hesitation. Lubricate the chain with white lithium grease (not WD-40) and tighten all hardware after the break-in period.
Pros vs. Cons of Chain Drive Openers
Understanding trade-offs ensures long-term satisfaction with your installation choice.
Advantages:
- Durability: Steel chains withstand extreme temperatures and heavy doors better than belts.
- Cost-Effective: Typically $50–$100 less expensive than comparable belt-drive models.
- Availability: Replacement parts are universally stocked at home centers.
Disadvantages:
- Noise Level: 65–75 dB operation may disturb living spaces above garages.
- Maintenance: Requires annual lubrication and tension checks.
- Vibration: Can transmit resonance through shared walls in attached garages.
Frequently Asked Questions About LiftMaster Installation
Q1: Can I install a LiftMaster chain drive opener on a one-piece swing-out door?
No. Chain drive openers are engineered exclusively for sectional overhead doors. Swing-out doors require specialized jackshaft operators. Attempting adaptation creates severe safety hazards and voids warranties.
Q2: Why does my newly installed opener reverse before touching the floor?
This usually indicates misaligned safety sensors or excessive close-force sensitivity. First, verify sensor LEDs are solid green (not blinking). Clean lenses and realign brackets. If resolved, reduce close-force setting incrementally and retest with the 2×4 reversal test.
Q3: How often should I lubricate the chain after installation?
Apply white lithium grease every 6 months or 500 cycles, whichever comes first. Over-lubrication attracts debris; wipe excess after application. Never use silicone spray or petroleum-based oils, which degrade nylon components.
Q4: Is professional installation worth the extra cost?
If your garage has vaulted ceilings (>12 ft), damaged torsion springs, or non-standard door weights exceeding 350 lbs, hire a certified technician. Spring replacement alone carries lethal risk. For standard single/double car garages with healthy doors, DIY installation is safe and cost-effective.
Q5: My opener hums but doesn’t move the door. What’s wrong?
Check three items: (1) Emergency release cord is disengaged, (2) Chain isn’t derailed from sprocket, (3) Capacitor hasn’t failed (common in units >7 years old). If mechanical components check out, the logic board may need replacement. Consult LiftMaster’s diagnostic LED chart in your manual.
Q6: Do I need a permit to install a garage door opener?
Most U.S. jurisdictions do not require permits for opener replacement. However, HOAs may have noise restrictions, and rental properties require landlord approval. Always verify local building codes regarding safety sensor compliance.
Conclusion: Your Path to a Safer, Smarter Garage
Mastering how to install a LiftMaster chain drive garage door opener empowers you with valuable home maintenance skills while enhancing daily convenience and security. By following these methodical steps, prioritizing safety protocols, and respecting the precision required for limit and force adjustments, you’ve invested in decades of reliable service. Remember, patience during installation pays dividends in performance and peace of mind.
Did this guide help you complete your installation successfully? Share it with fellow DIY enthusiasts on Facebook, Pinterest, or your neighborhood Nextdoor group! Tag us in your project photos—we love celebrating homeowners who tackle challenges with confidence. Safe lifting, and enjoy your upgraded garage!
Leave a Reply