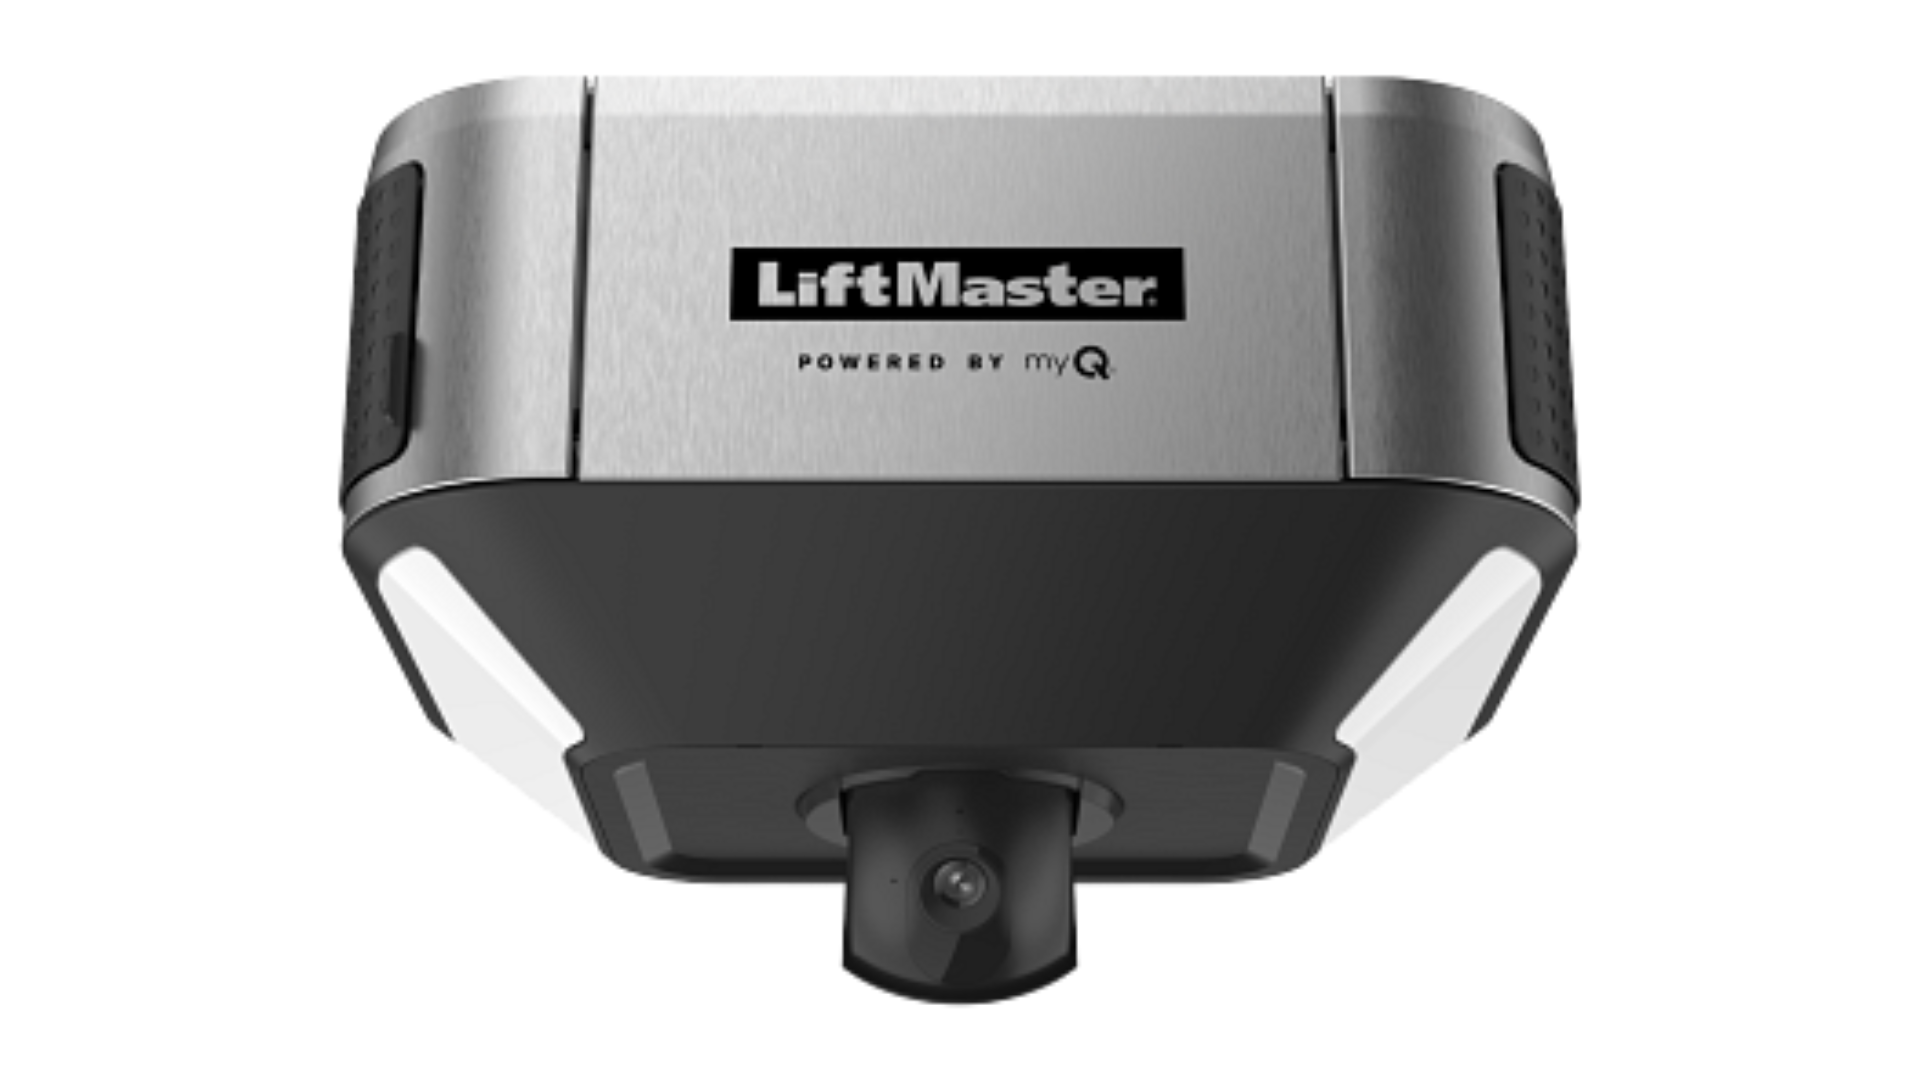
Is your garage door refusing to open during a power outage? You’re not alone. Thousands of homeowners face this frustrating situation every year when their Liftmaster garage door opener’s backup battery dies unexpectedly. Knowing how to change backup battery on Liftmaster garage door opener can save you from being locked out or stuck inside your garage at the worst possible moment.
The good news? Replacing your Liftmaster backup battery is simpler than you might think. With the right tools and a few minutes of your time, you can restore your garage door’s emergency functionality and peace of mind. Let’s walk through everything you need to know.
Why Does Your Liftmaster Need a Backup Battery?
Before diving into the replacement process, it’s essential to understand why this small component plays such a crucial role in your garage door system.
Power Outage Protection
According to the U.S. Energy Information Administration, the average American household experiences approximately 1.2 power outages per year, lasting an average of 4.2 hours. During these outages, your primary garage door opener becomes useless without a backup power source. The backup battery ensures you can still operate your garage door manually or through the emergency release mechanism.
Security and Convenience
A functioning backup battery means you won’t be trapped inside your garage during unexpected blackouts. This is particularly important for:
- Emergency situations where quick exit is necessary
- Daily convenience when power fluctuations occur
- Home security by maintaining access control during outages
Battery Lifespan Expectations
Most Liftmaster backup batteries last between 3 to 5 years, depending on usage frequency and environmental conditions. However, extreme temperatures, frequent power outages, and heavy usage can significantly reduce this lifespan.
Tools and Materials You’ll Need
Gathering the right supplies before starting makes the process smoother and faster. Here’s your checklist:
| Item | Purpose | Notes |
|---|---|---|
| Replacement battery | Main component | Check your model number first |
| Screwdriver (Phillips) | Remove battery cover | Usually #2 size works best |
| Safety glasses | Eye protection | Recommended but optional |
| Clean cloth | Wipe battery contacts | Prevents corrosion issues |
| Multimeter (optional) | Test old battery | Confirms if replacement is needed |
Pro Tip: Always check your specific Liftmaster model number before purchasing a replacement battery. Common models include the 8500W, 8550W, and 87504 series, each requiring different battery specifications.
Step-by-Step: How To Change Backup Battery On Liftmaster Garage Door Opener
Follow these detailed steps to safely replace your backup battery. The entire process typically takes 10-15 minutes.
Step 1: Safety First – Disconnect Power
Always prioritize safety when working with electrical components. Before beginning:
- Unplug your garage door opener from the wall outlet
- If hardwired, turn off the circuit breaker controlling the opener
- Wait 30 seconds to allow any residual power to dissipate
This step prevents electrical shock and protects your opener’s internal components from damage.
Step 2: Locate the Battery Compartment
The battery compartment location varies by model:
- Ceiling-mounted units: Usually found on the side or back of the motor unit
- Wall-mounted controls: Often behind a removable panel
- Newer smart models: May have a dedicated battery drawer
Look for a small plastic cover secured with screws or clips. Most Liftmaster models have clear labeling indicating “Backup Battery” or “Battery Backup.”
Step 3: Remove the Old Battery
- Use your Phillips screwdriver to remove the securing screws
- Gently lift or slide off the battery cover
- Note the battery orientation before disconnecting (take a photo if needed)
- Disconnect the battery terminals carefully:
- Red wire = Positive (+)
- Black wire = Negative (-)
- Remove the old battery from its housing
Important: Handle the old battery with care. Even depleted batteries can contain corrosive materials. Place it on a clean cloth to avoid damaging surrounding surfaces.
Step 4: Prepare the New Battery
Before installation:
- Check the expiration date on your new battery
- Inspect the terminals for any damage or corrosion
- Clean the battery contacts in your opener using a dry cloth
- Verify the voltage matches your original battery (typically 12V DC)
According to Liftmaster’s official specifications, using the correct voltage and amperage is crucial for optimal performance and longevity.
Step 5: Install the New Battery
- Place the new battery in the same orientation as the old one
- Connect the terminals securely:
- Attach red wire to positive (+) terminal first
- Attach black wire to negative (-) terminal second
- Ensure connections are tight but don’t overtighten
- Replace the battery cover and secure with screws
Double-check: Make sure no wires are pinched or caught under the cover.
Step 6: Test the System
After installation:
- Restore power to your garage door opener
- Wait 2-3 minutes for the system to initialize
- Test the backup function:
- Unplug the opener briefly
- Try operating the door using the wall button
- The door should operate normally on battery power
- Plug the opener back in
- Check for any error codes or warning lights
If the system doesn’t work correctly, recheck your connections and ensure the battery is properly seated.
Common Mistakes to Avoid
Even experienced DIYers can make errors during battery replacement. Here are the most common pitfalls:
Incorrect Battery Type
Using a battery with wrong voltage or amperage can damage your opener or provide insufficient backup power. Always match the specifications exactly.
Poor Terminal Connections
Loose connections cause intermittent operation and can lead to premature battery failure. Ensure all connections are secure but not overtightened.
Ignoring Warning Signs
Don’t wait for complete failure. Replace your battery if you notice:
- Slower door operation during outages
- Frequent beeping from the opener
- Error codes related to battery status
Skipping the Test
Always test your backup system after replacement. A non-functioning backup battery provides false security.
When Should You Replace Your Backup Battery?
Knowing when to replace your battery prevents unexpected failures. Watch for these indicators:
| Sign | Meaning | Action Required |
|---|---|---|
| Annual reminder beep | Battery aging | Plan replacement within 6 months |
| Reduced backup time | Capacity loss | Replace soon |
| Error code display | Battery failure | Replace immediately |
| Visible corrosion | Terminal damage | Clean and replace |
| 3+ years old | Normal lifespan end | Proactive replacement recommended |
Expert Recommendation: Consider replacing your backup battery every 3-4 years as preventive maintenance, even if it appears to be working correctly.
FAQ Section
Q: How long does a Liftmaster backup battery typically last?
A: Most Liftmaster backup batteries last between 3 to 5 years under normal conditions. However, factors like frequent power outages, extreme temperatures, and heavy usage can reduce this lifespan to 2-3 years. Regular testing helps identify when replacement is needed.
Q: Can I use any 12V battery for my Liftmaster opener?
A: No, you should only use batteries specifically designed for your Liftmaster model. Generic 12V batteries may have different amperage ratings, physical dimensions, or terminal configurations that could damage your opener or provide inadequate backup power. Always check your owner’s manual for the exact specifications.
Q: What should I do with the old backup battery?
A: Never throw backup batteries in regular trash. They contain materials that can harm the environment. Take your old battery to:
- Local recycling centers
- Automotive parts stores (many accept old batteries)
- Hazardous waste collection facilities
- Some home improvement stores offer battery recycling programs
Q: Why does my Liftmaster beep after installing a new battery?
A: Occasional beeping after battery installation is normal as the system recognizes the new battery. However, continuous beeping indicates:
- Incorrect battery installation
- Wrong battery type
- System needs reset
- Other underlying issues
Consult your owner’s manual for specific beep patterns and meanings. If beeping continues after 24 hours, contact Liftmaster support.
Q: Do I need professional help to change the backup battery?
A: Most homeowners can successfully replace their Liftmaster backup battery following proper instructions. The task requires basic tools and takes about 15 minutes. However, if you’re uncomfortable working with electrical components, notice unusual wiring, or encounter complications, hiring a professional garage door technician is recommended for safety.
Q: Will changing the backup battery affect my garage door opener’s warranty?
A: Replacing the backup battery yourself typically doesn’t void your warranty, provided you use genuine Liftmaster parts and follow proper procedures. However, damage caused by incorrect installation or using incompatible batteries may not be covered. When in doubt, consult your warranty documentation or contact Liftmaster customer service.
Conclusion
Learning how to change backup battery on Liftmaster garage door opener is an essential skill for every homeowner. This simple maintenance task ensures your garage remains accessible during power outages and extends the life of your opener system. By following our step-by-step guide, you can complete the replacement safely and efficiently in under 15 minutes.
Remember to test your backup system regularly and replace the battery proactively every 3-4 years. Don’t wait for a power outage to discover your backup battery has failed.
Found this guide helpful? Share it with friends and family on social media to help them stay prepared too! Bookmark this page for future reference, and consider setting a calendar reminder to check your backup battery annually.
Your garage door opener is only as reliable as its weakest component—don’t let a dead backup battery leave you stranded. Take action today and enjoy peace of mind knowing your garage will always be accessible, regardless of power conditions.
Leave a Reply